RCPos Admin Guide
This guide will walk you through a series of actions in the Admin application, covering tasks from managing categories and products to adjusting settings and generating reports. Each step will guide you on specific actions to efficiently navigate through the application.
Go to localhost:5555
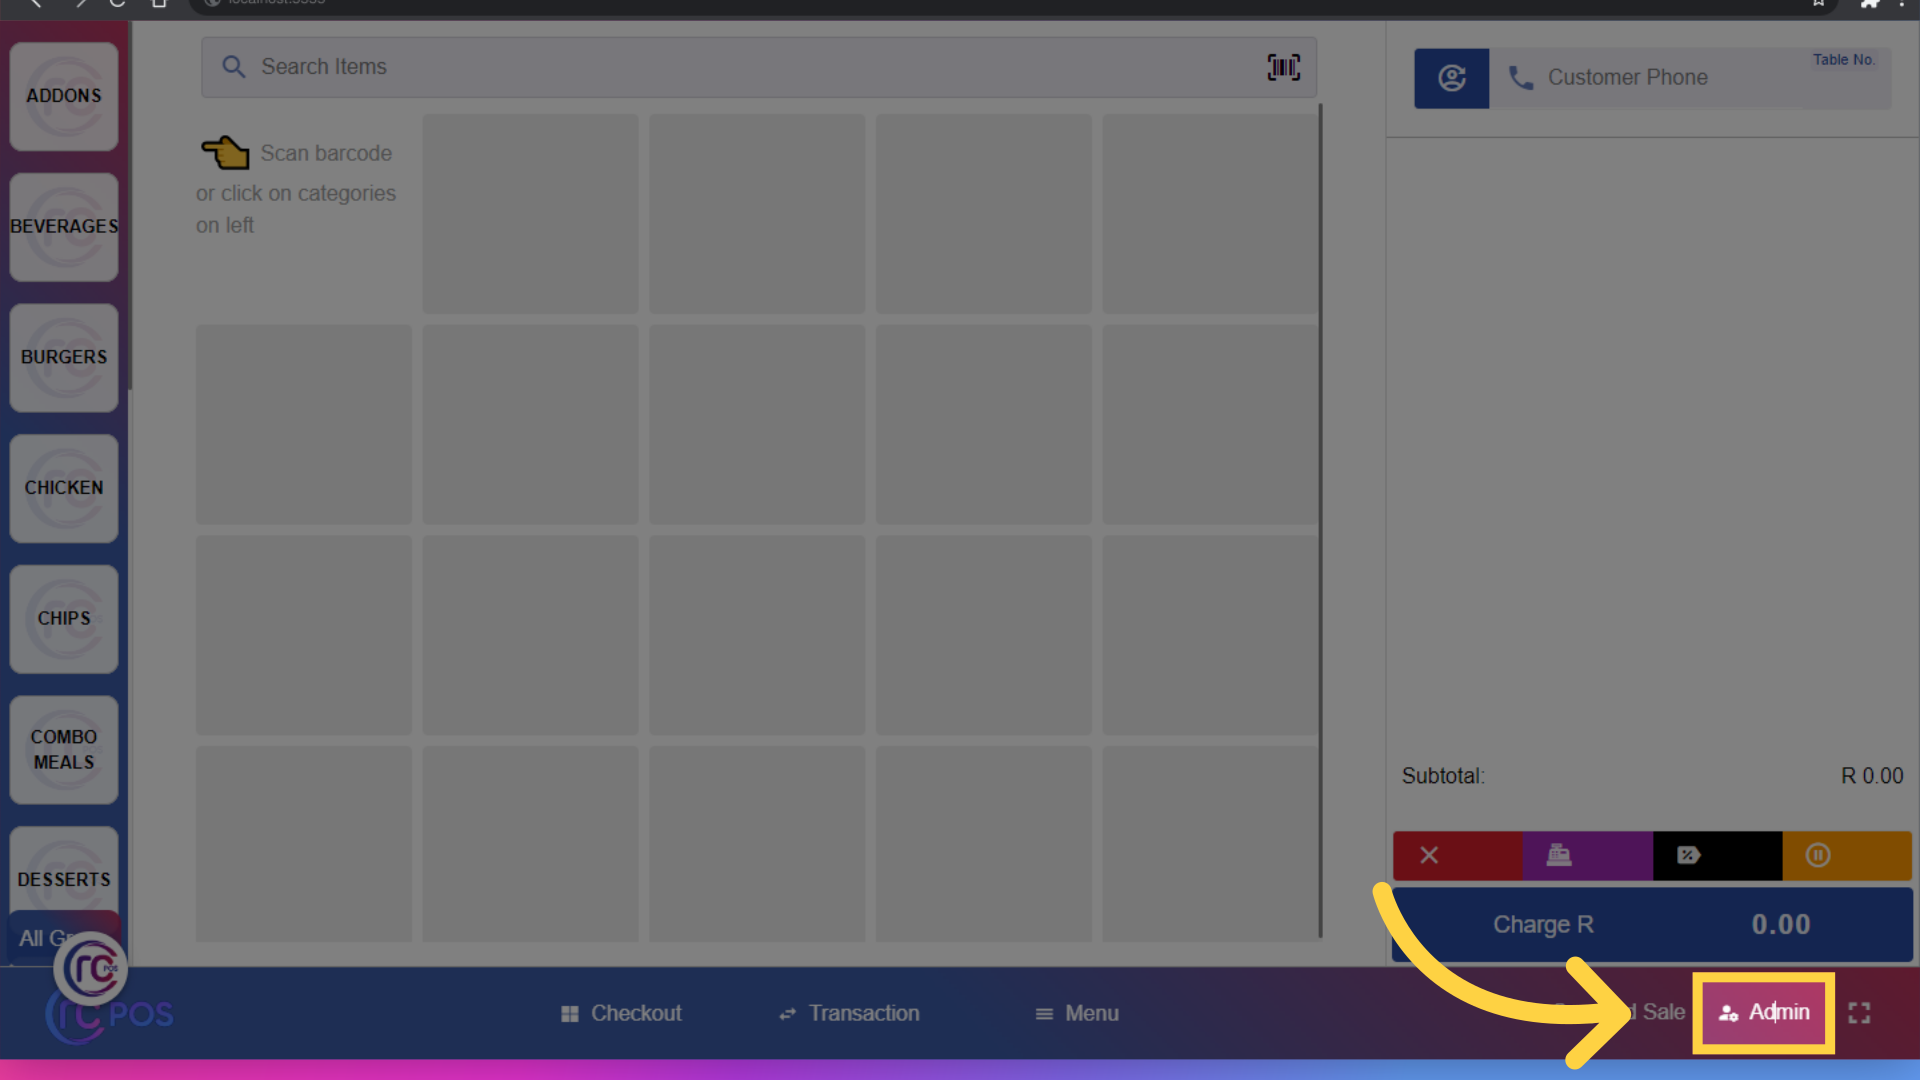
1. Click "Admin"
First, log in to your account. Only managers and admins can see the admin button, so make sure you have the right permissions. Navigate to the Admin section.
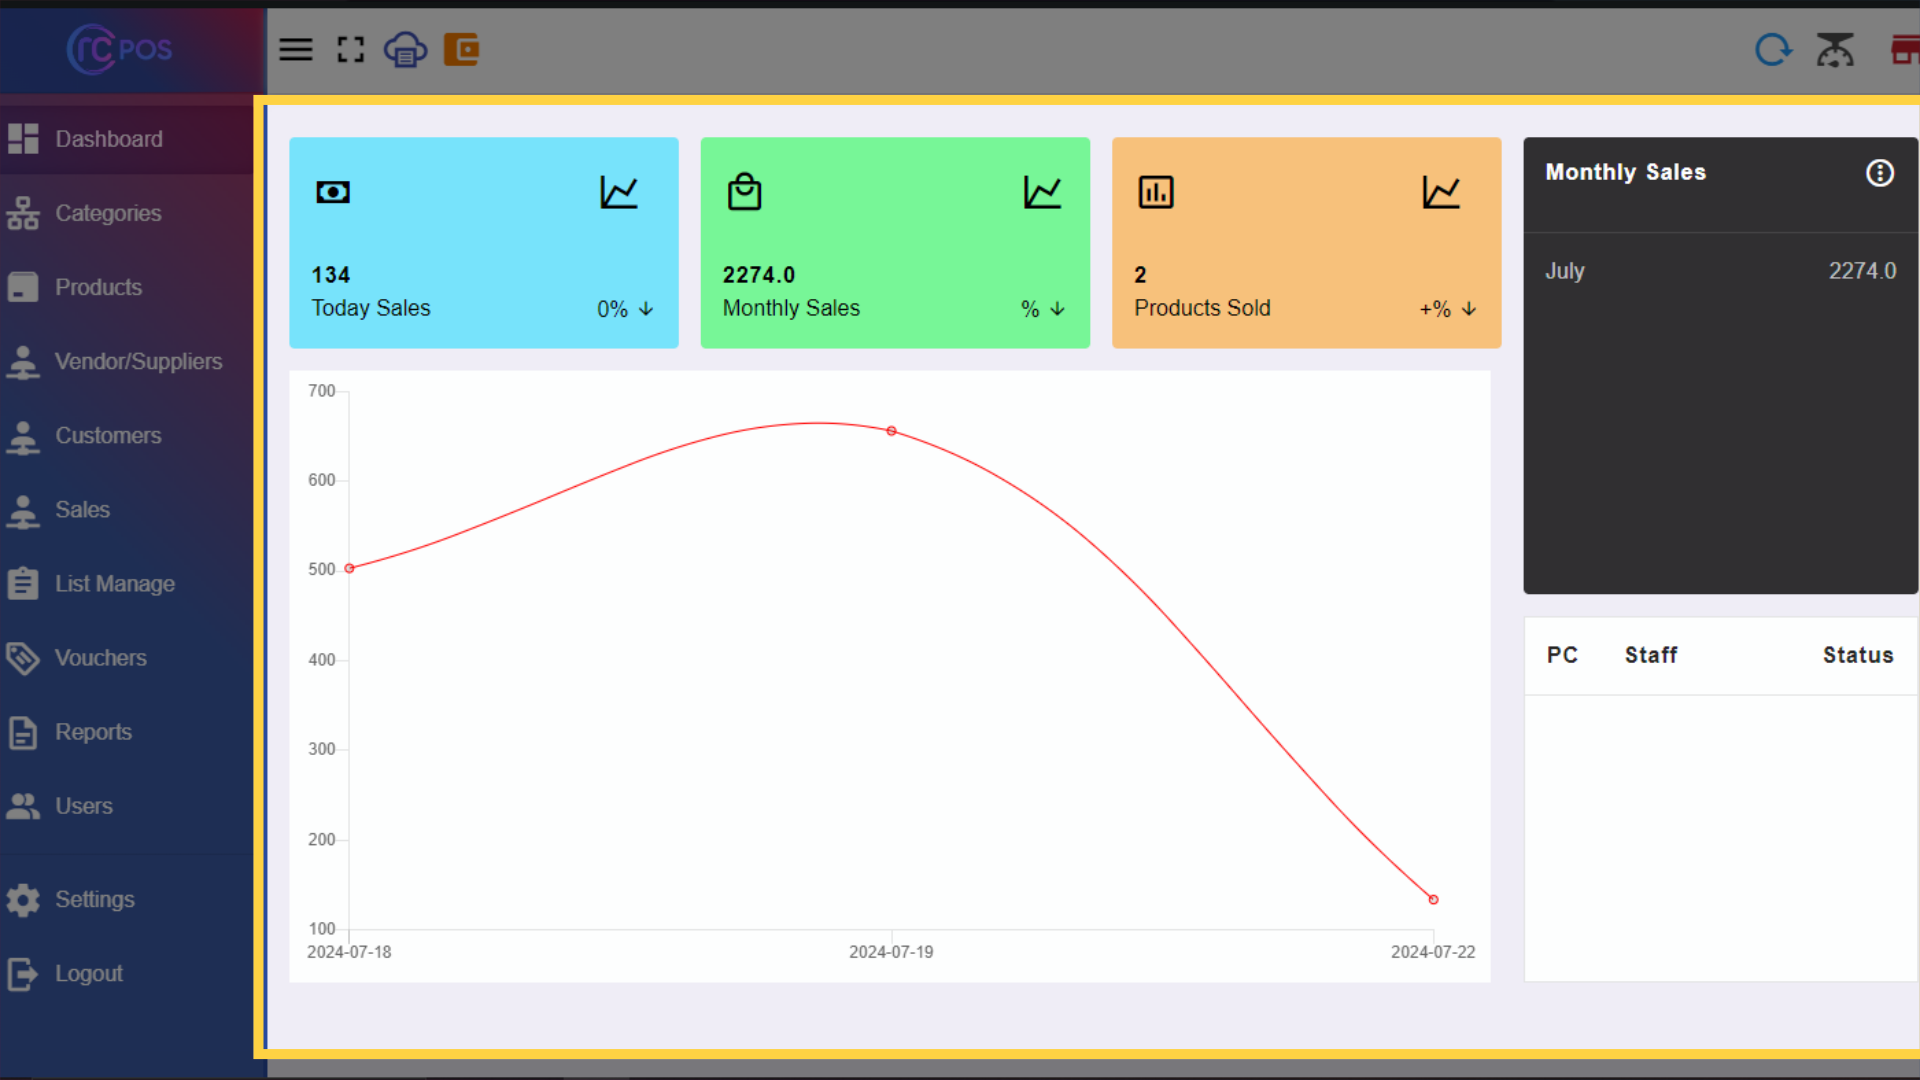
2.Dashboard
This is the dashboard ,it shows today’s sales in a summary. Displays the total sales for the current month. Indicates the number of products sold. A graphical representation of sales over the past week. Displays who logged in.
3. Click here
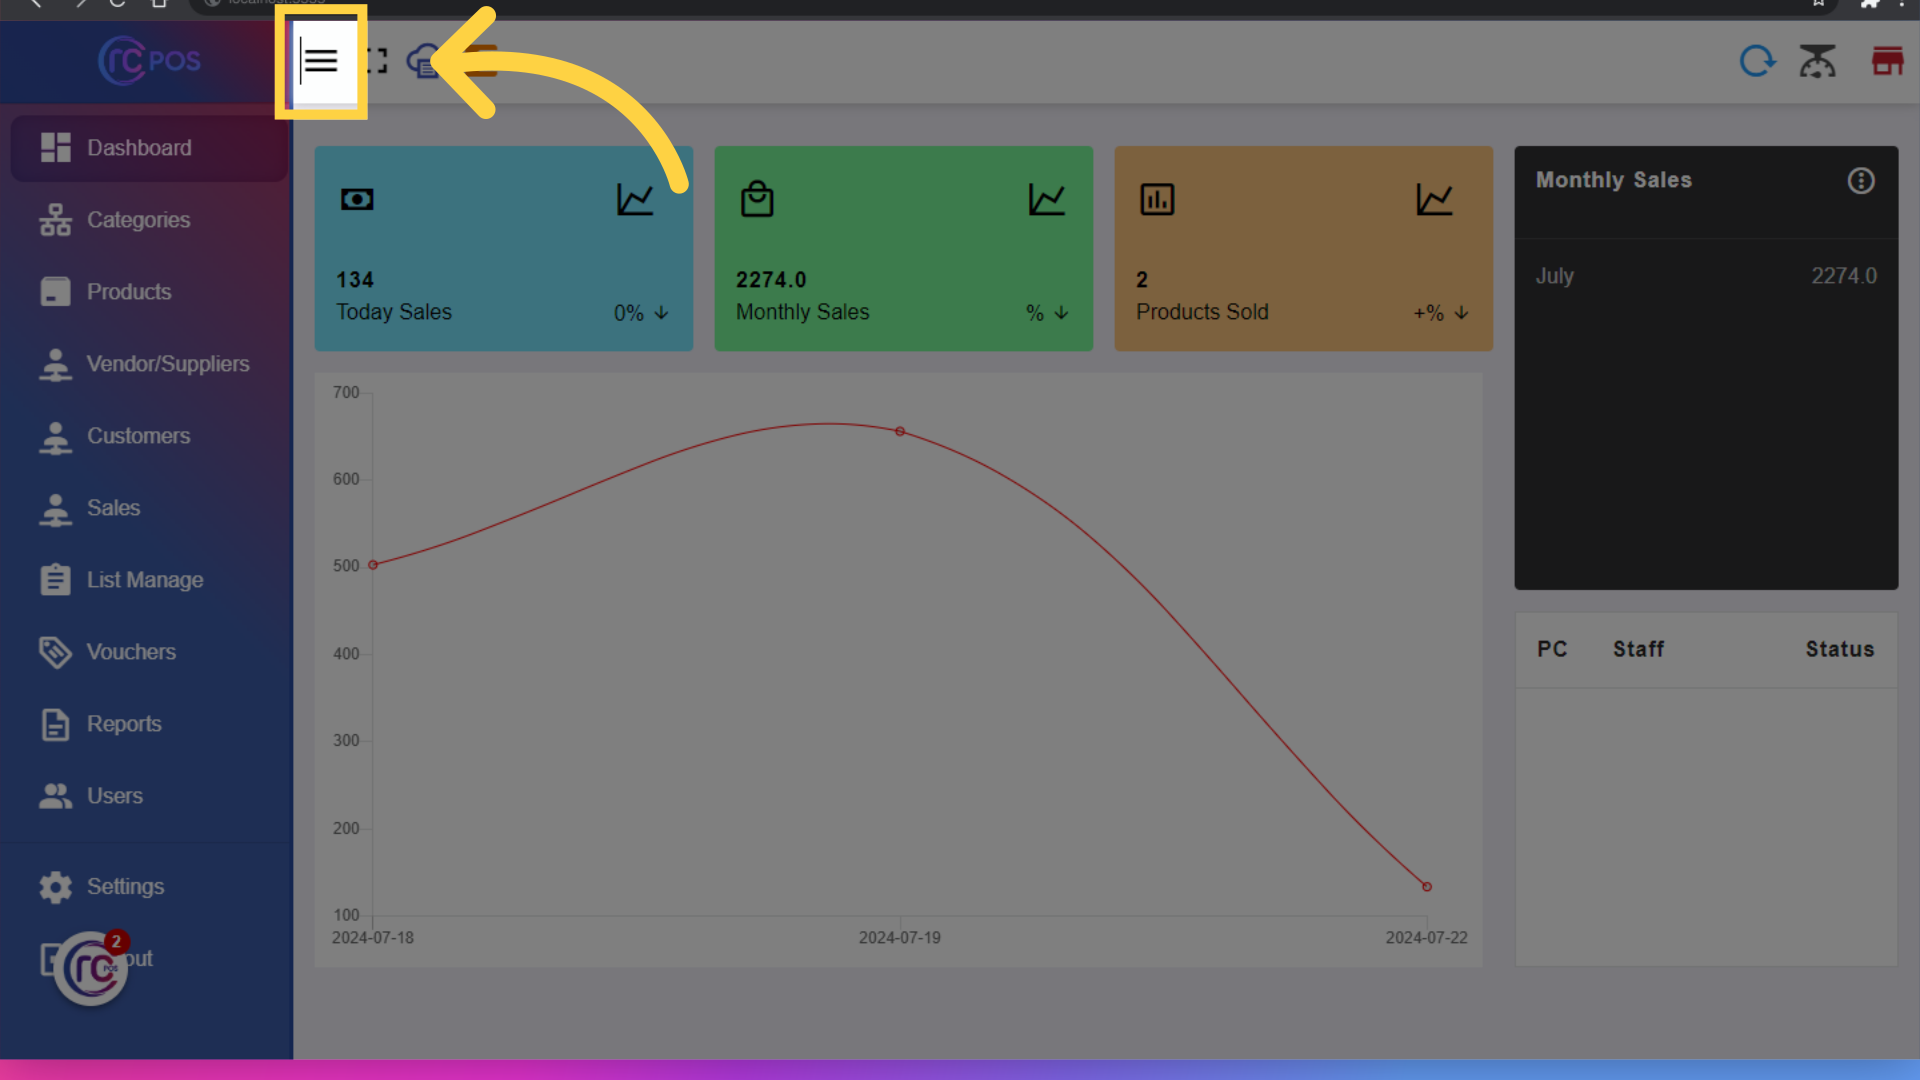
At the top, you have several important buttons: Click this to hide or show the navigation menu on the left.
4. Click here
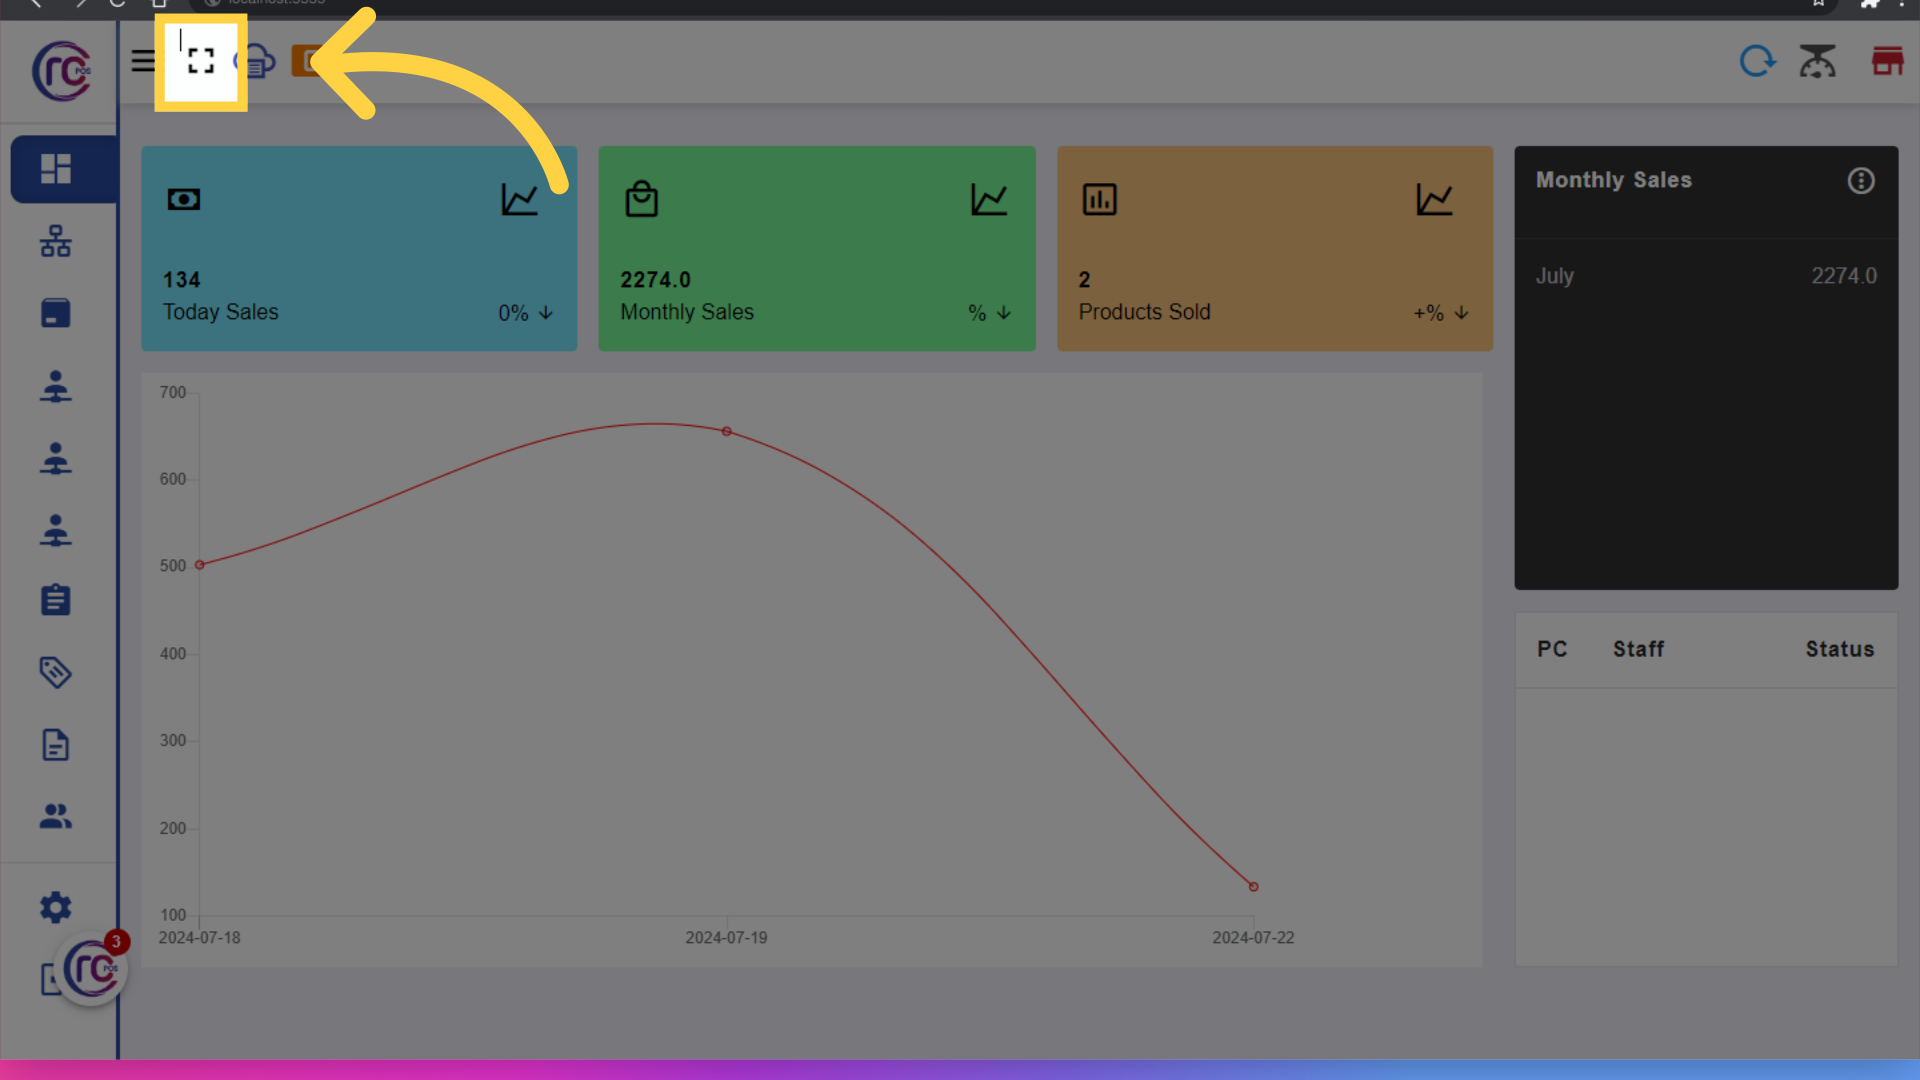
This button allows you to view the application in full screen, giving you a better view of all features.
5. Click here
Click on 'Day Report' to Generate a report for the end of the day.
6.Day Report
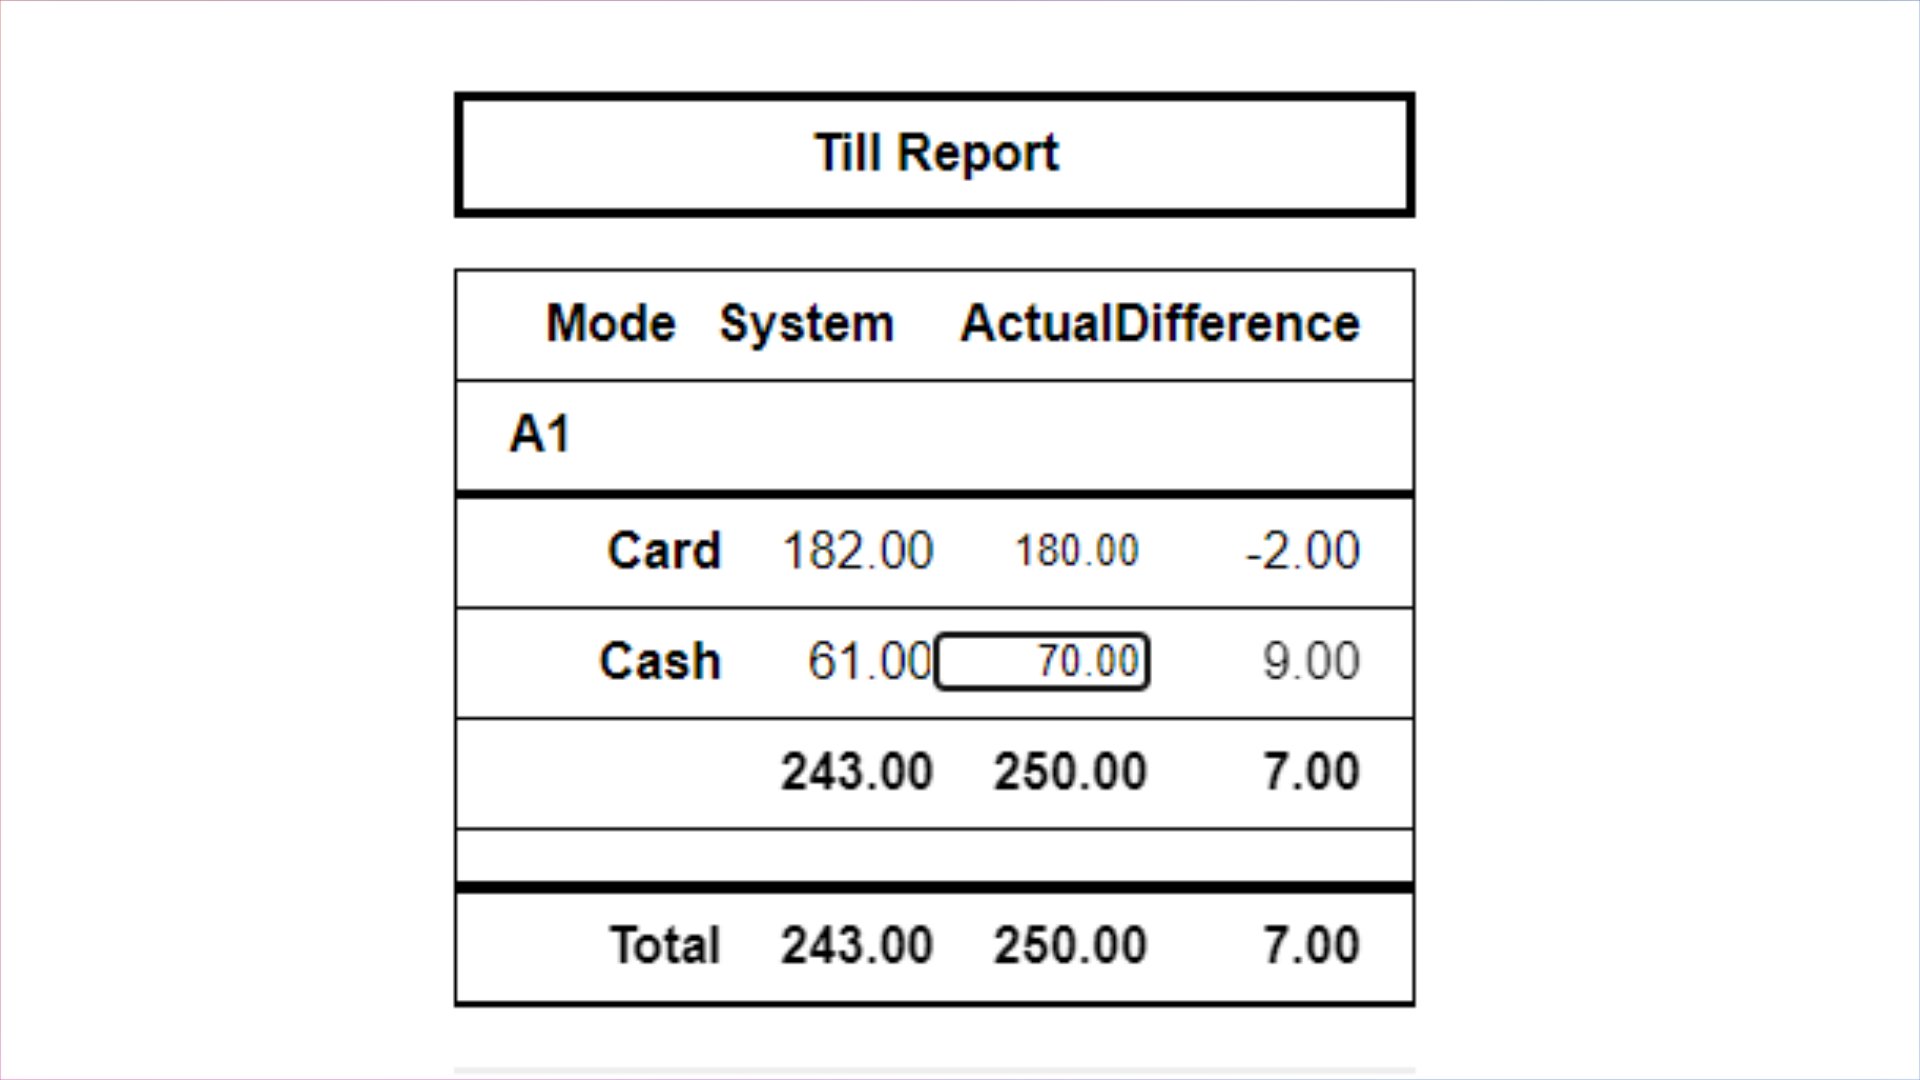
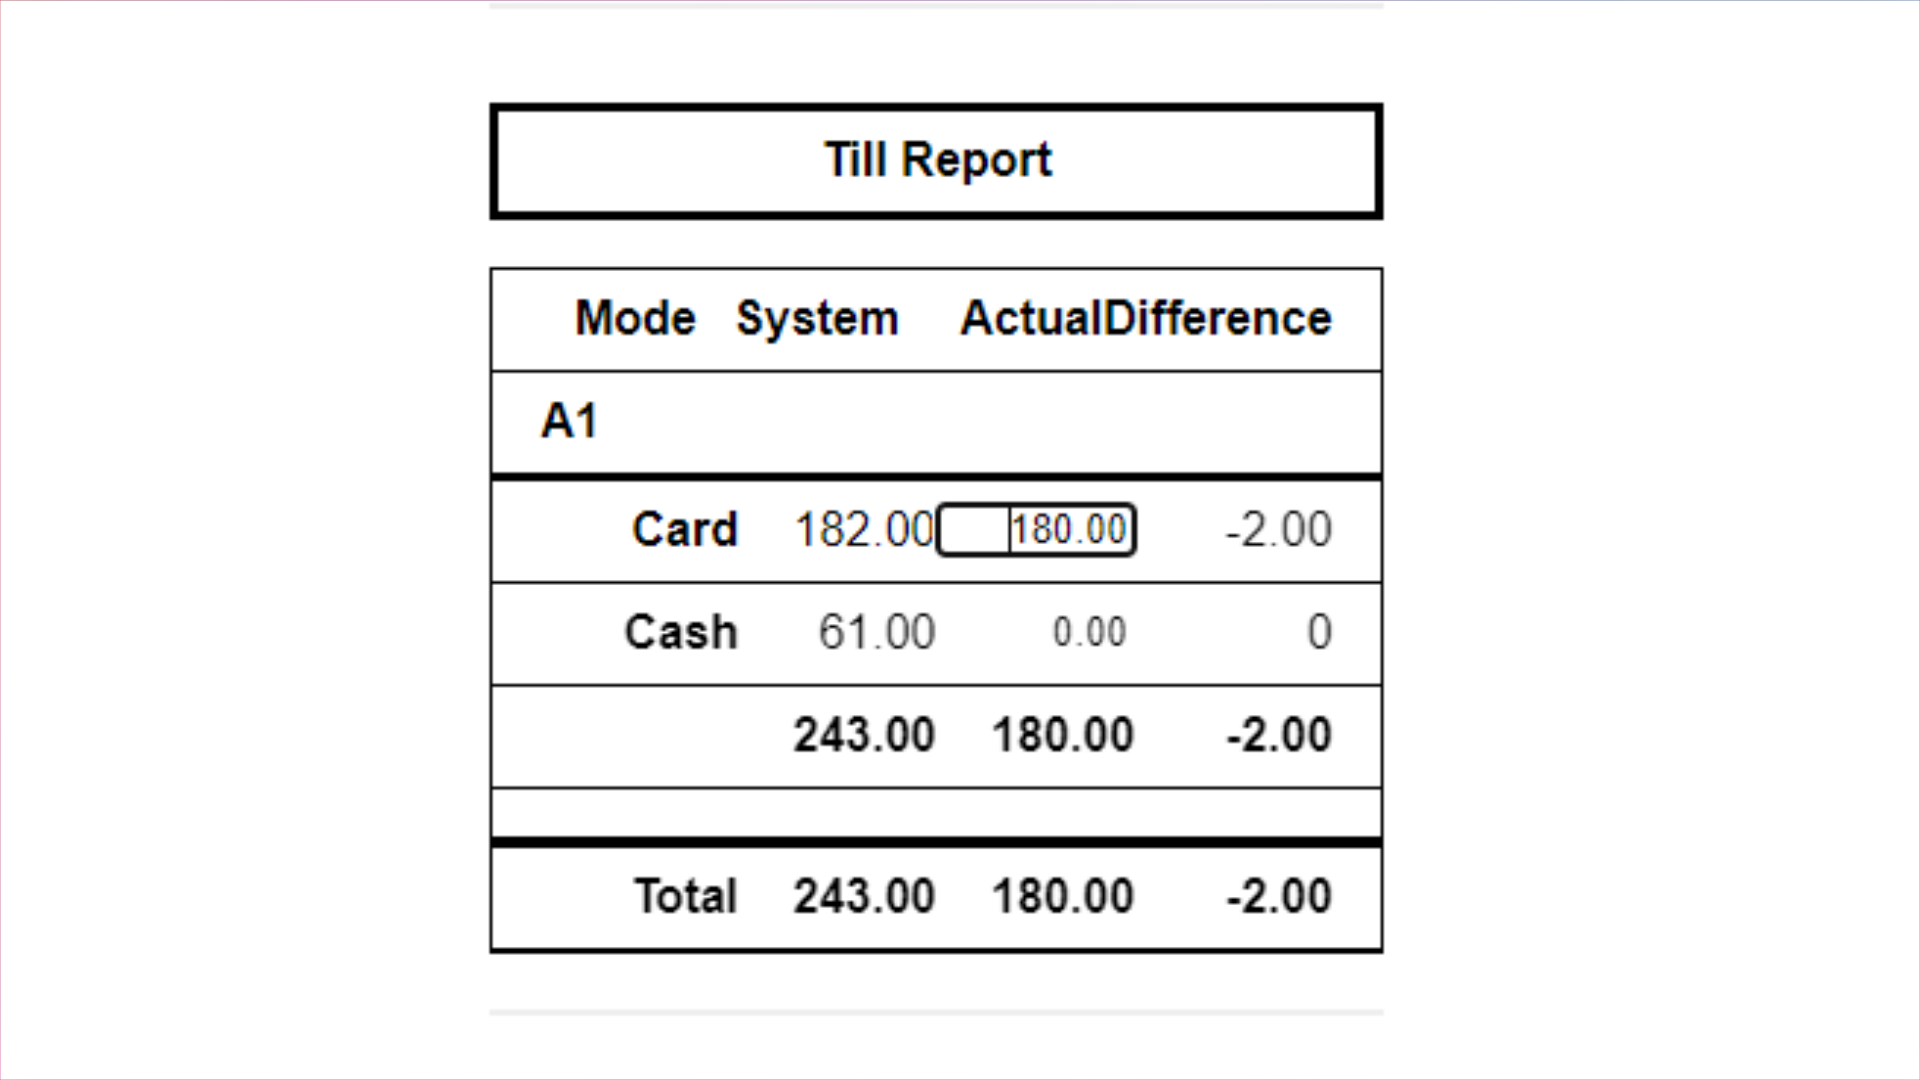
The Till Report is a summary that shows the cash and card transactions at the end of a shift or day. It helps in reconciling the actual money collected against the system records. Here's a breakdown of how to read and understand the Till Report: Columns in the Till Report Mode: This indicates the type of transaction, such as "Card" or "Cash." System: This shows the amount recorded in the POS system for each transaction type. Actual: This represents the amount actually collected in the till. Difference: This is the difference between the system recorded amount and the actual collected amount. A1This identifies the specific till or register being reported. The system recorded a total of 182.00 in card payments. The actual amount collected from card payments is 180.00. There is a -2.00 difference, meaning there is 2.00 less in actual card payments compared to what the system recorded.
7.Till Report
The system recorded a total of 61.00 in cash payments. The actual amount collected from cash payments is 70.00. There is a 9.00 difference, meaning there is 9.00 more in actual cash payments compared to what the system recorded. The system recorded a total of 243.00 (182.00 card + 61.00 cash). The actual amount collected is 250.00 (180.00 card + 70.00 cash). There is a 7.00 difference, meaning there is 7.00 more in the actual total collected compared to what the system recorded. To print the day-to-day report, double-click on the page, and a PDF will be generated showing the detailed report.
8. Click here
Click on 'Petty Cash'
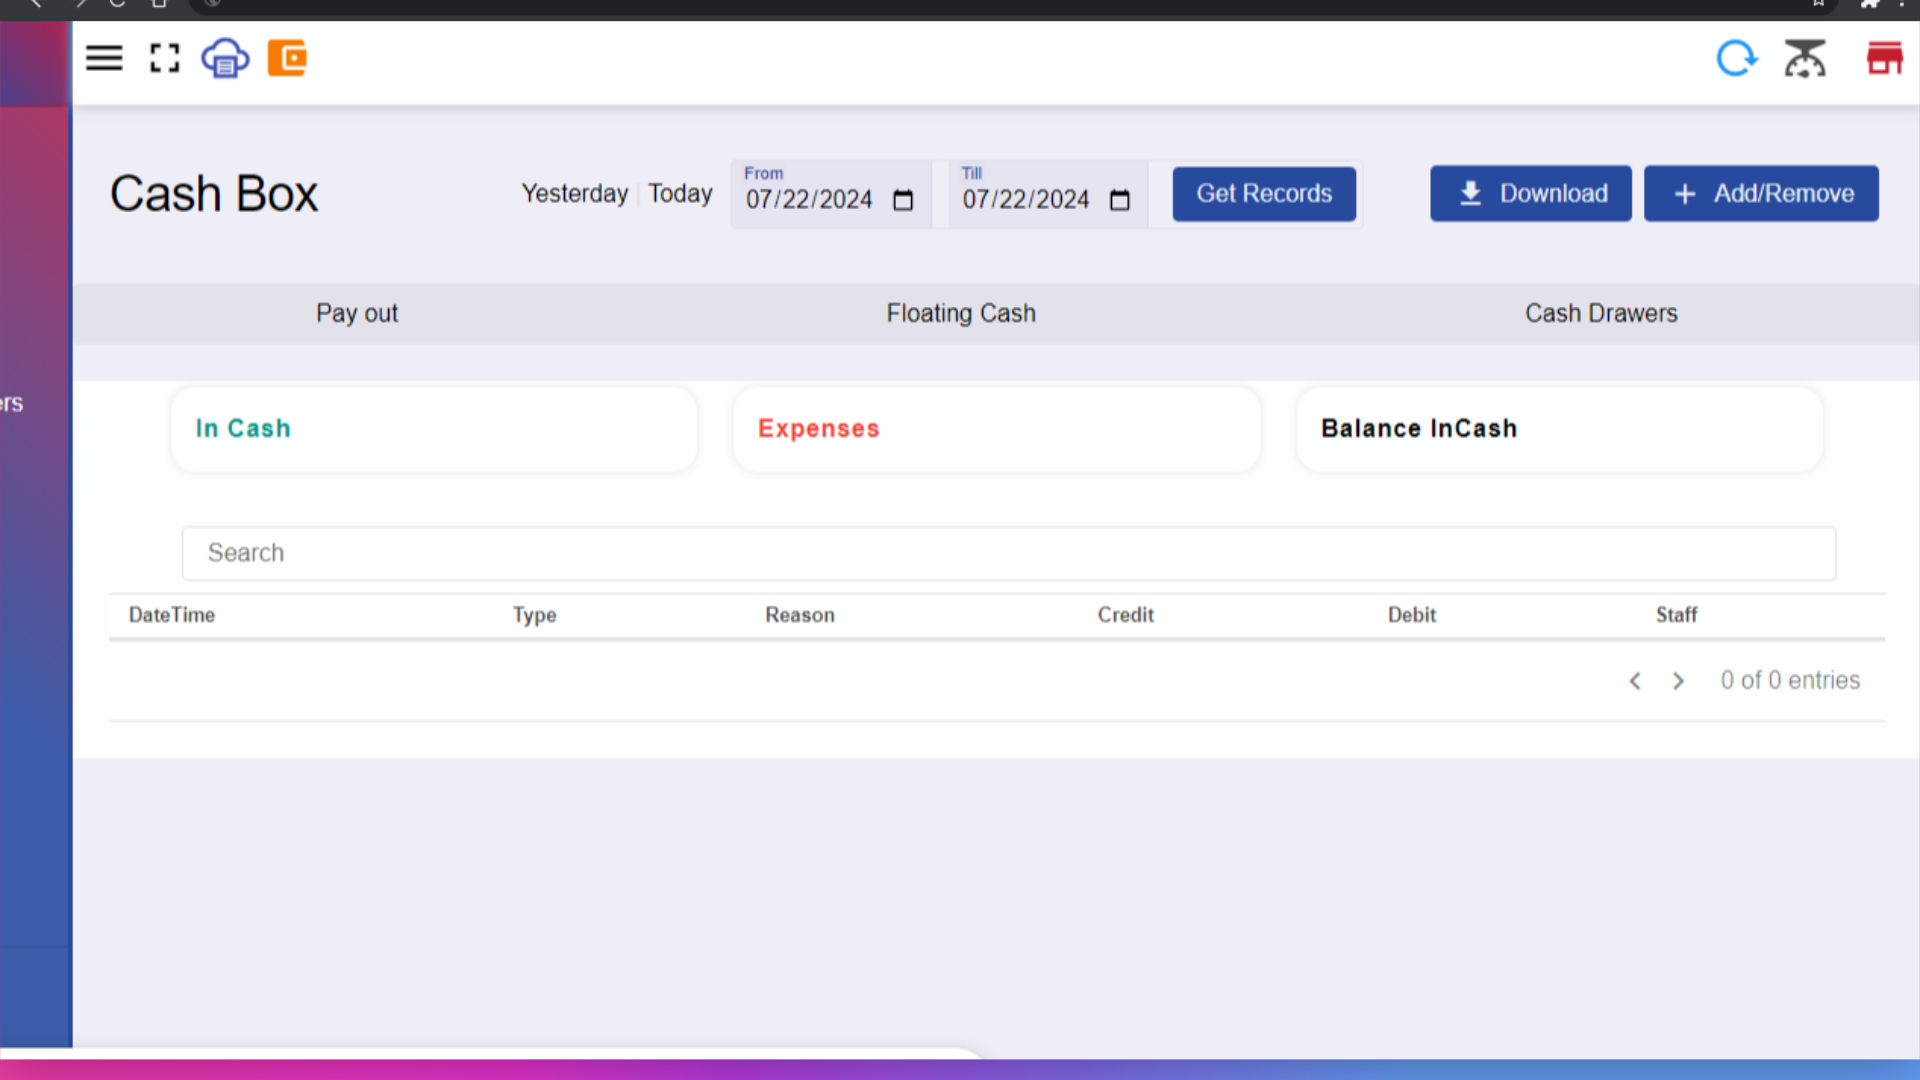
9. View "Cash Box"
Manage petty cash transactions,floating cash and payouts.
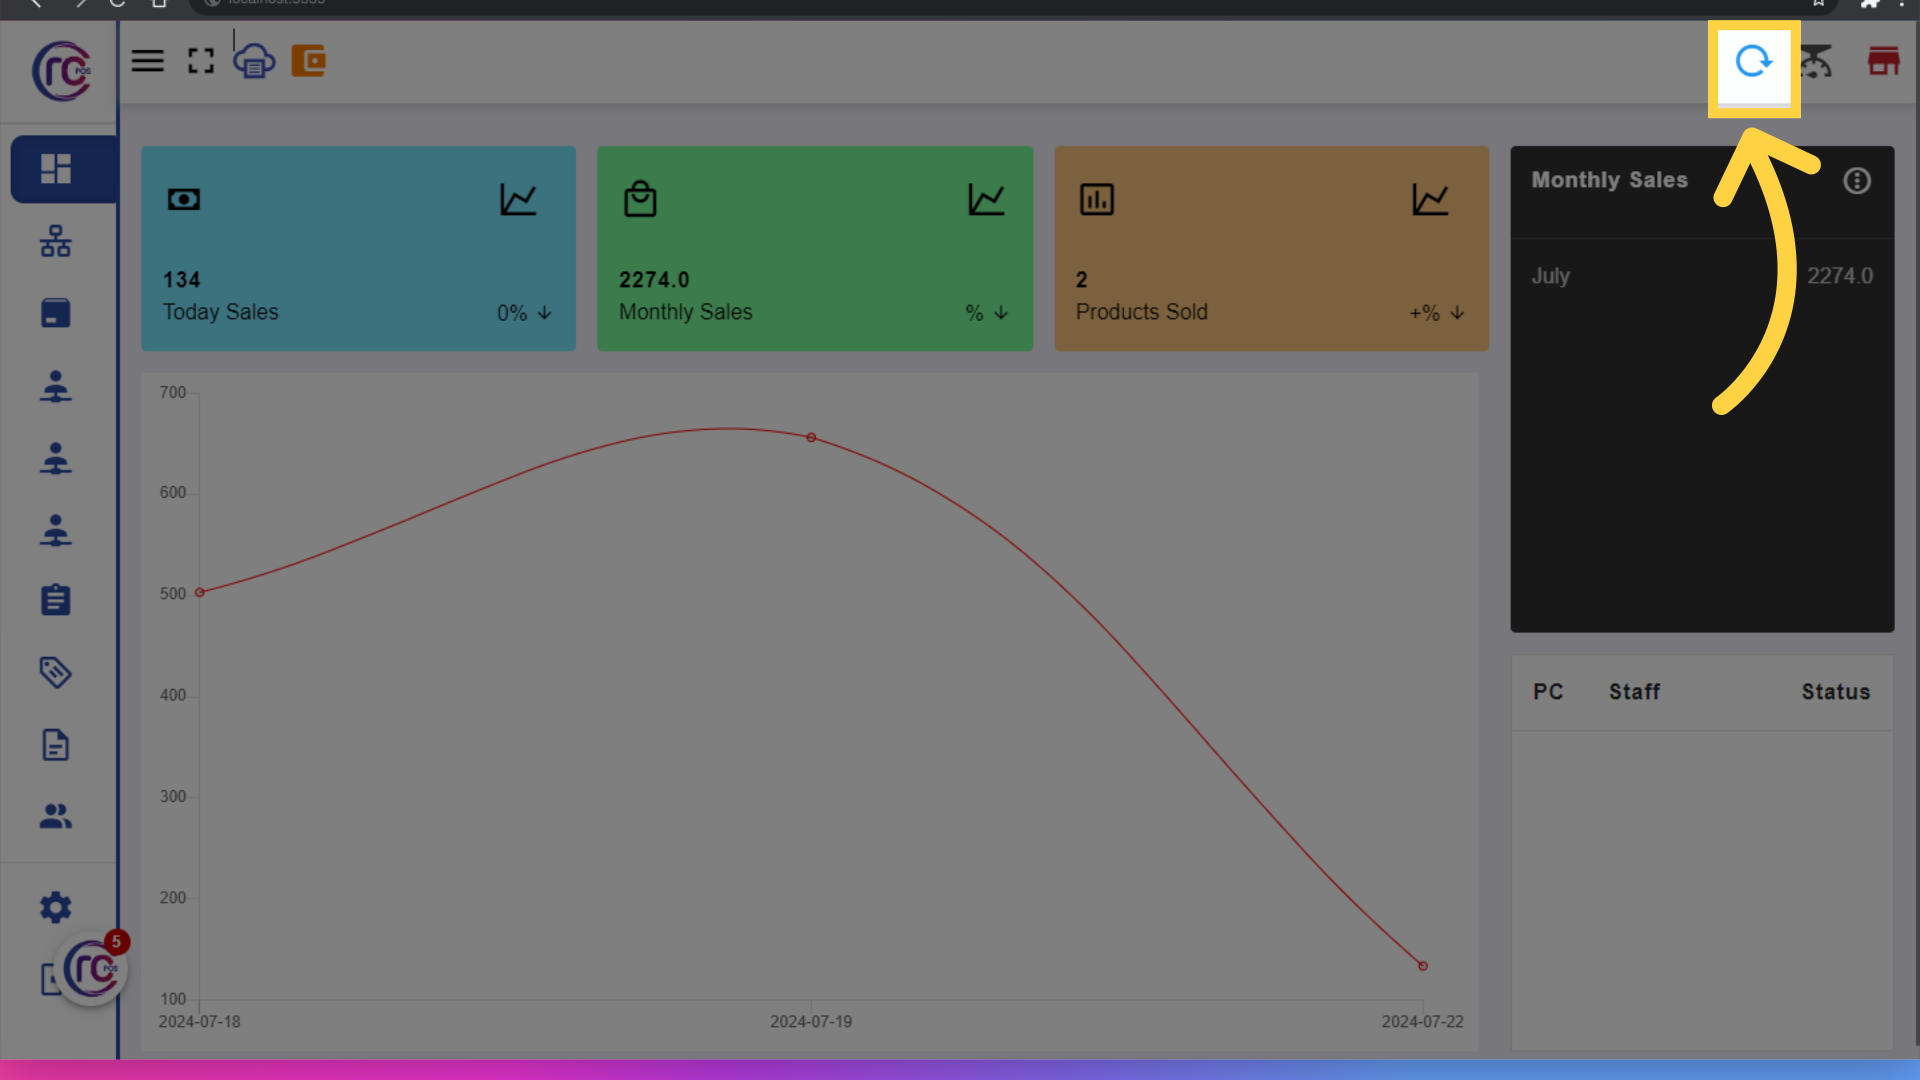
10. Click here
Click this to refresh the current page and update the displayed information.
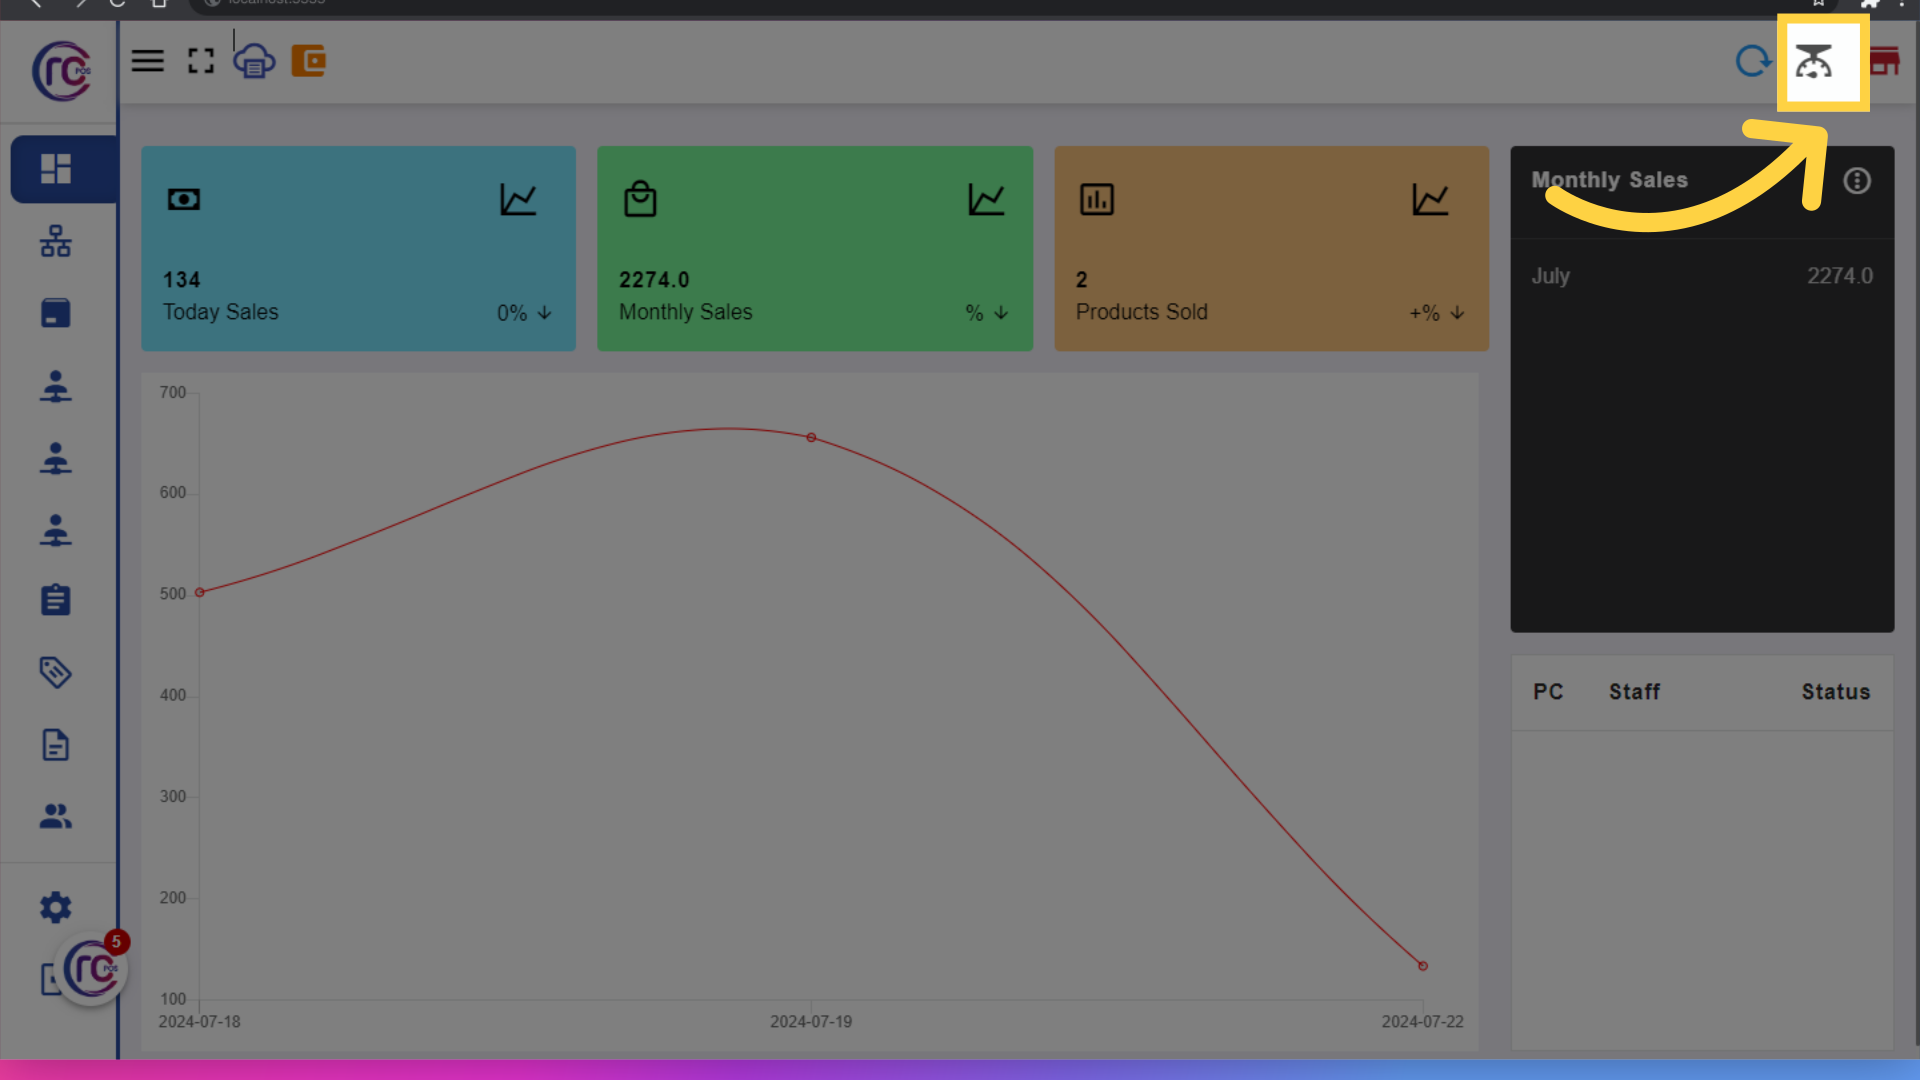
11. Click here
Use this to send the updated product weights to the connected scale. It will save a .prn file with all updated products with weight with kg to "C:/Scales/" folder for other Printer Softwares to use it.
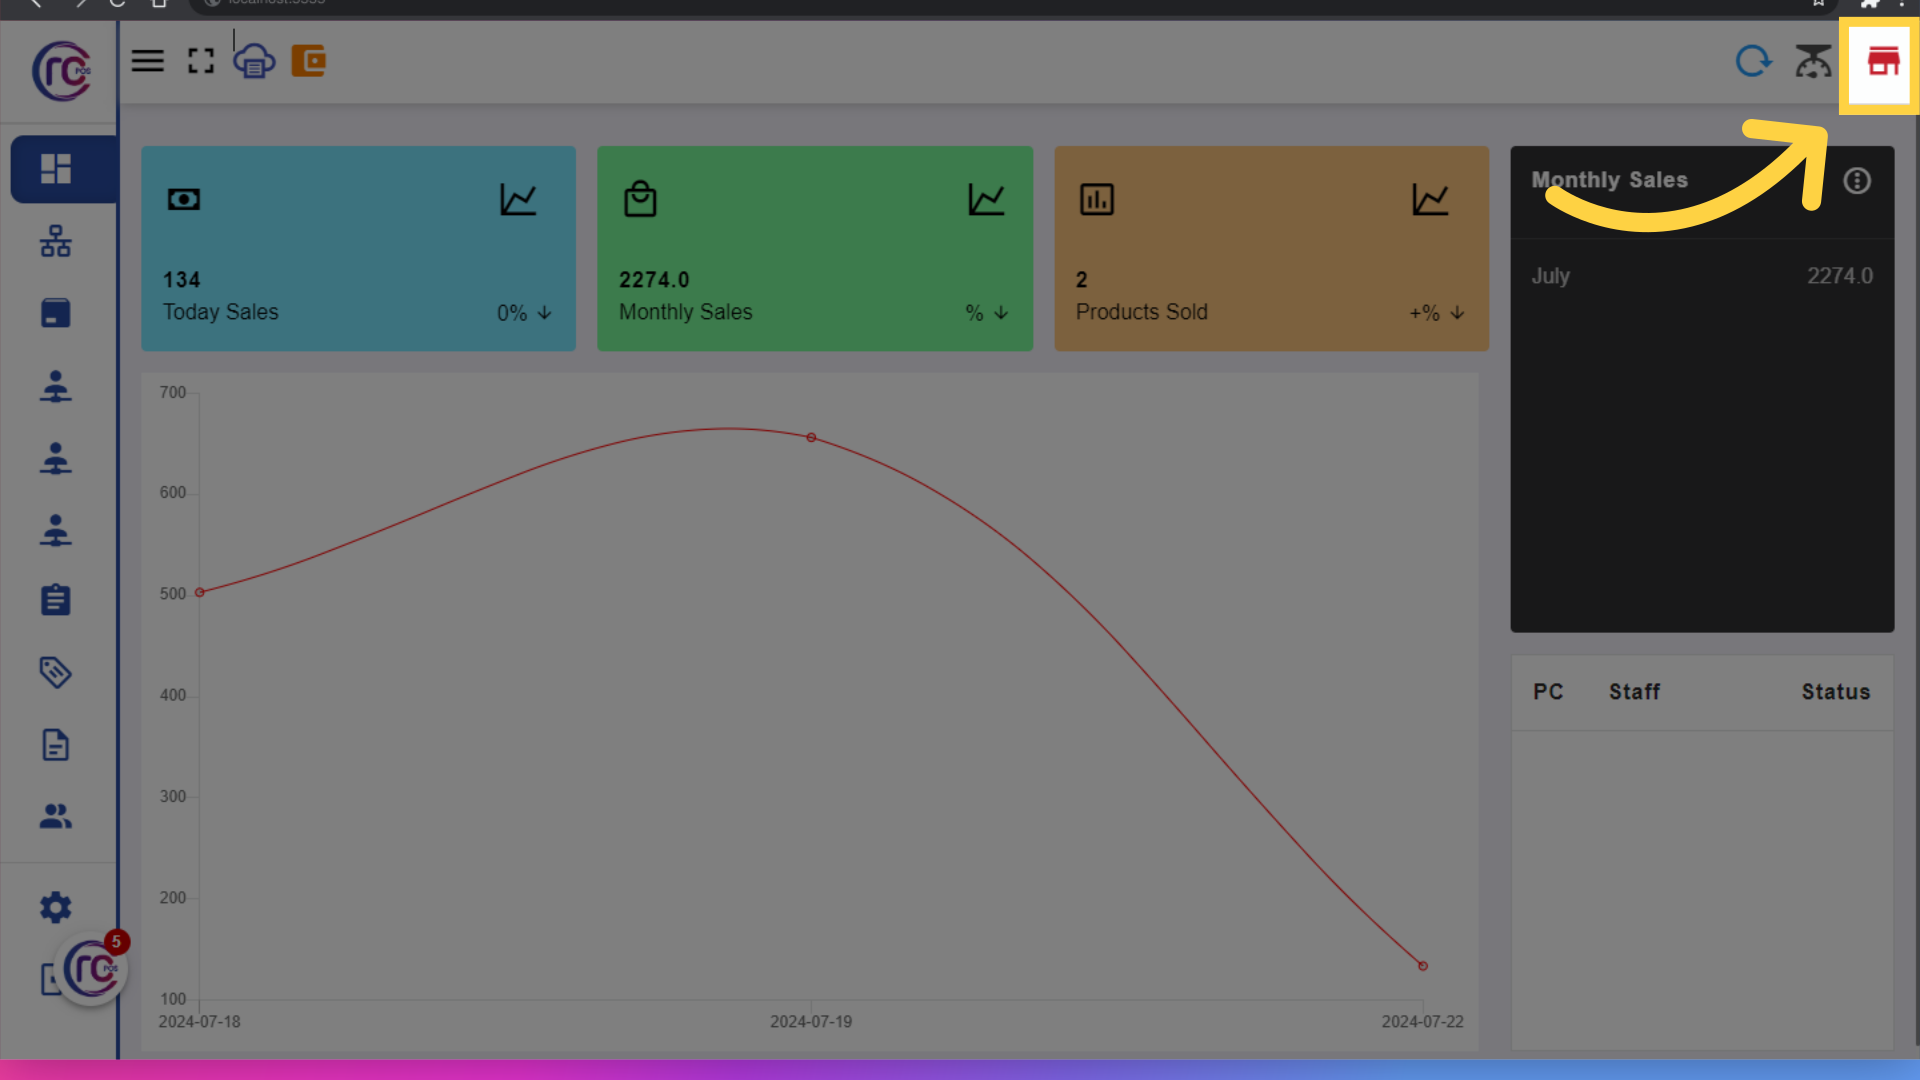
12. Click here
This button takes you to the store section where you can manage store-specific settings and information.
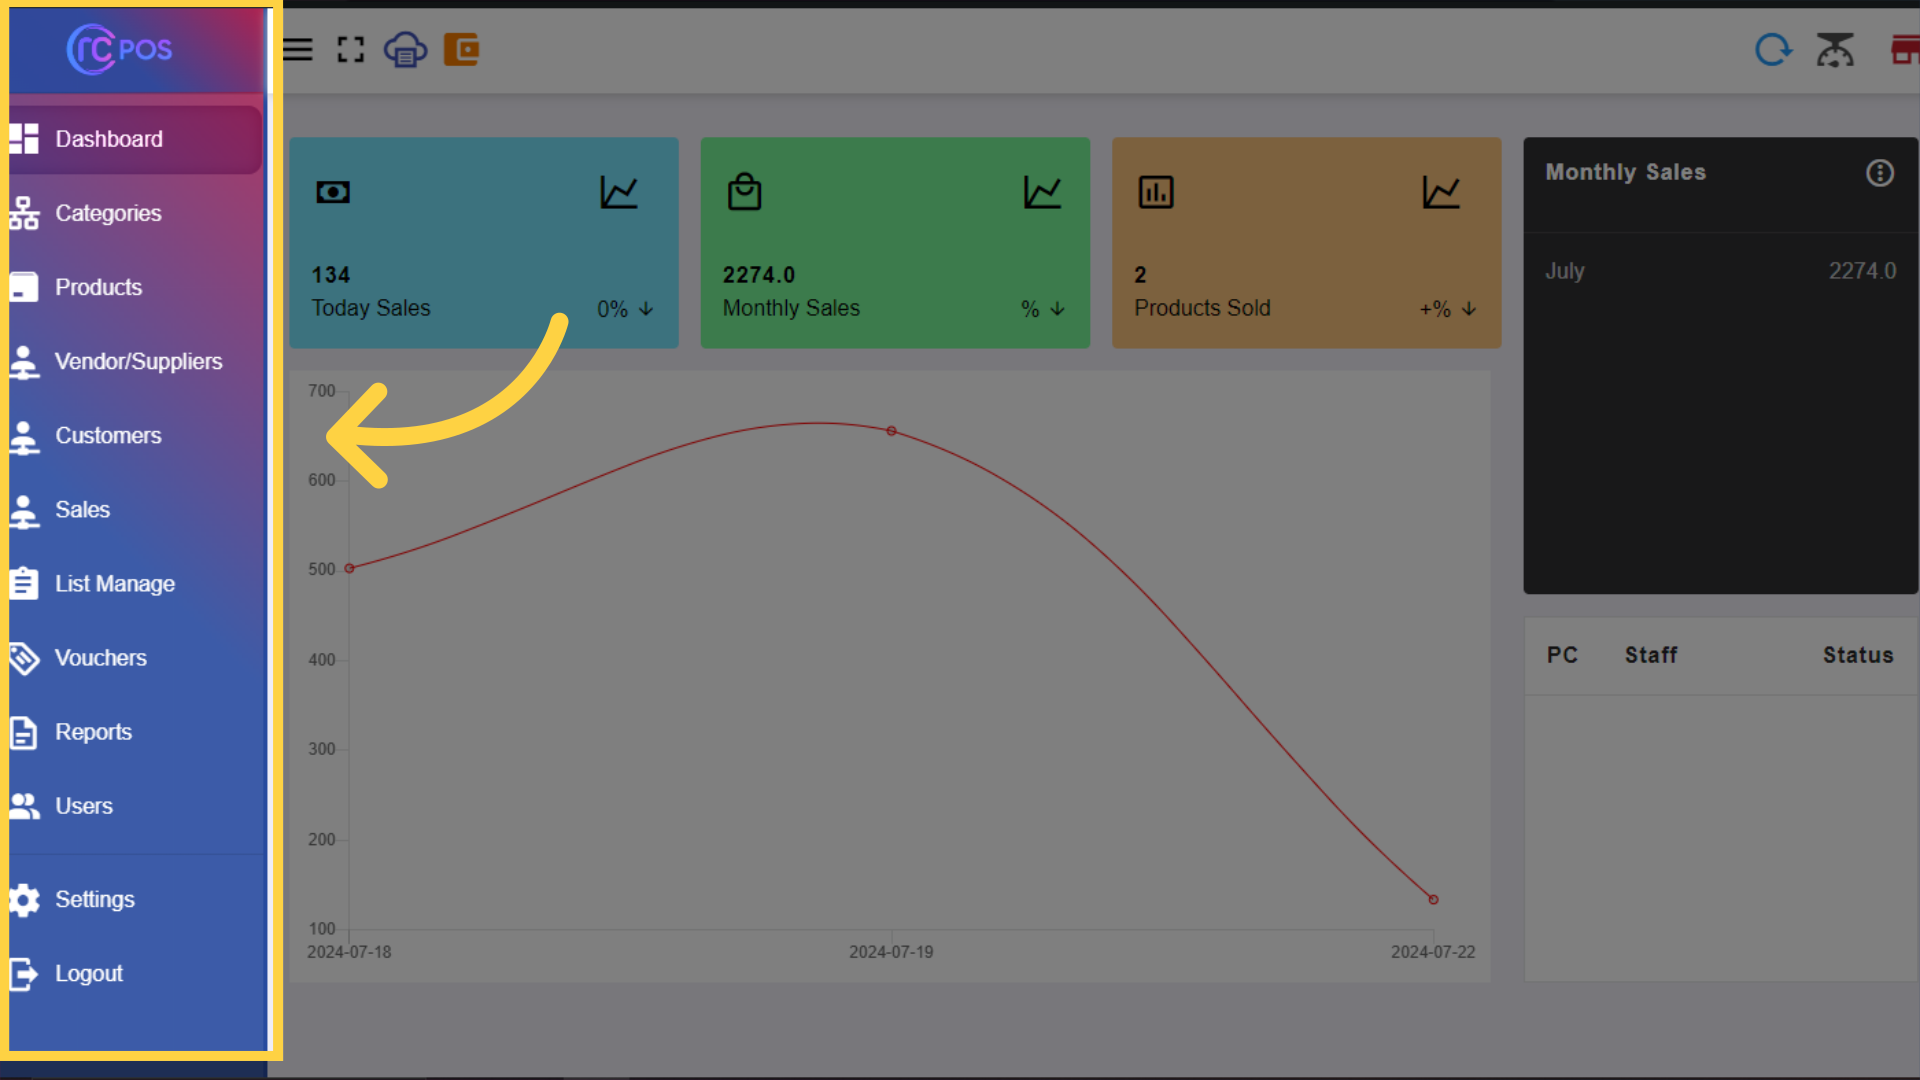
13. Navigation Menu
This is the navigation menu
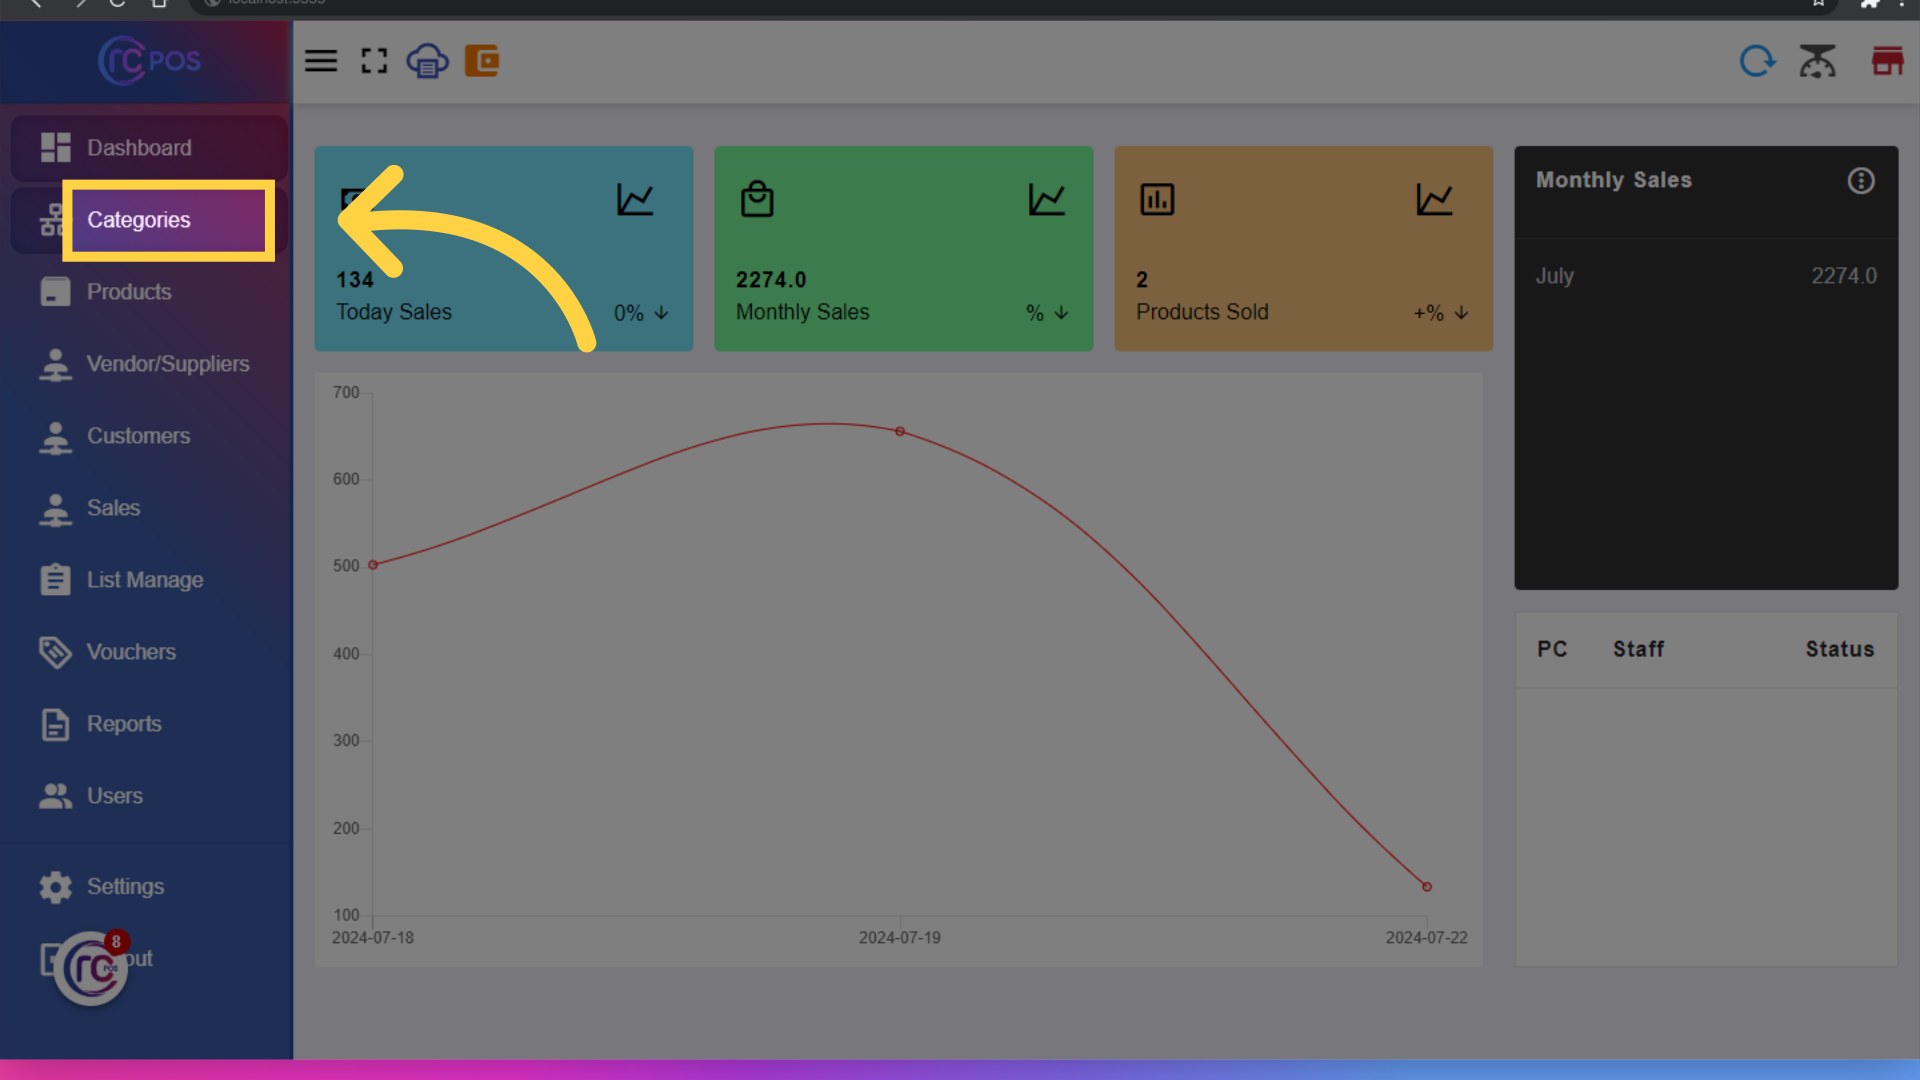
14. Click "Categories"
Navigate to the Categories section.
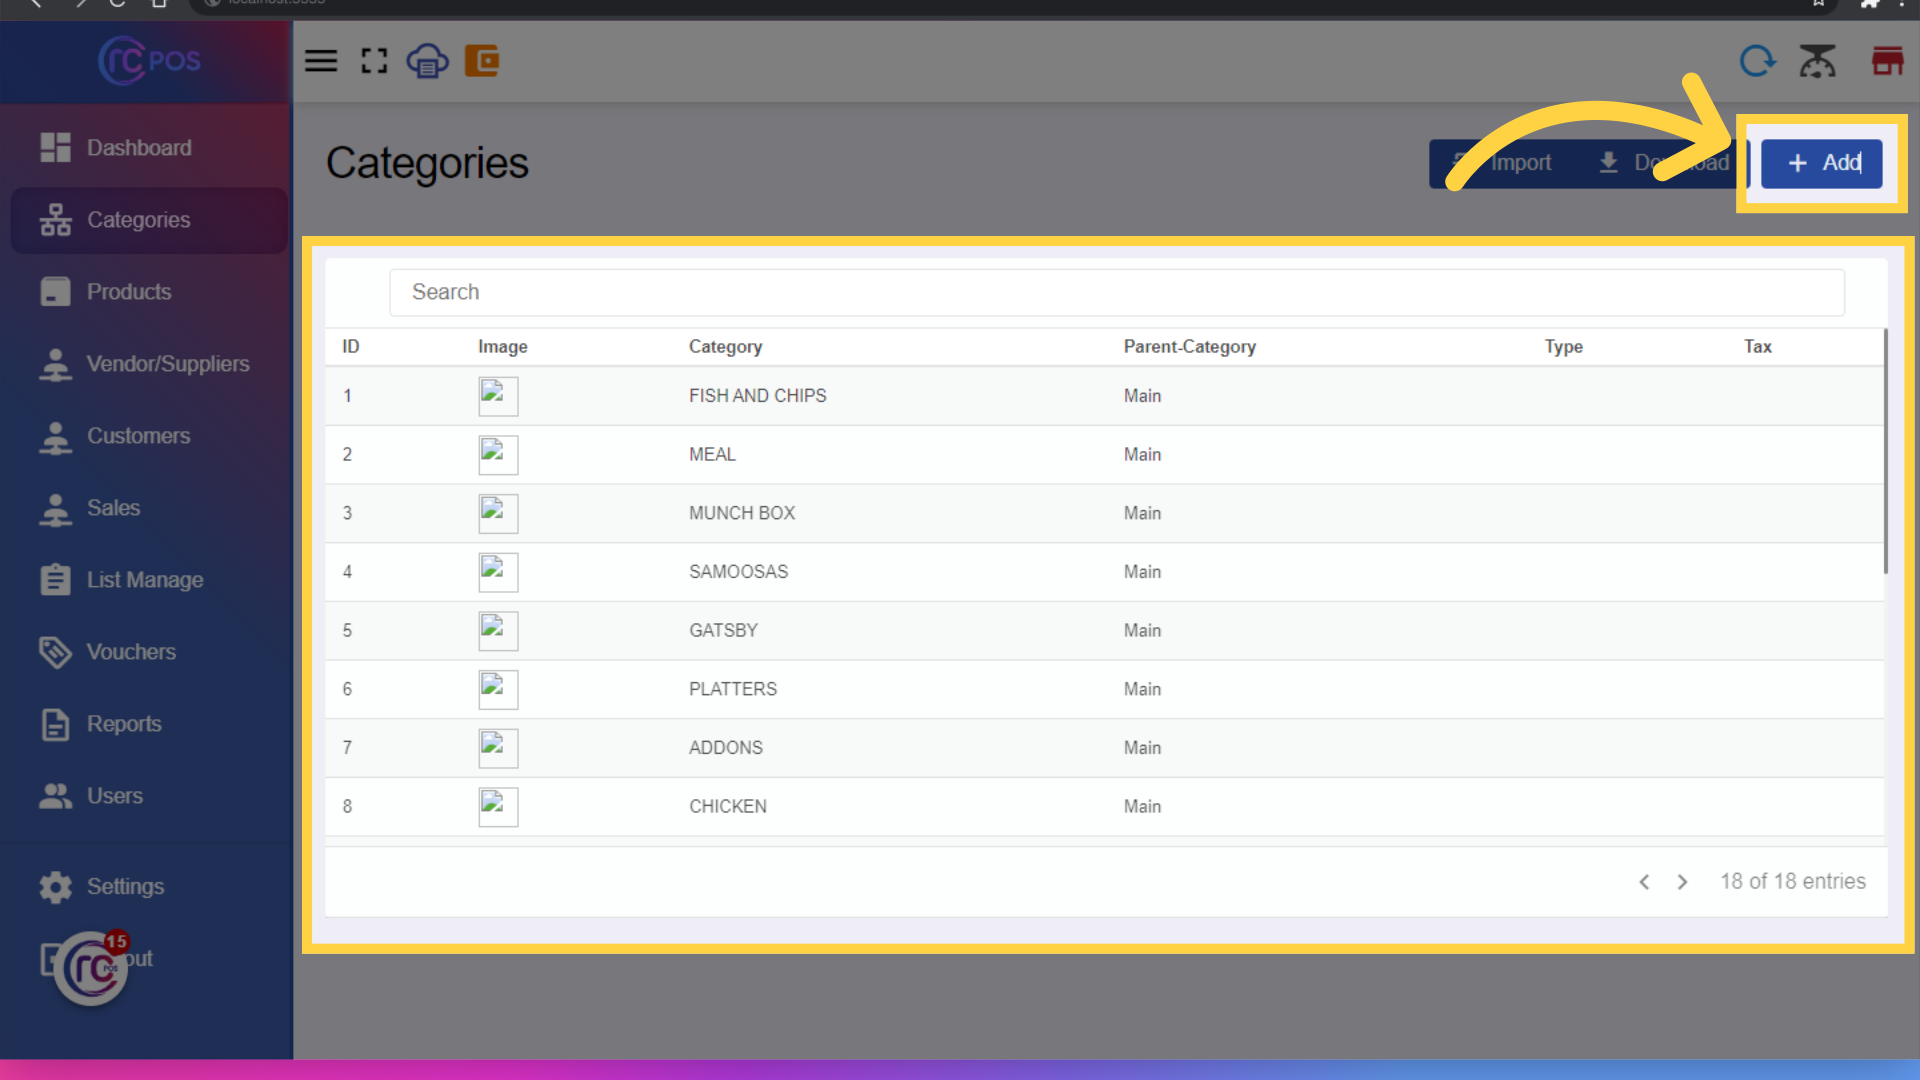
15. Click "Add"
You can View the Categories. To add a category, click on the 'Add' button.
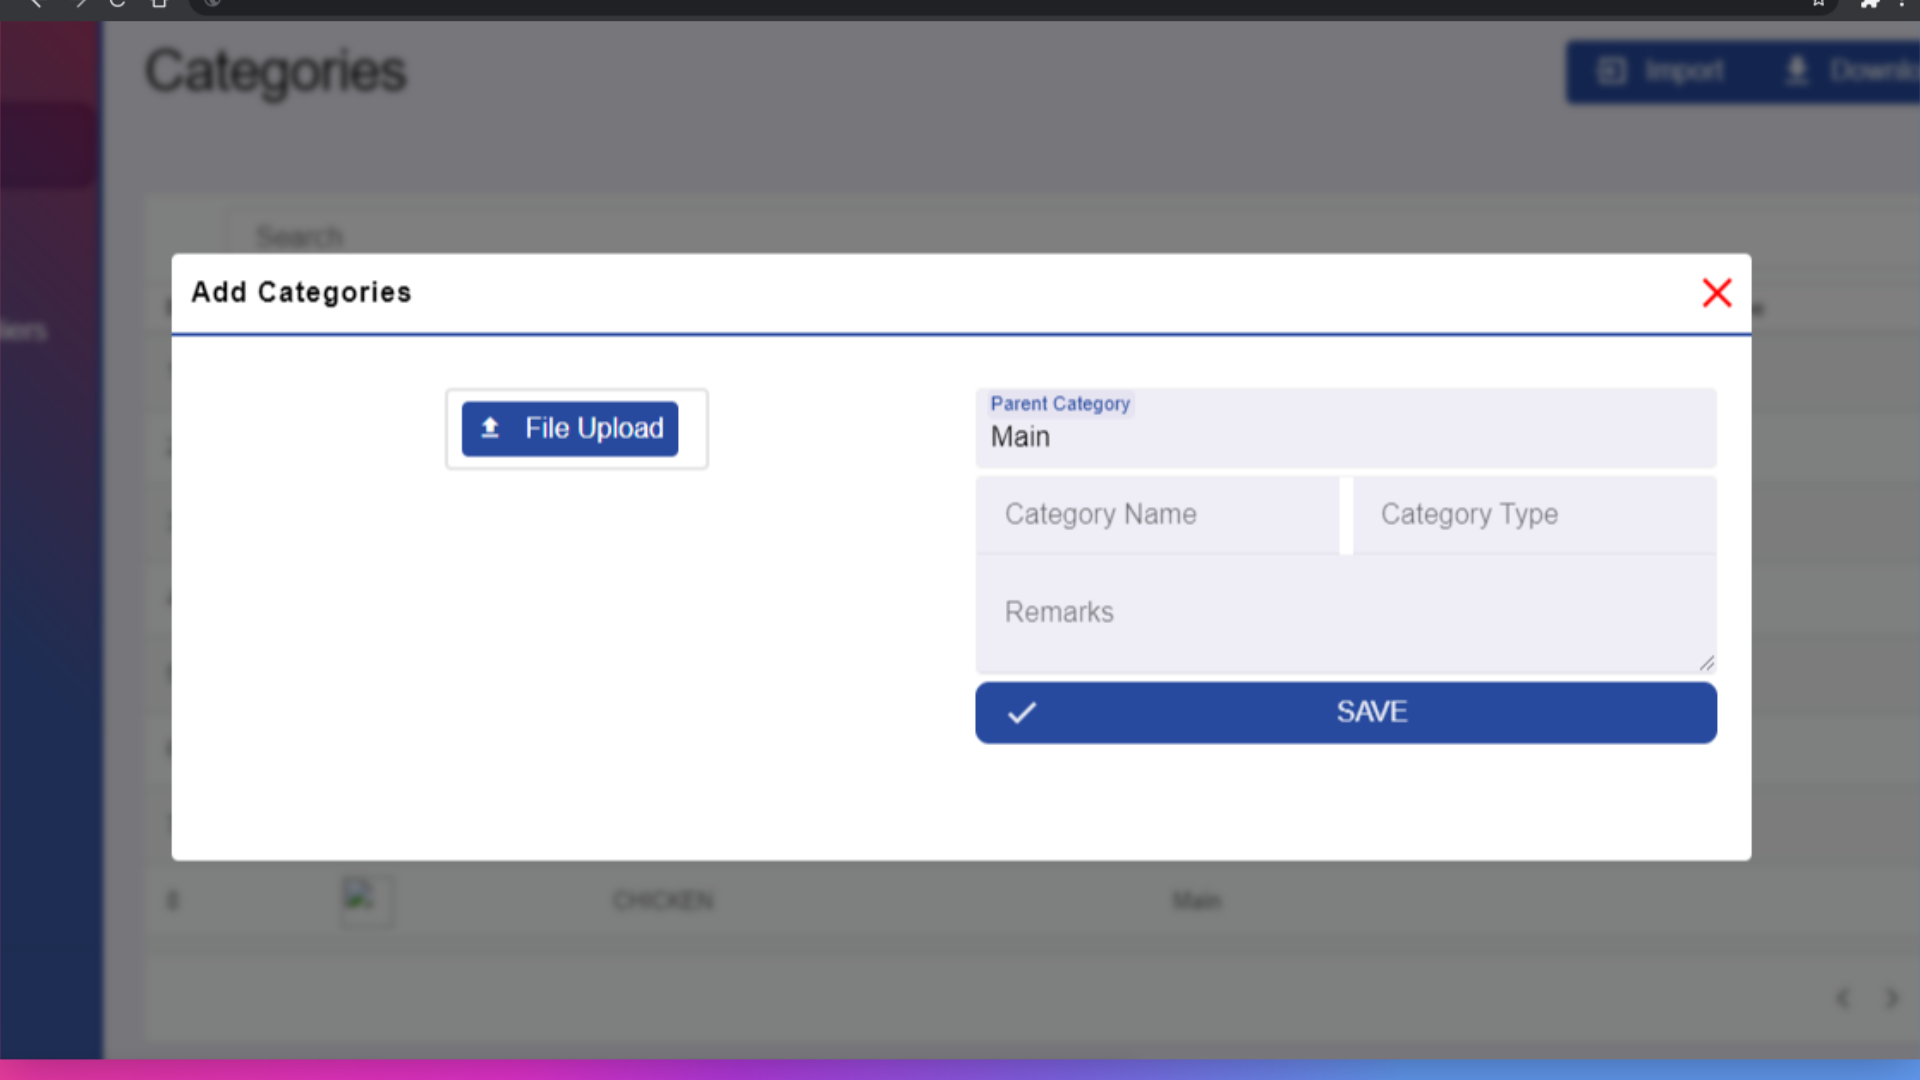
16.Add "Categories"
A pop-up form will appear where you can fill in the category name and other details. You can also upload a photo for the category. After filling in the details, click 'Save' to add the category
17. Click here
To Import Categories: Click the "Import" button to import a list of categories from an external file.and Click the "Download" button to download the current list of categories.Import/Download Products This function works the same way on every page that has the import and download buttons.
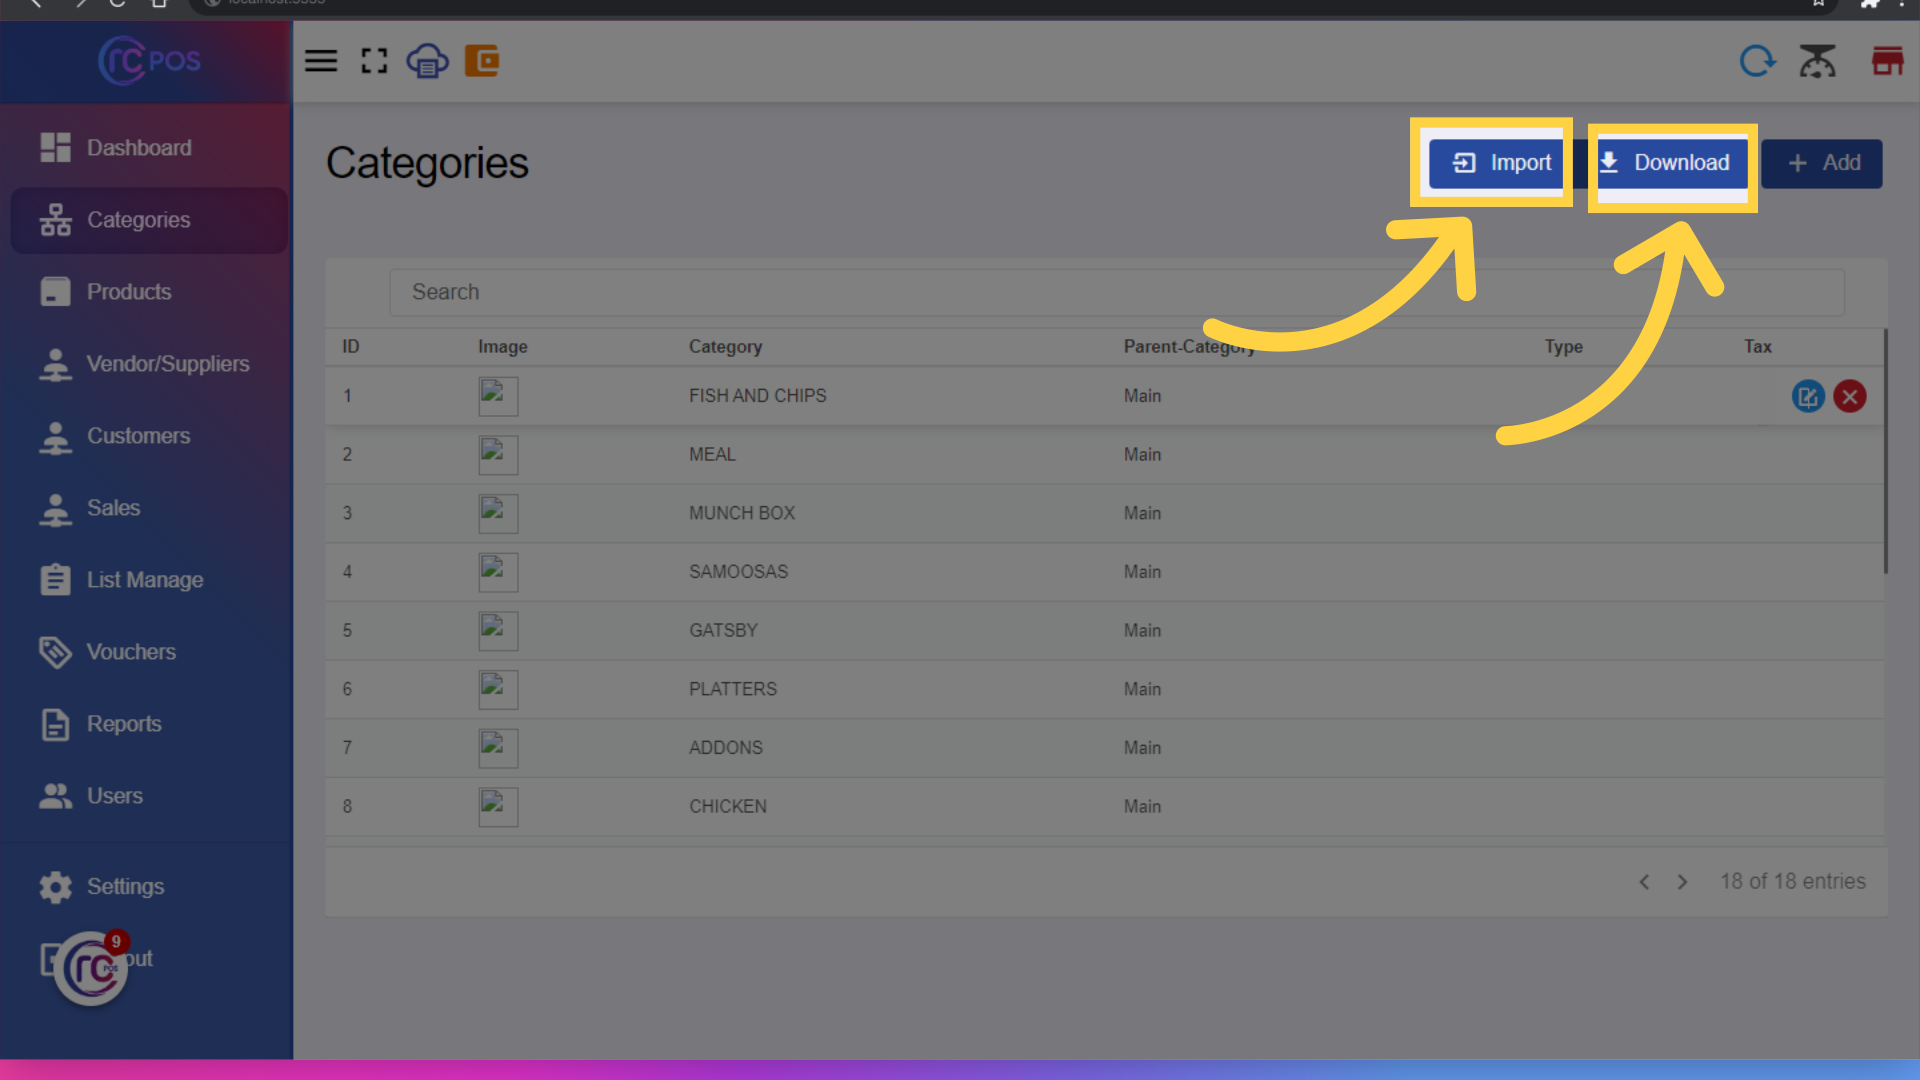
18. Click here
to update categories click here
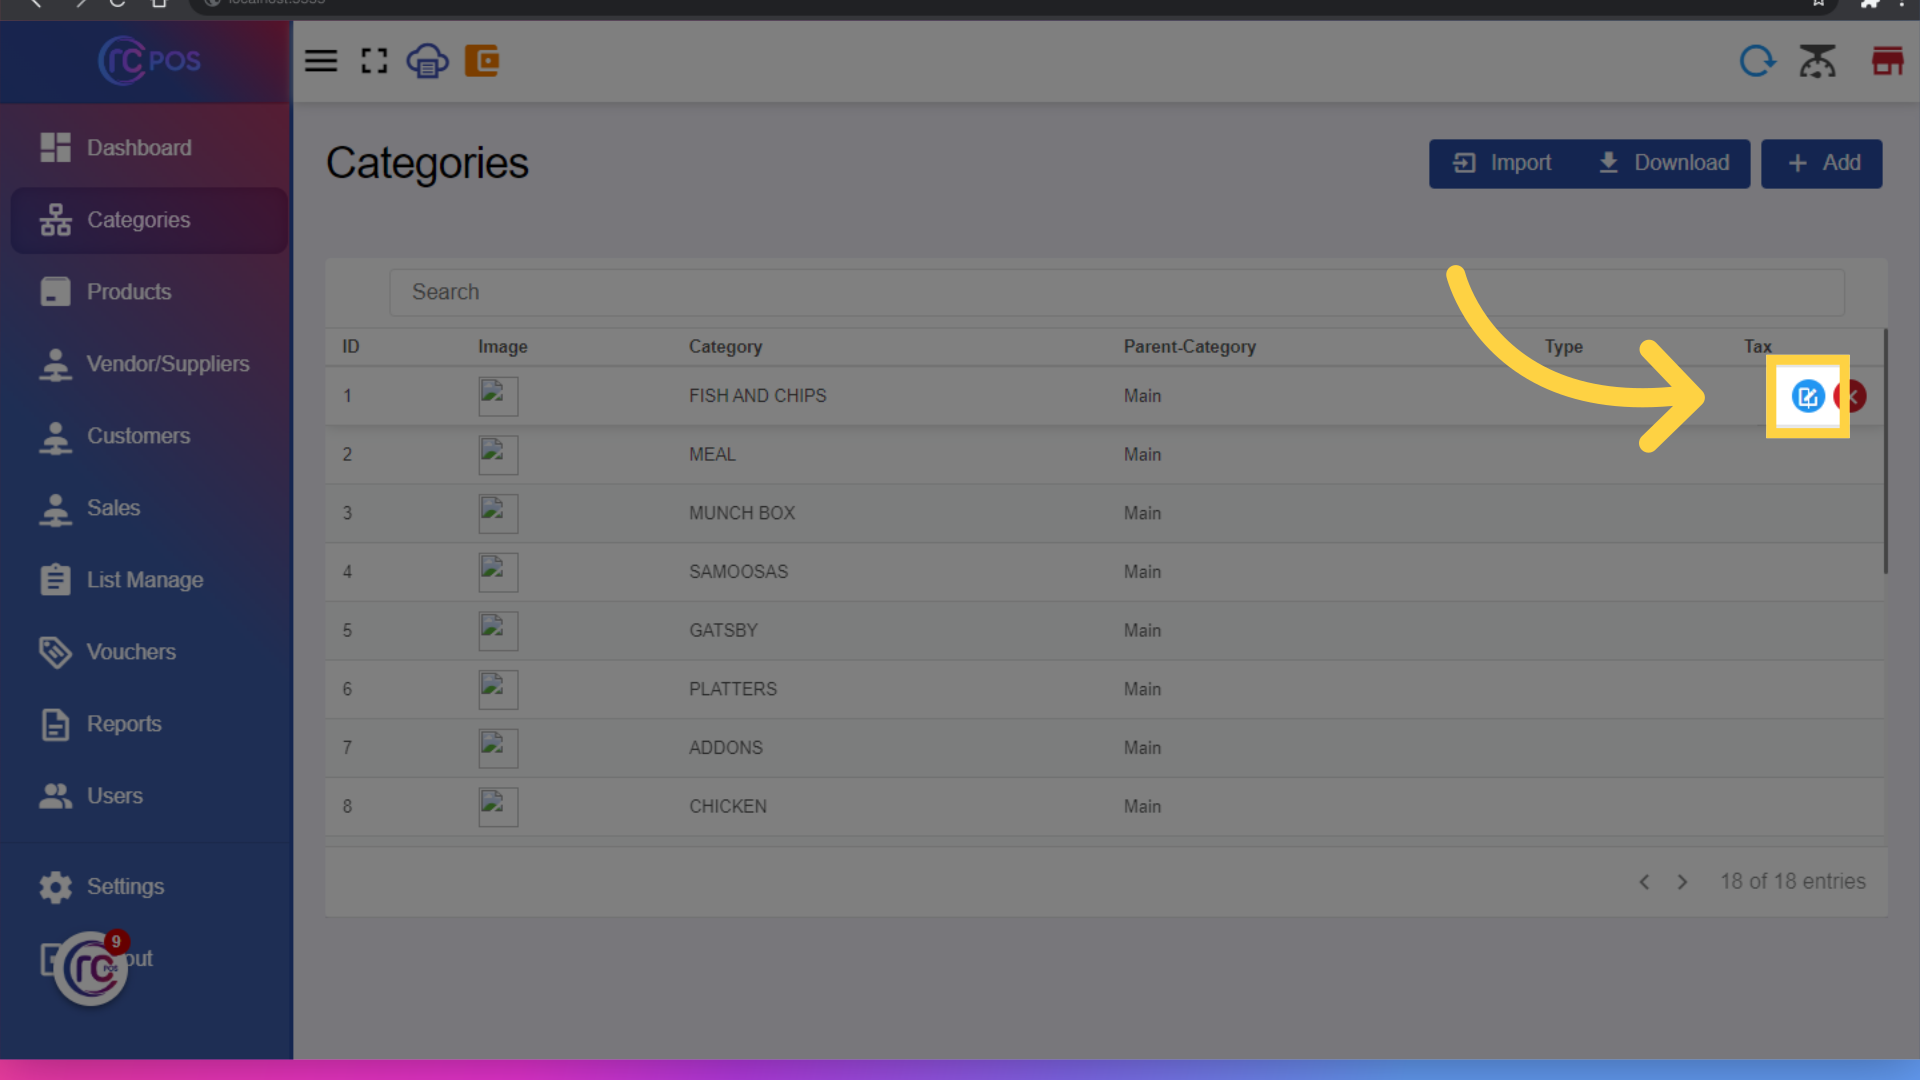
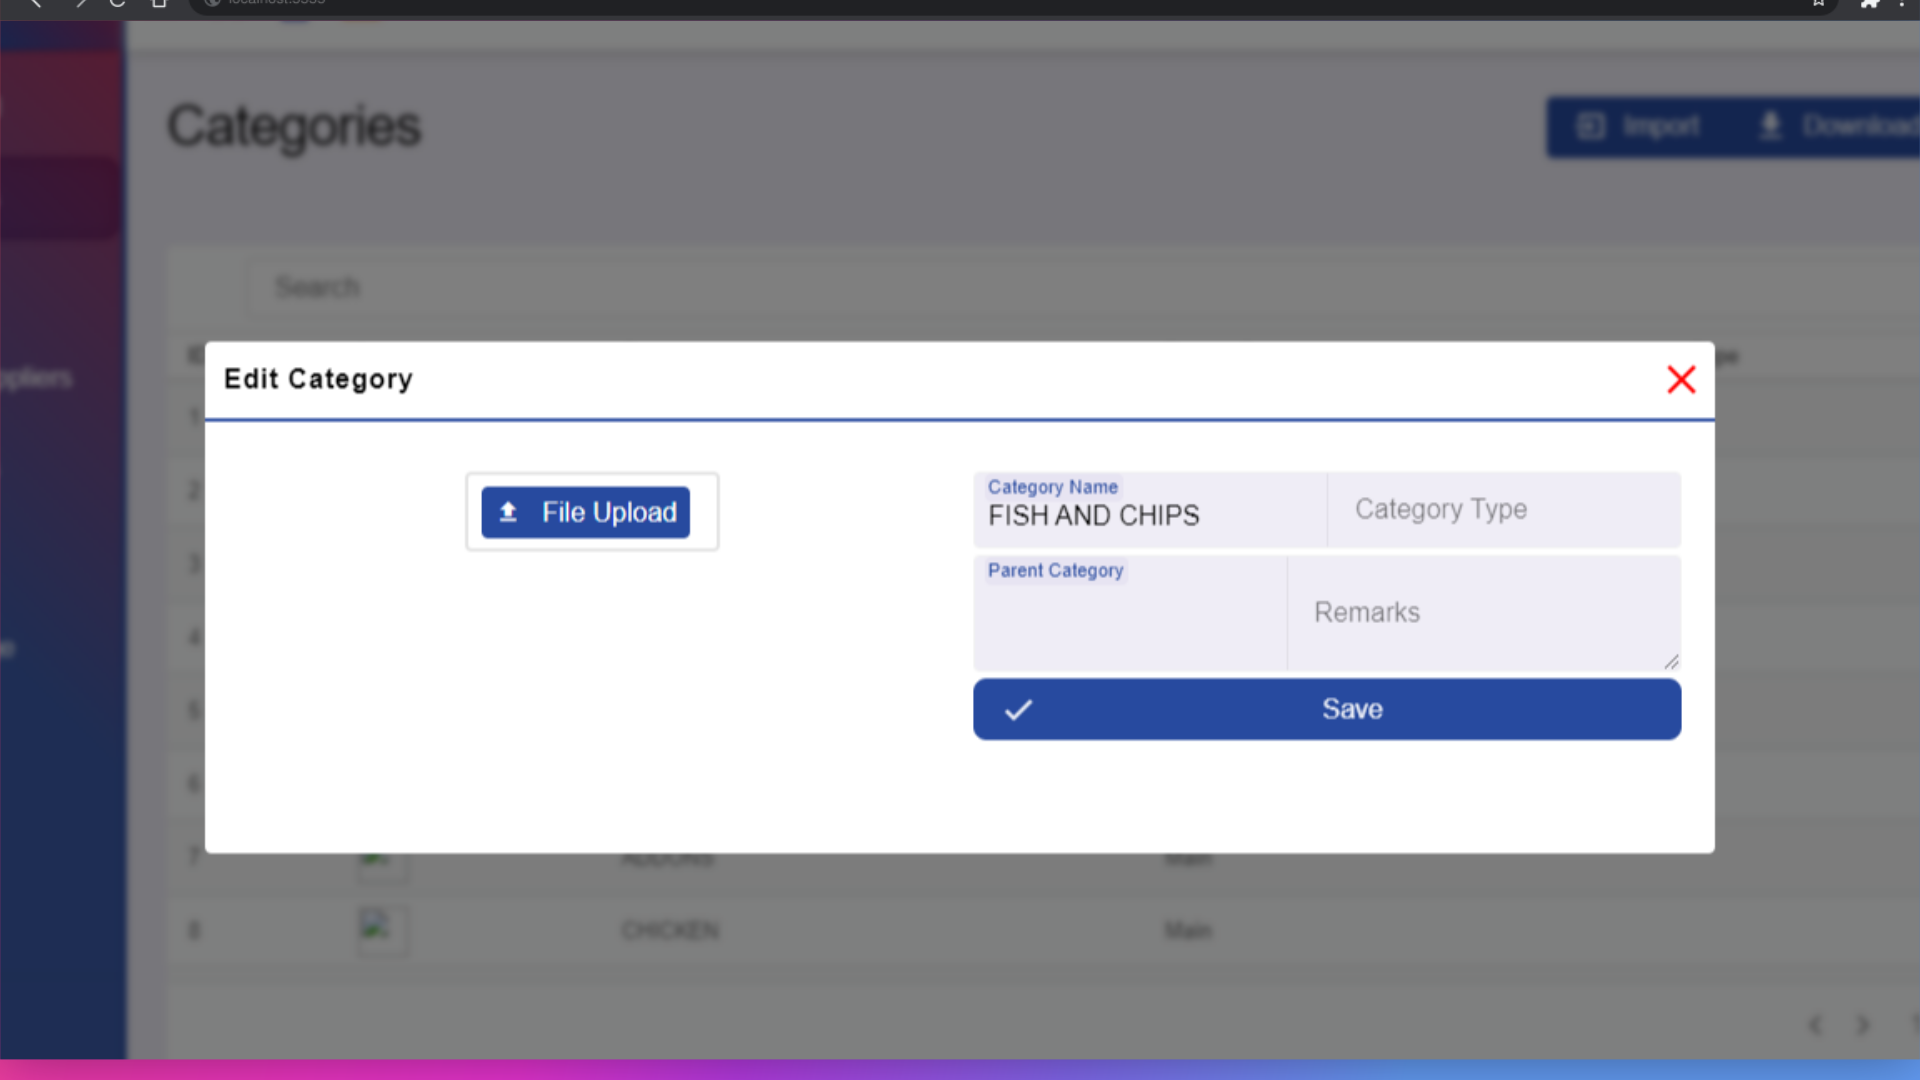
19.Edit "Categories"
A pop-up form will appear where you can update the necessary details and upload a new photo if needed. Click 'Save' to apply the changes.
20. Click here
To delete a category, select the category you want to remove and click the delete button
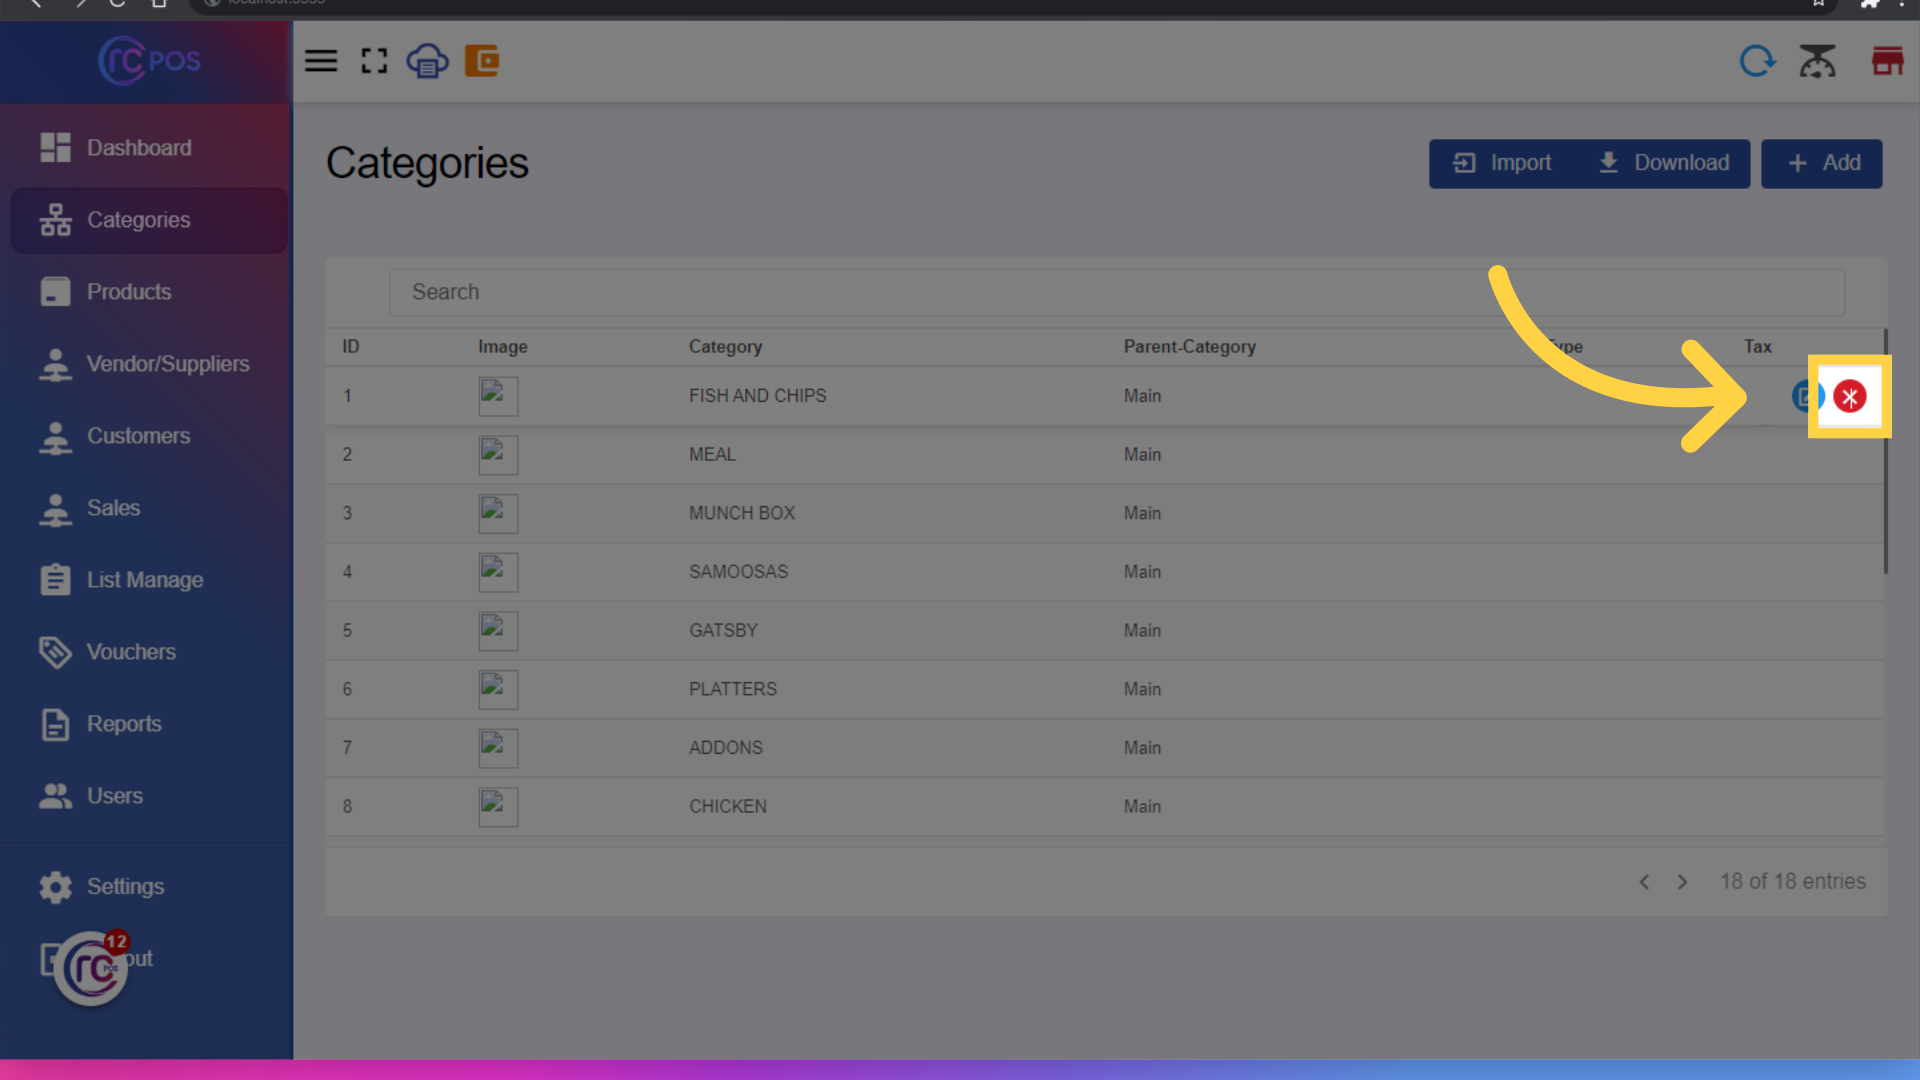
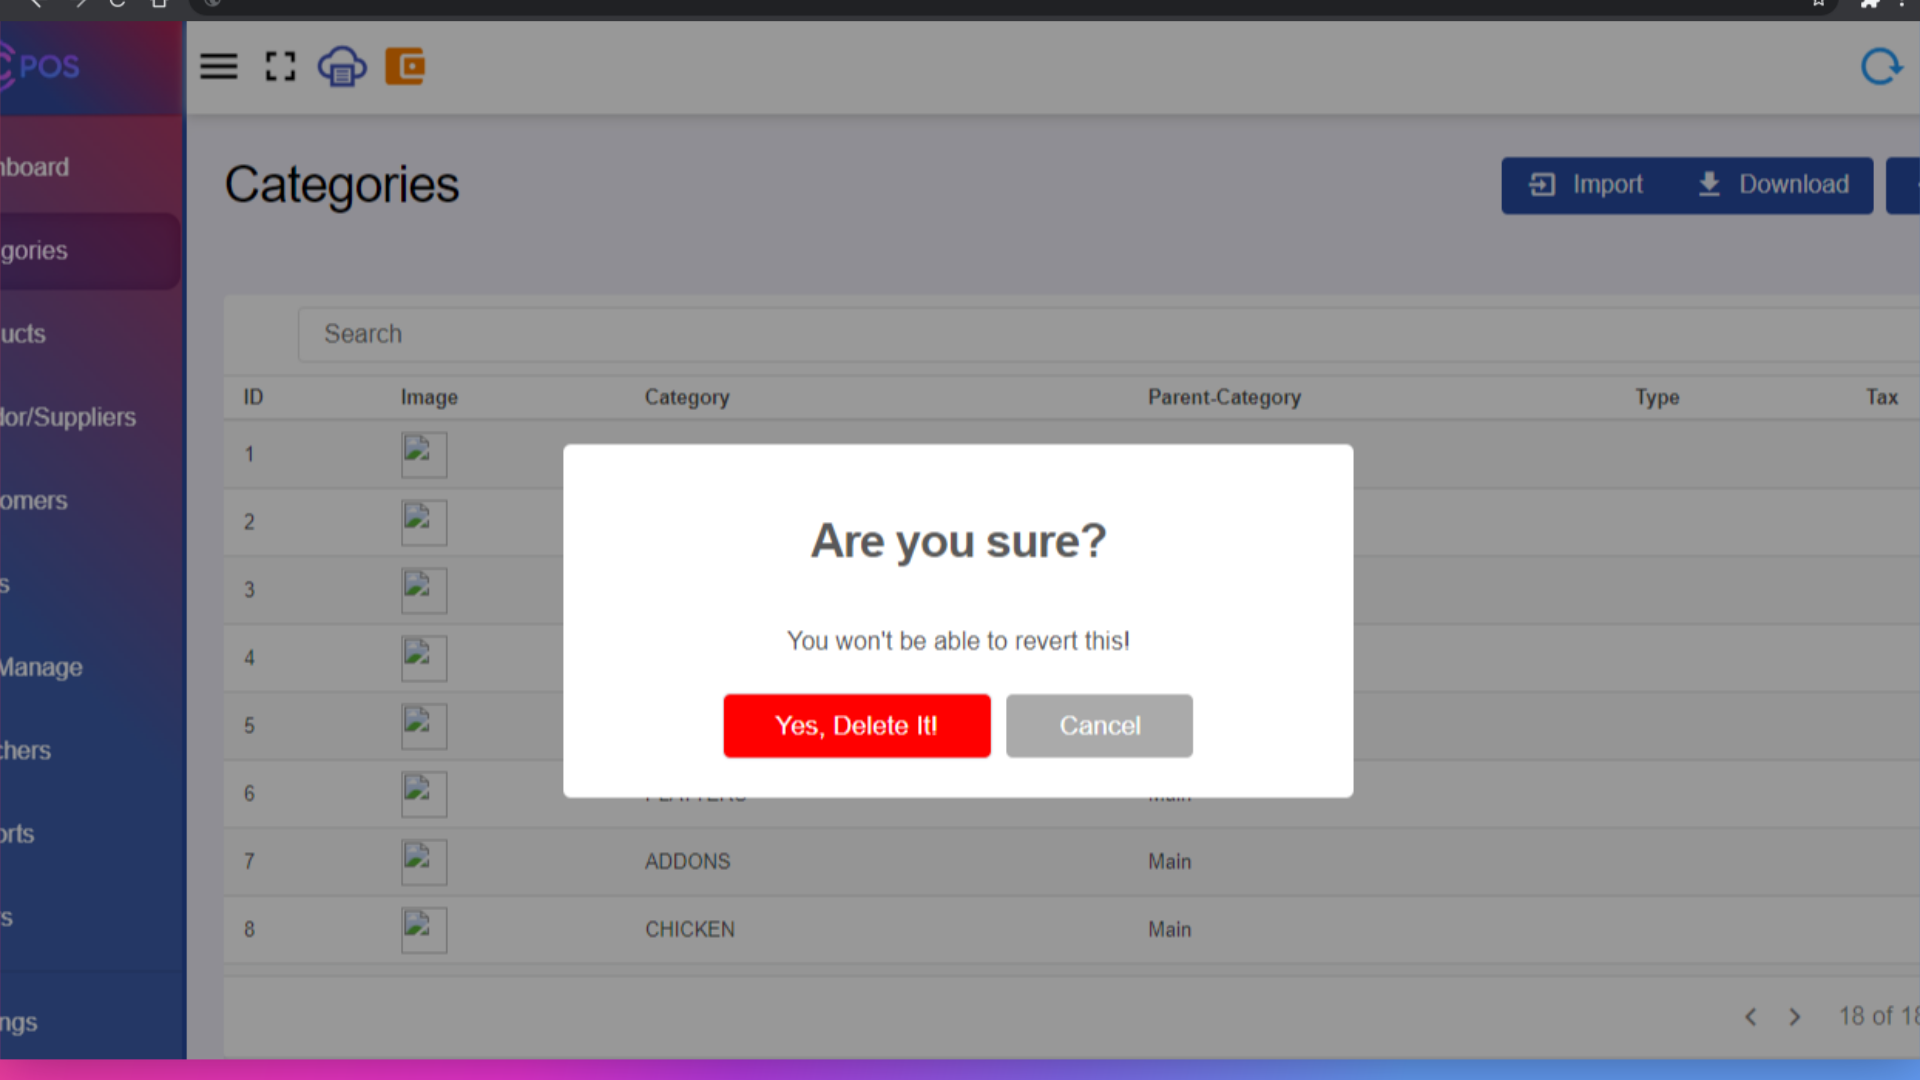
21.Delete "Categories"
A confirmation prompt will appear. If you are sure you want to delete the category, click "Yes, delete it." If you change your mind, click "Cancel" to keep the category.
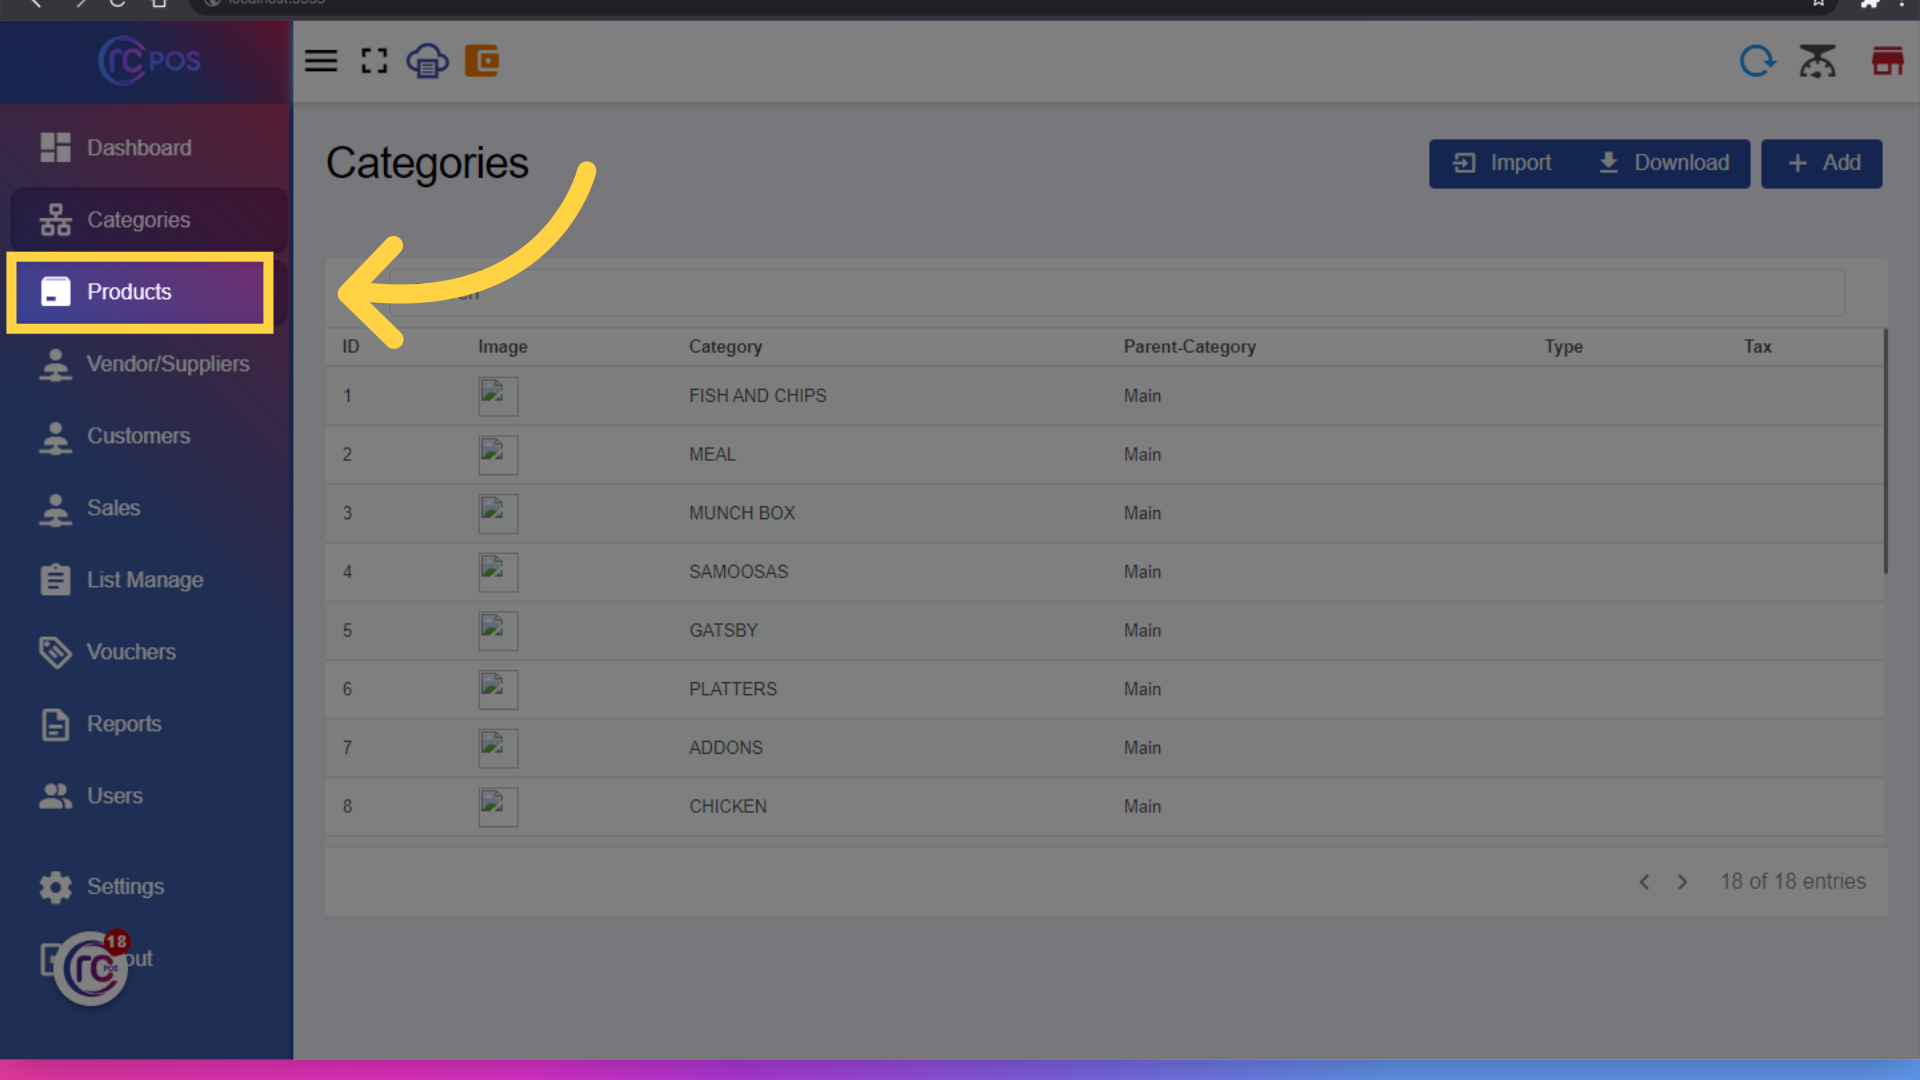
22. Click "Products"
to access the Products section.
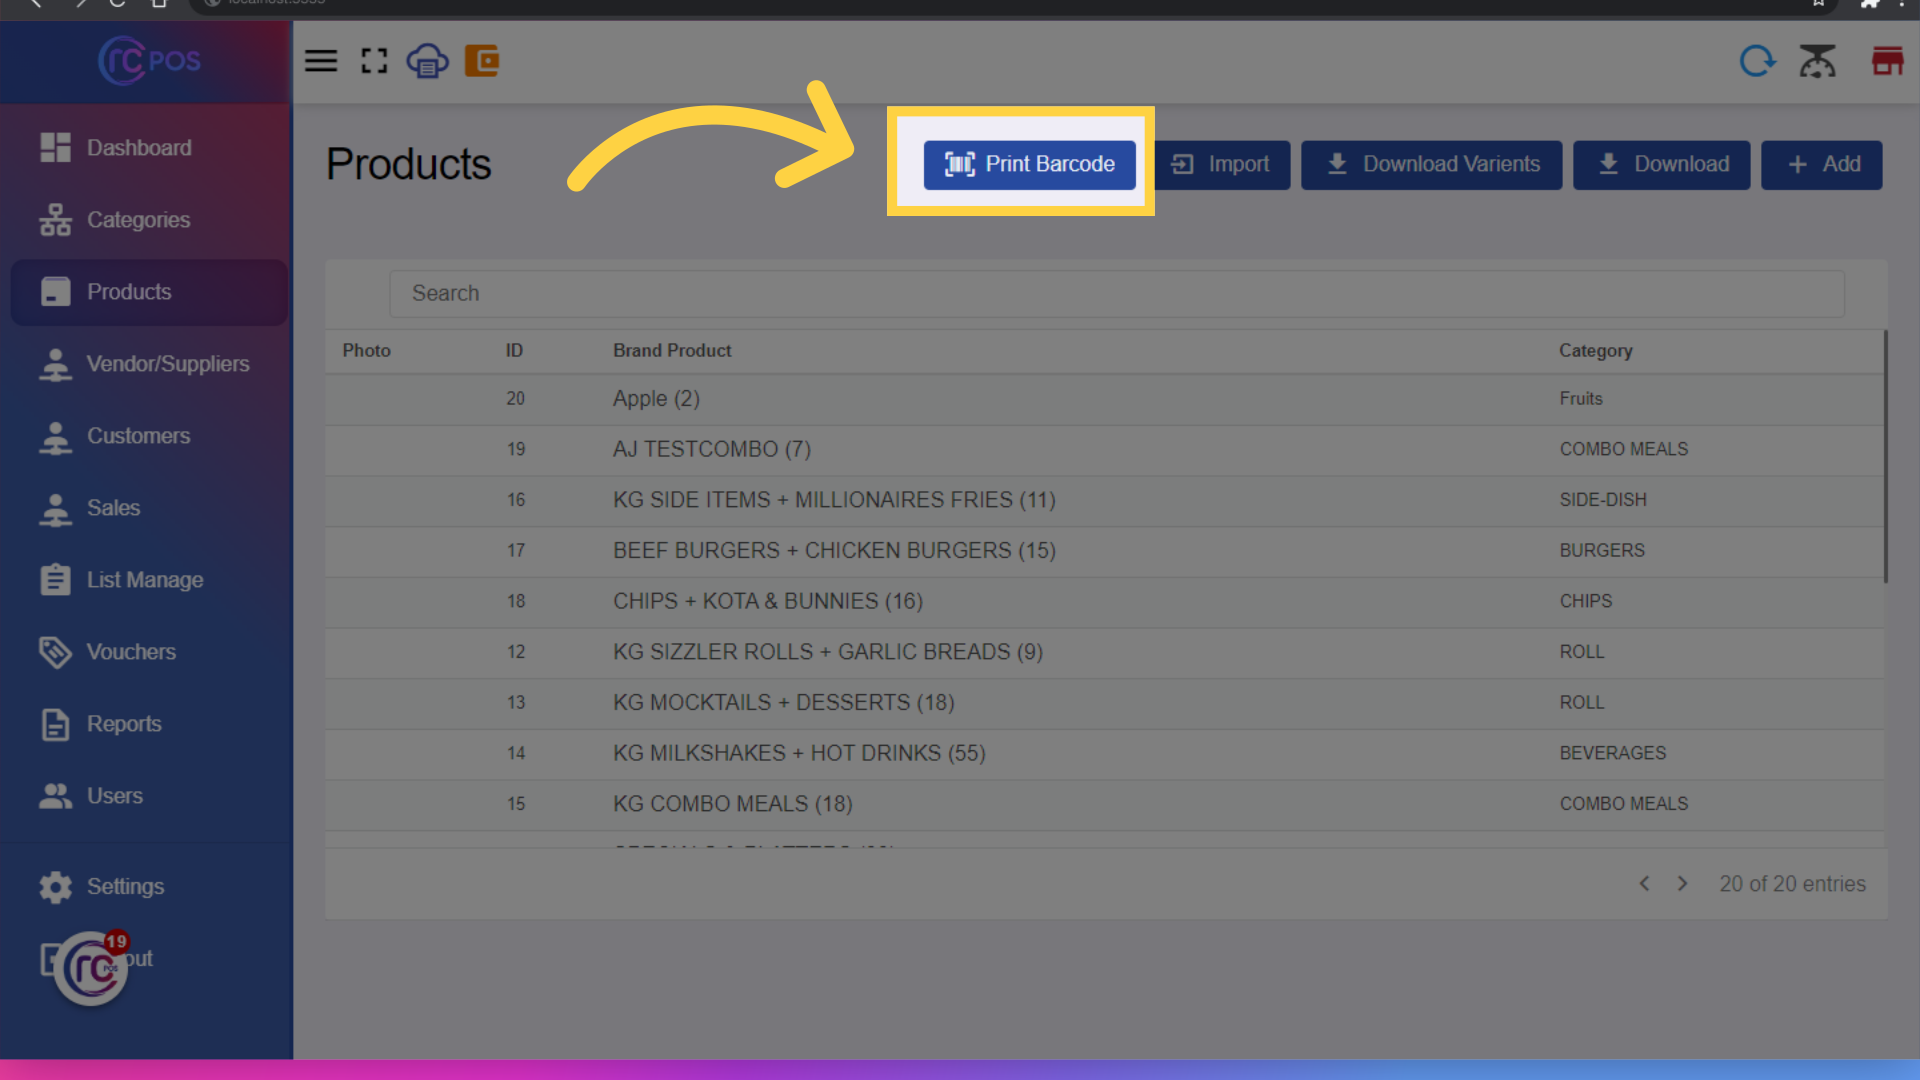
23. Click here
Click on the "Print Barcode" button.
24.Print Barcode
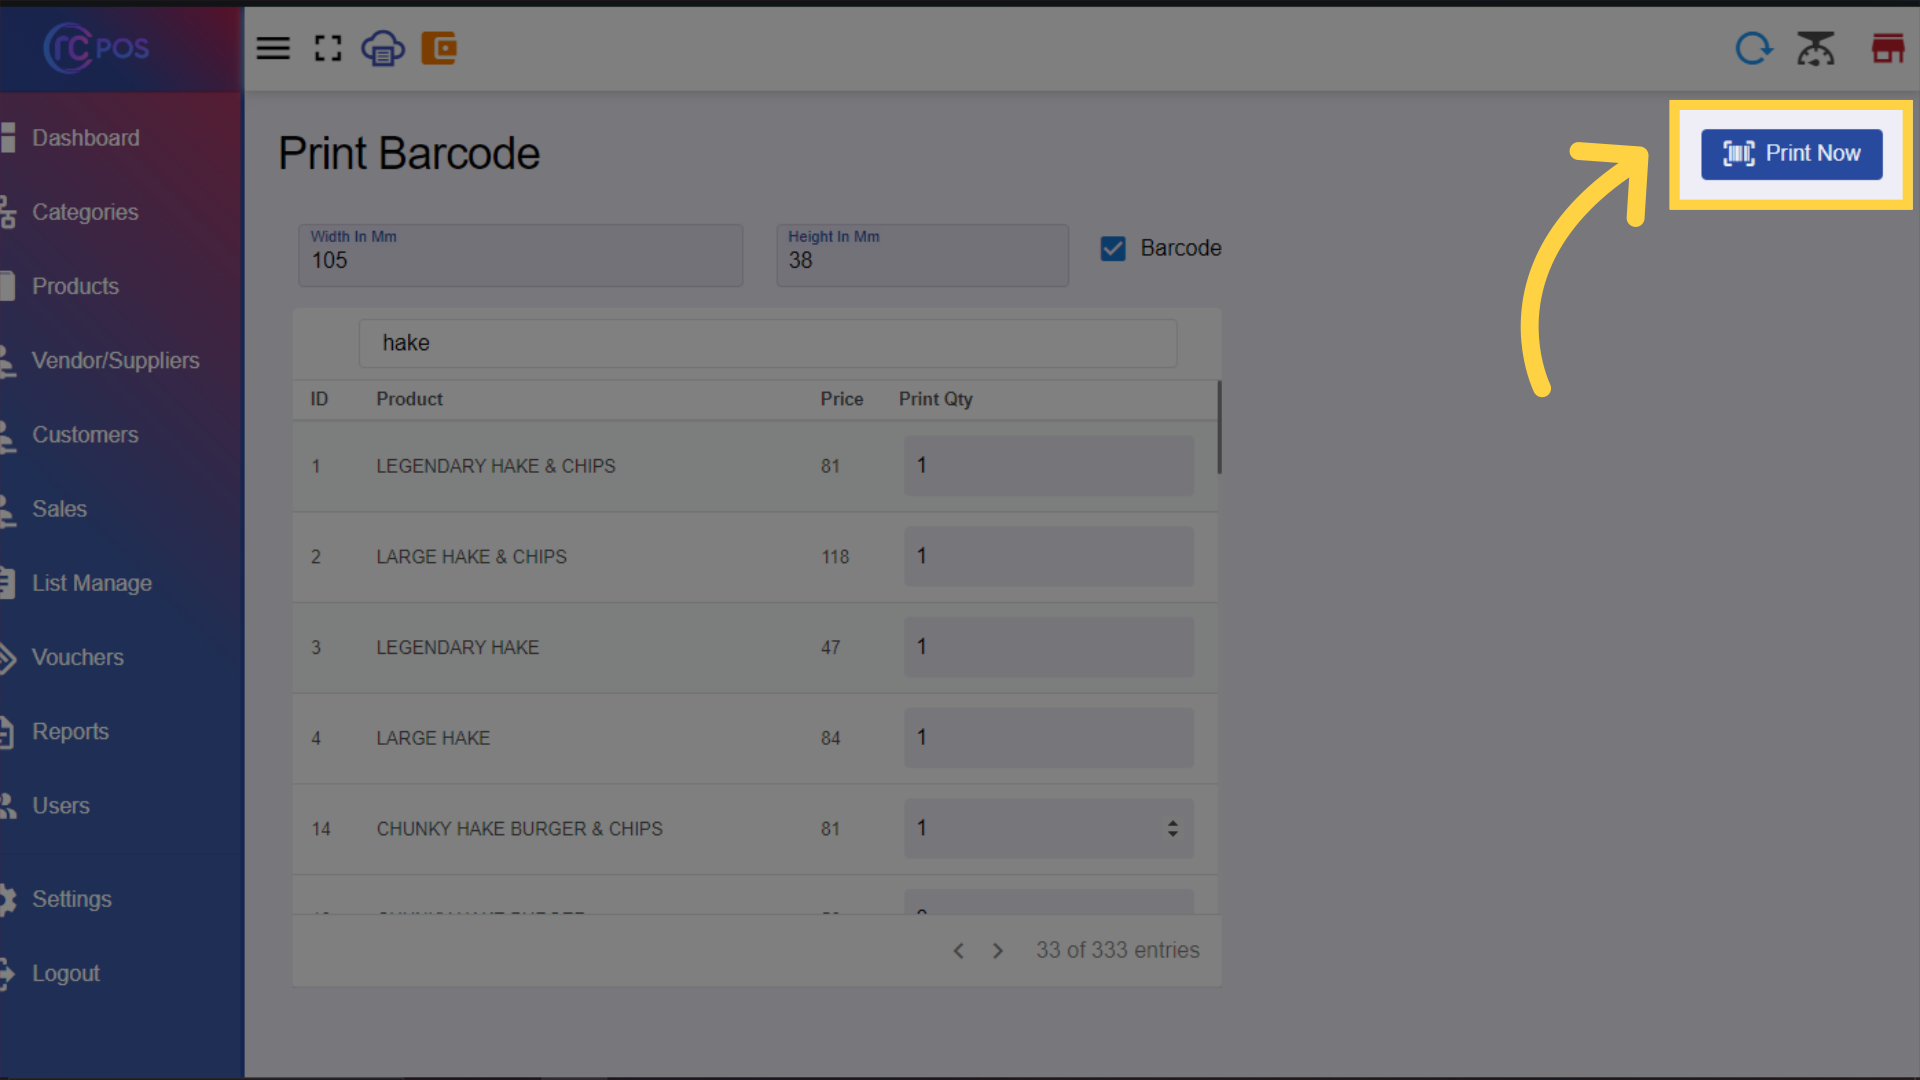
A form will appear where you can set the width and height, search and select products, add quantities, and choose whether to print with or without barcodes. Click "Print Now" to generate a PDF with the barcodes.
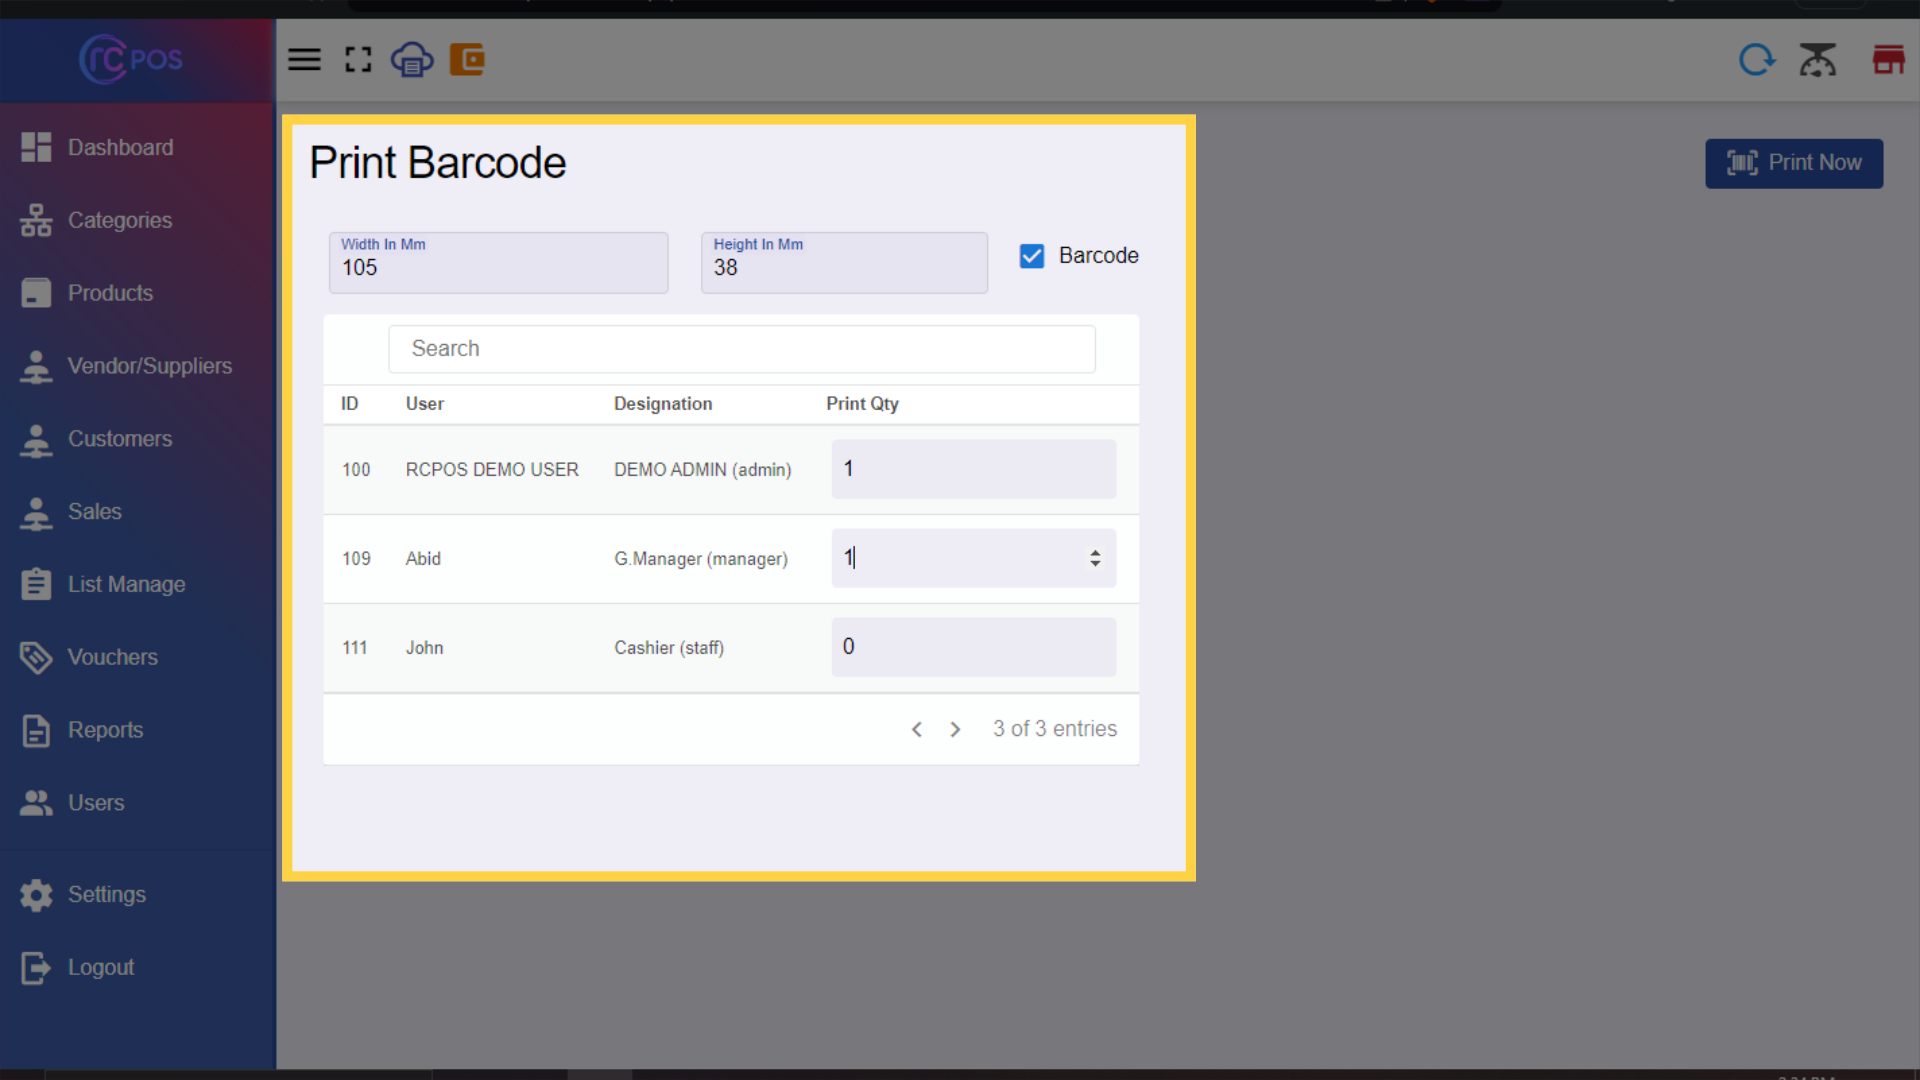
25.Click "Print Now"
A form will appear where you can set the width and height, search and select products, add quantities, and choose whether to print with or without barcodes. Click "Print Now" to generate a PDF with the barcodes.
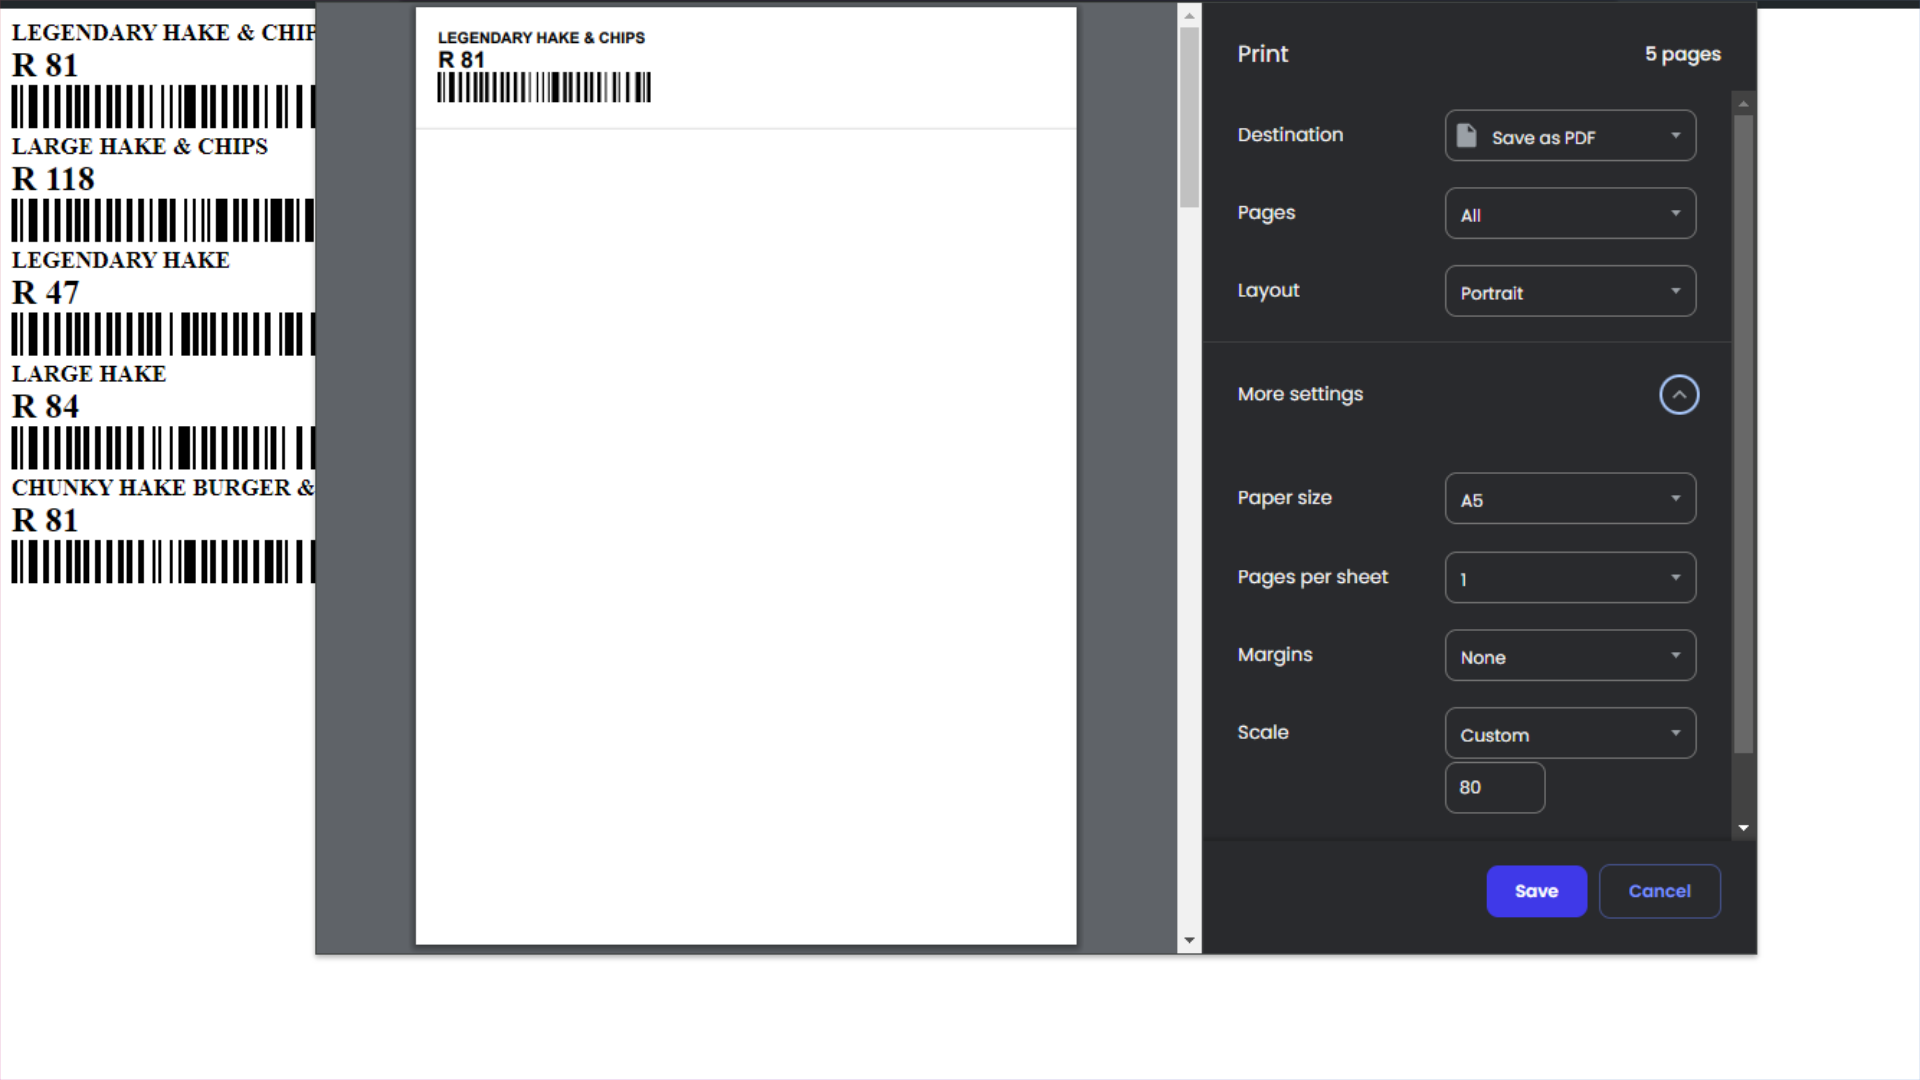
26.PDF
To generate a PDF with the barcodes
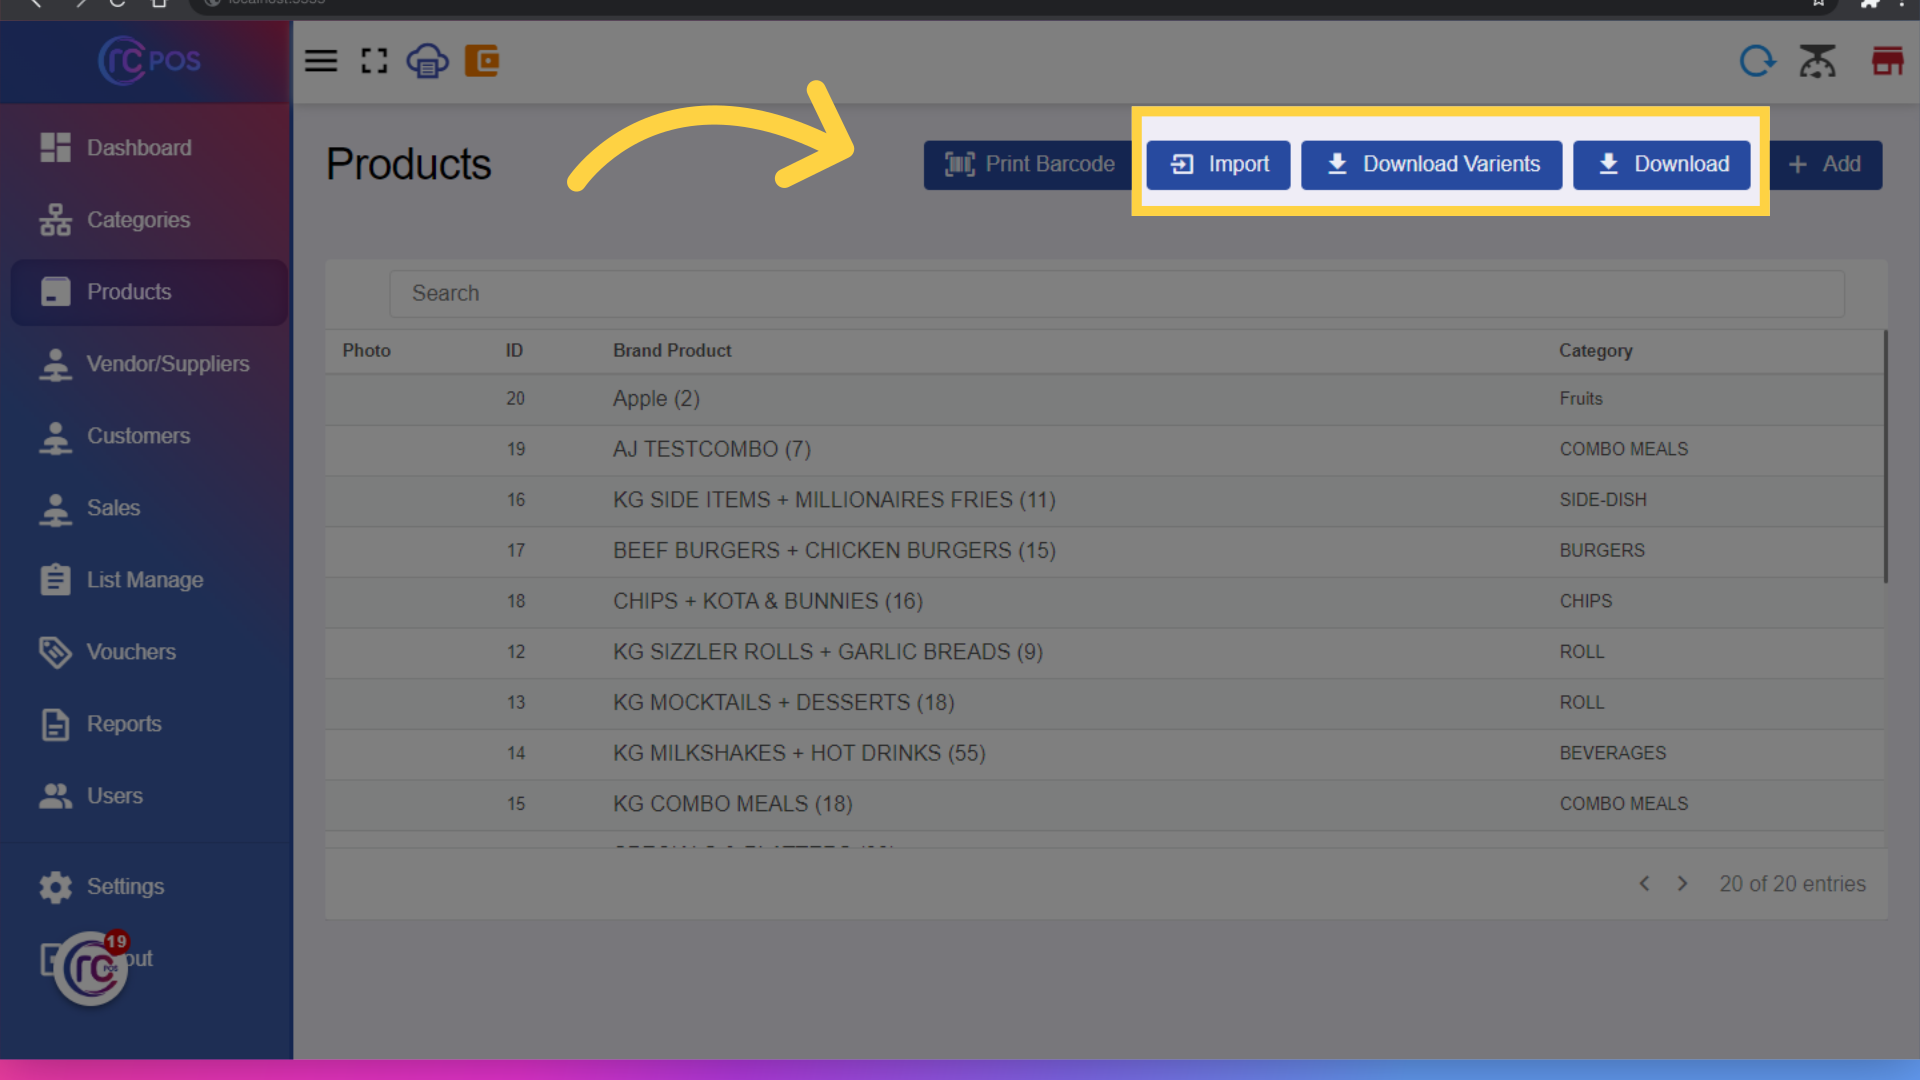
27. Click here
Click the "Import" button to import a list of products from an external file. Click the "Download" button to download the current list of products. Click the "Download Variants" button to download specific product variants.
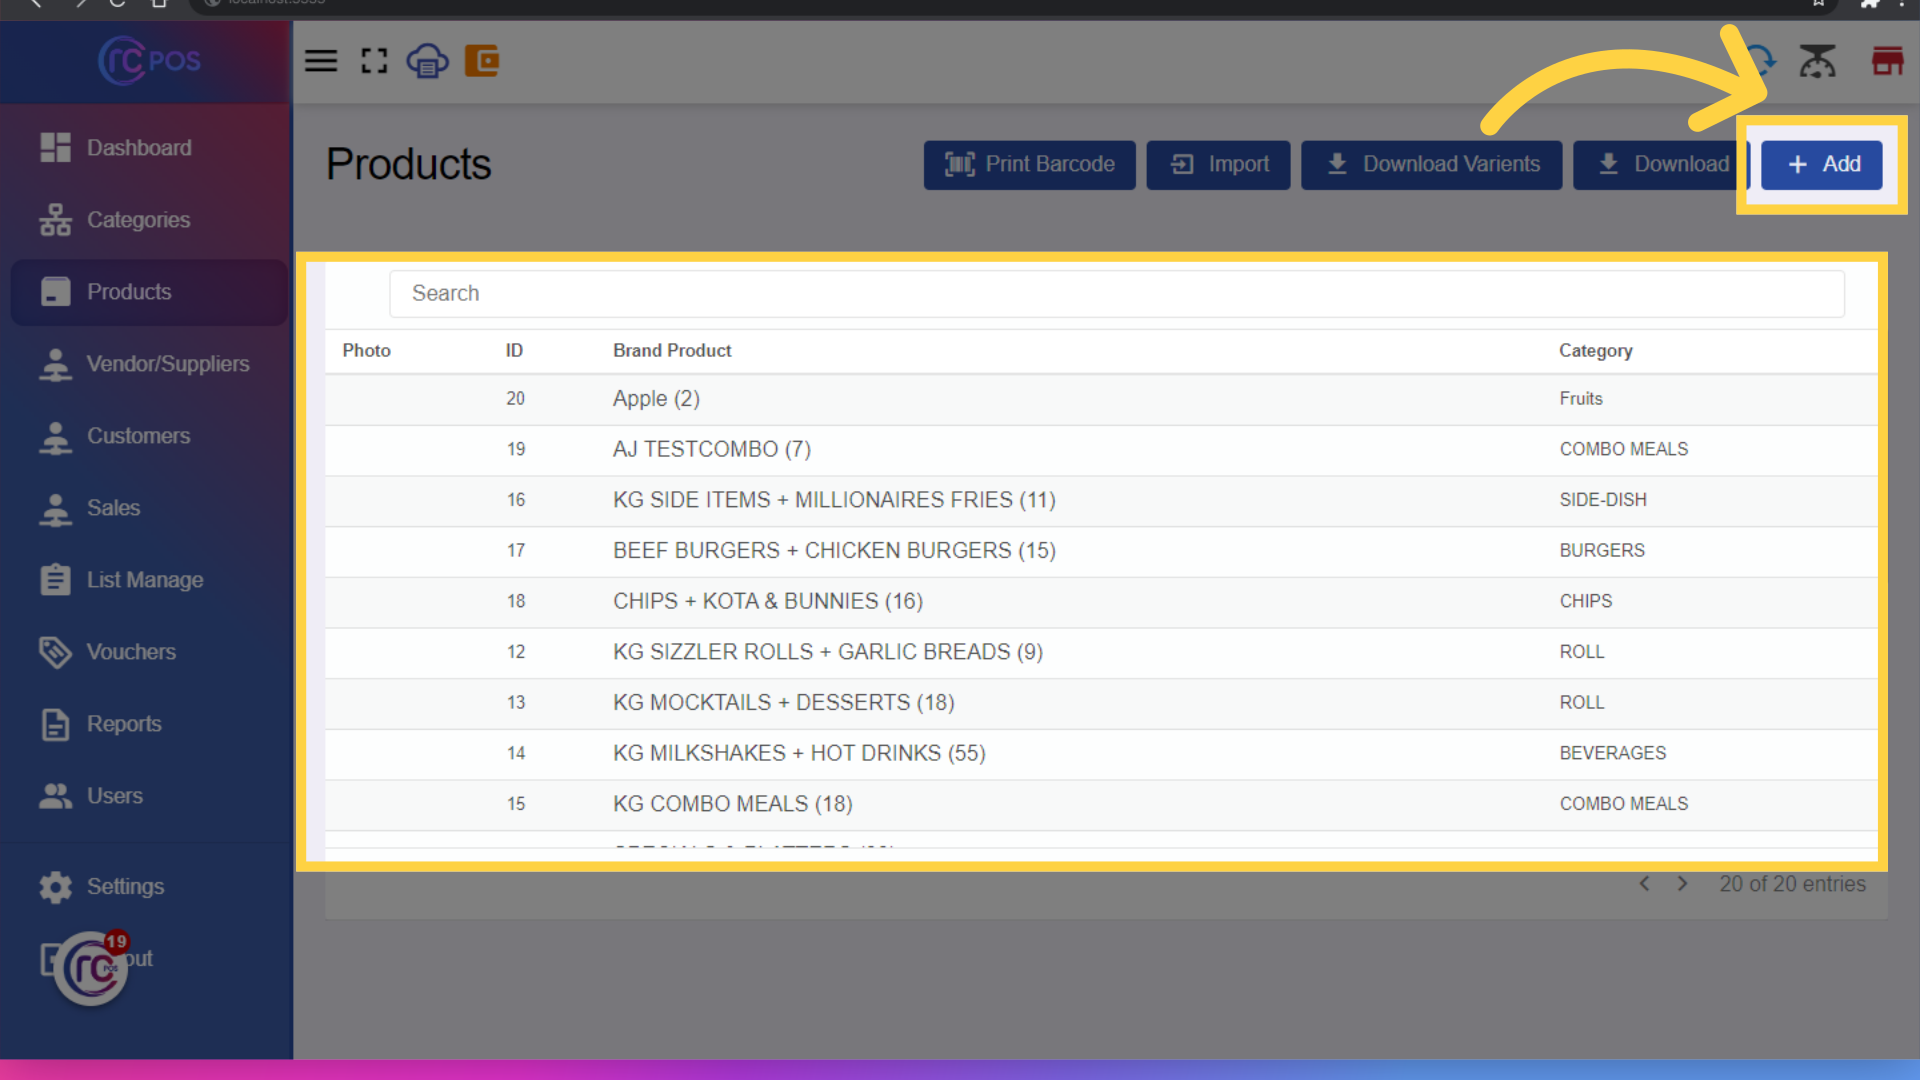
28. Click "Add"
you can view the product list and to add a product, click on the 'Add' button
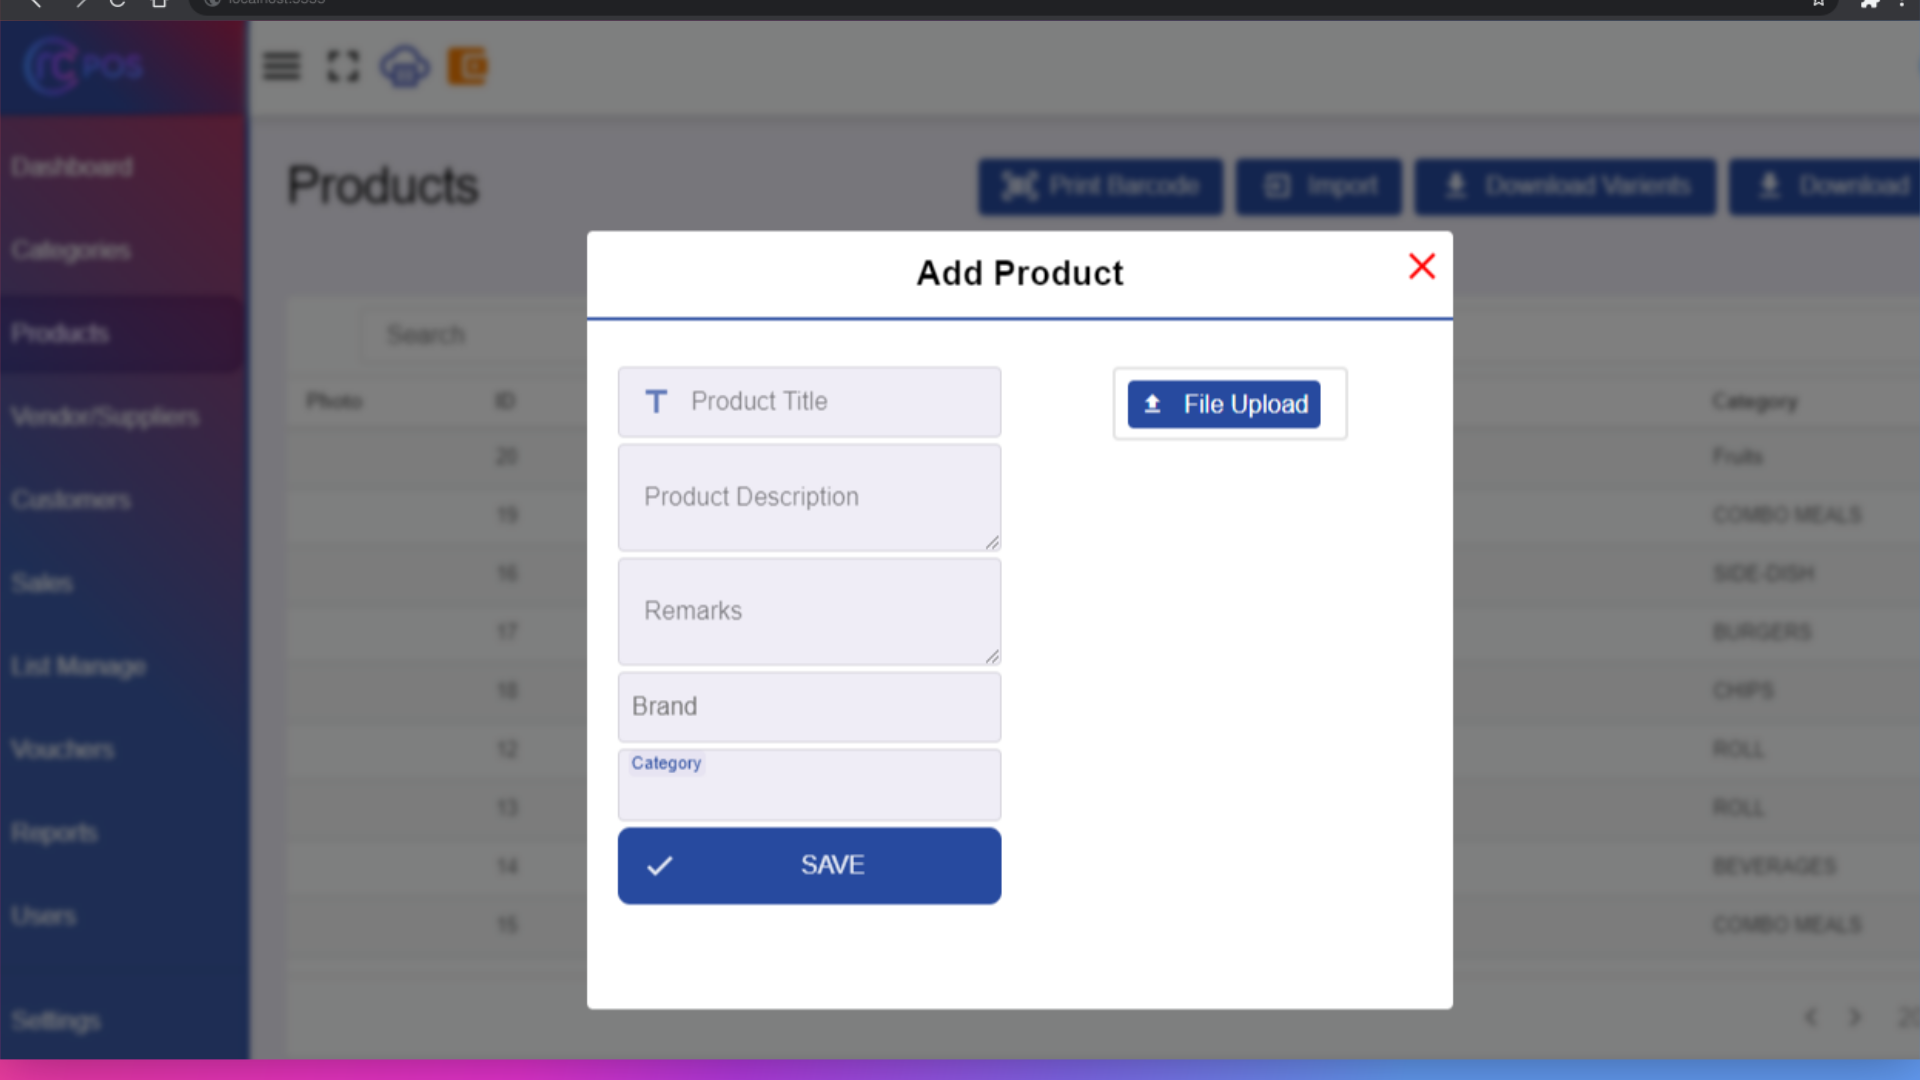
29. Add "Products"
A pop-up form will appear where you can fill in the product details such as name, price, category, and description. You can also upload a photo for the product. After filling in the details, click 'Save' to add the product.And for editing and deleting a product do as shown in the category section
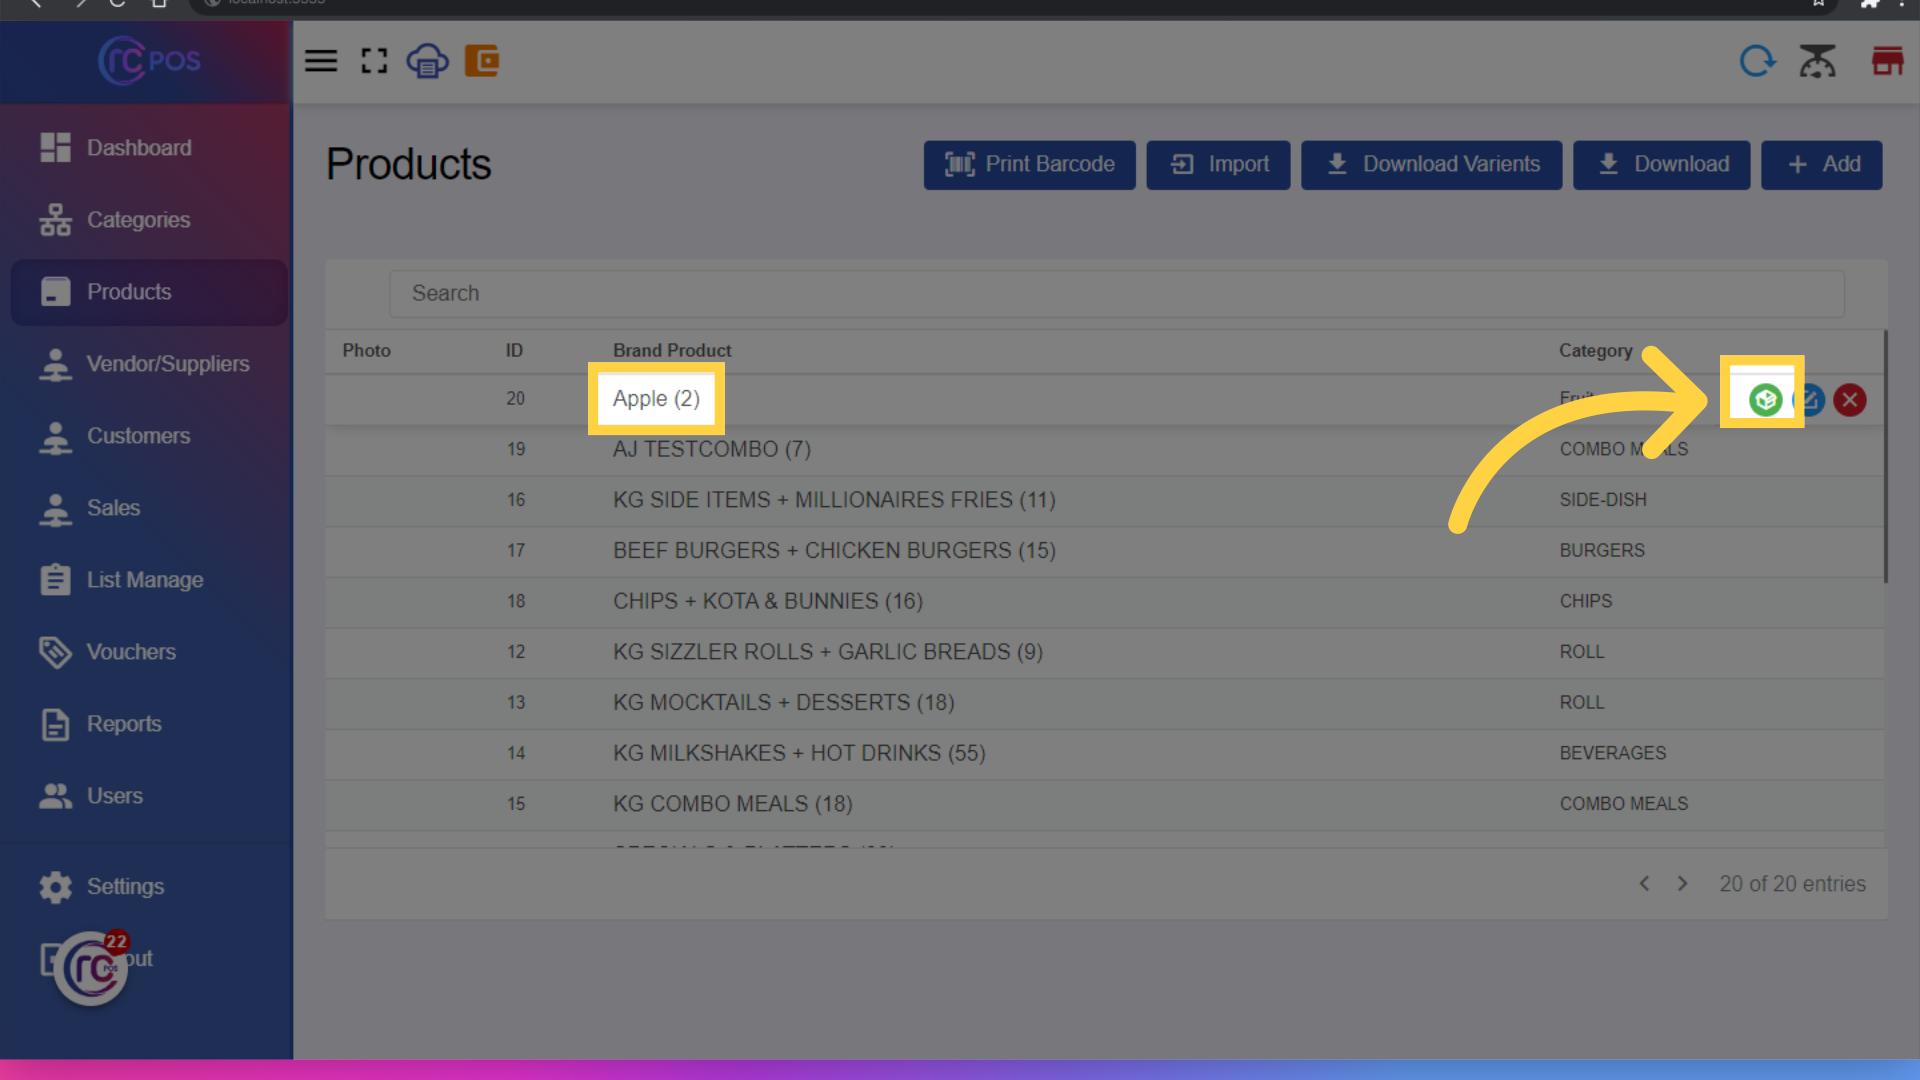
30. Click here
Click on the product name to create variants or you can click here
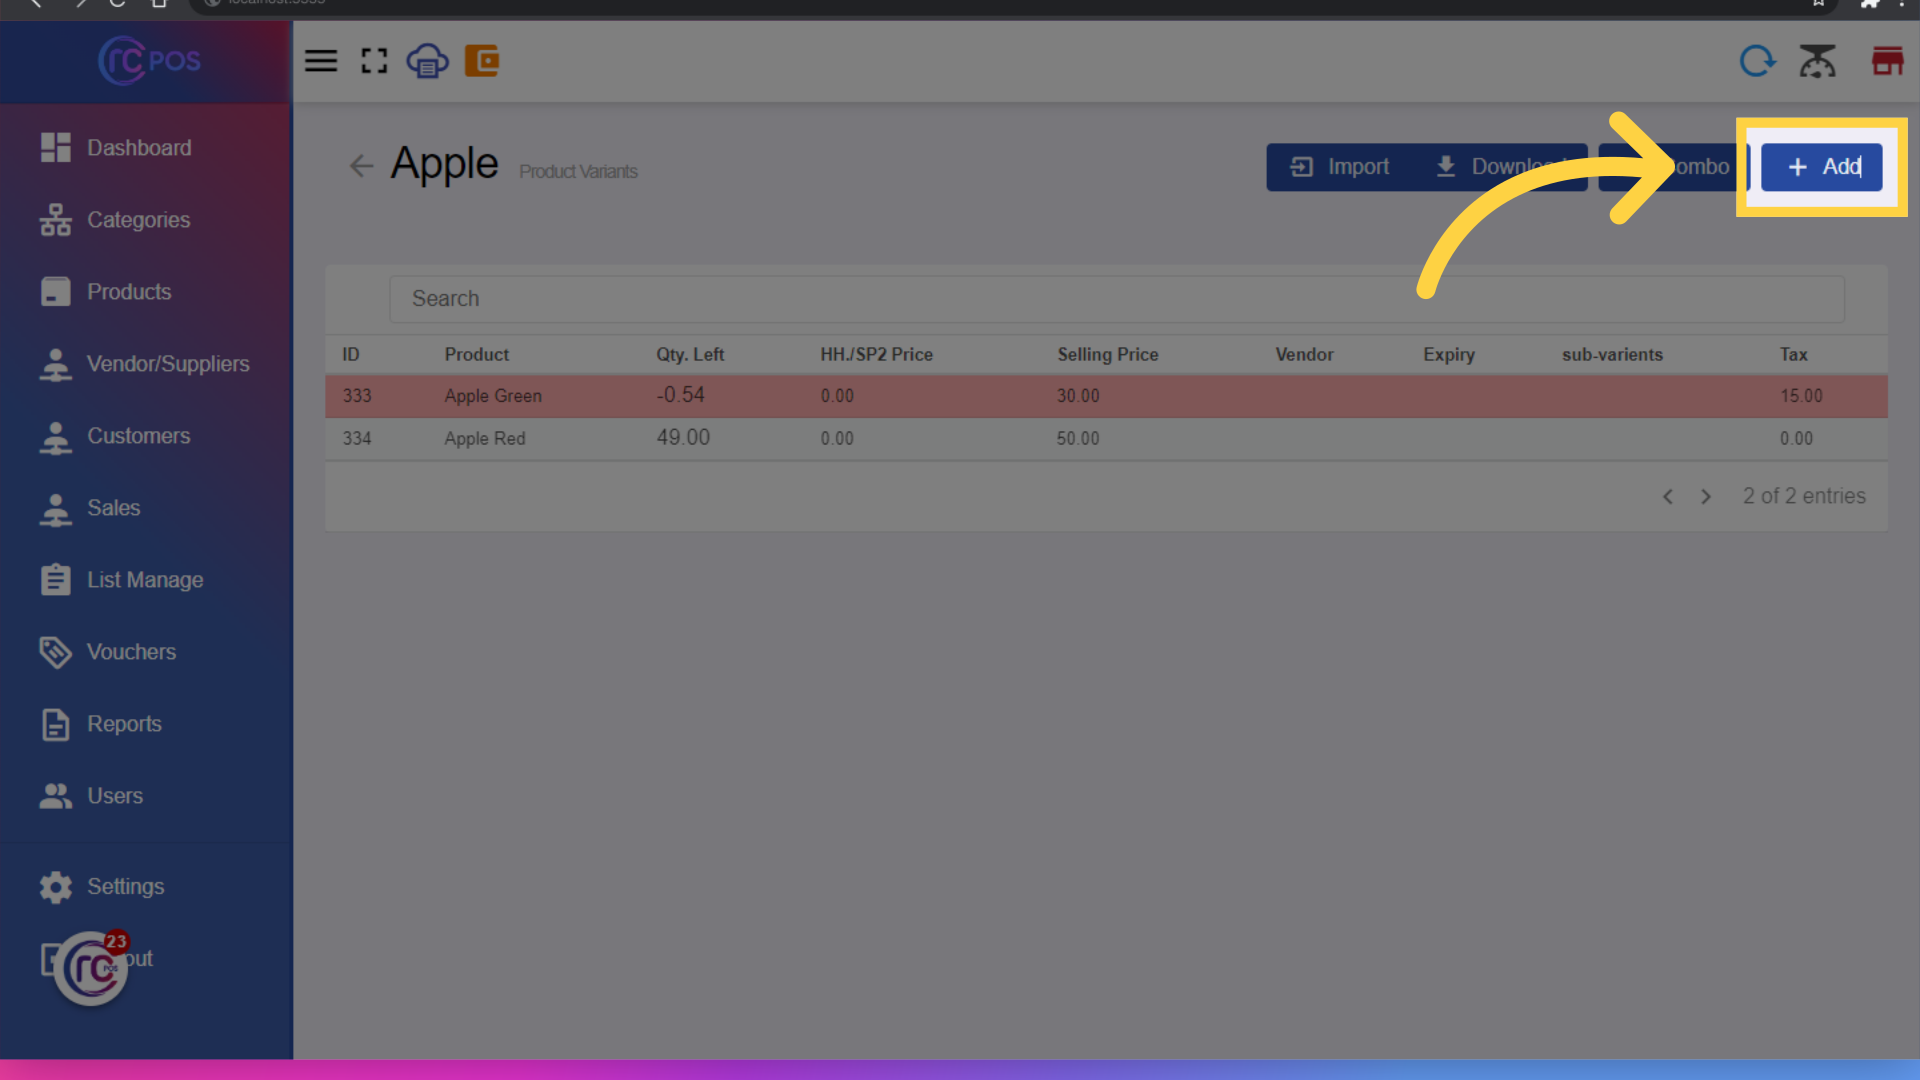
31. Click "Add"
After clicking on the product name you can view the product variants. And click on add to Create variants for products, such as different sizes or flavors. For example, Coke 250ml, Coke 500ml, etc.
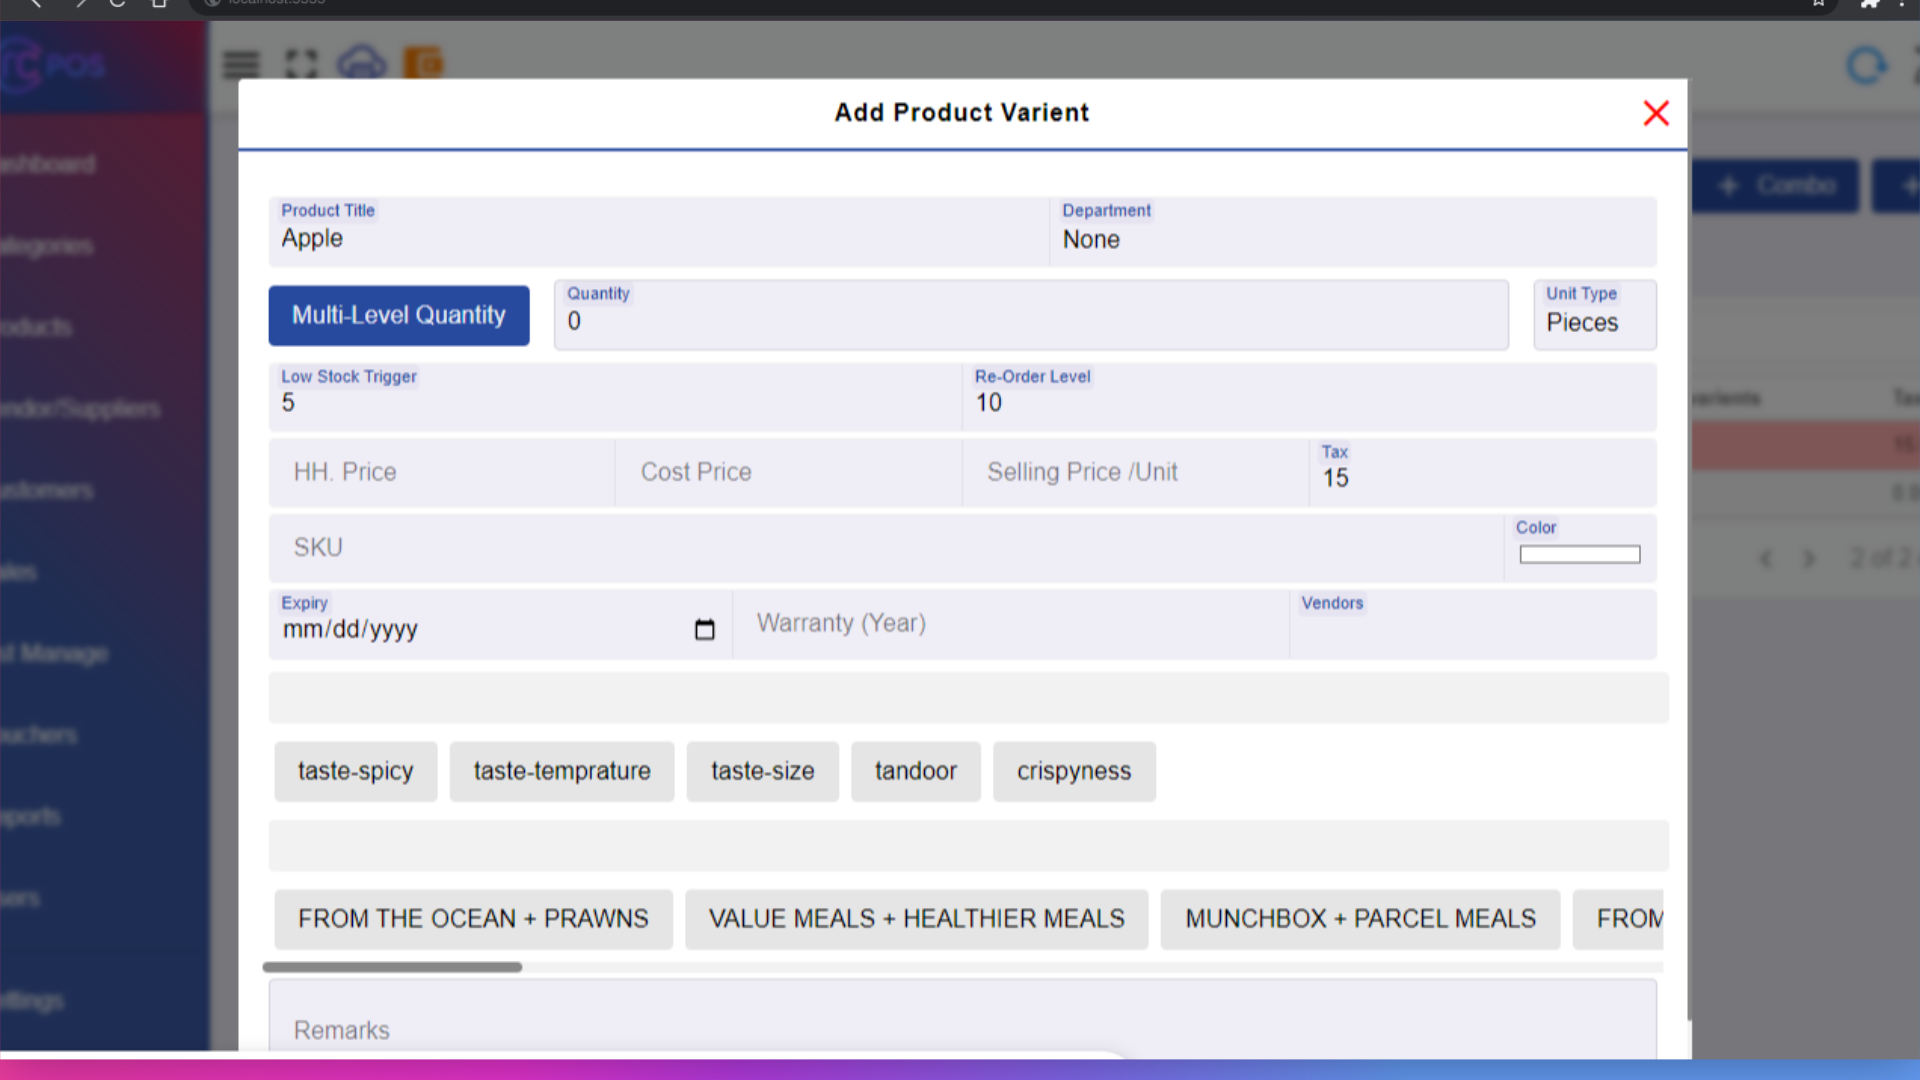
32. Add Products Variants
You can fill all the product variant details
33. Click "Combo"
To Create Combo Product click on combo
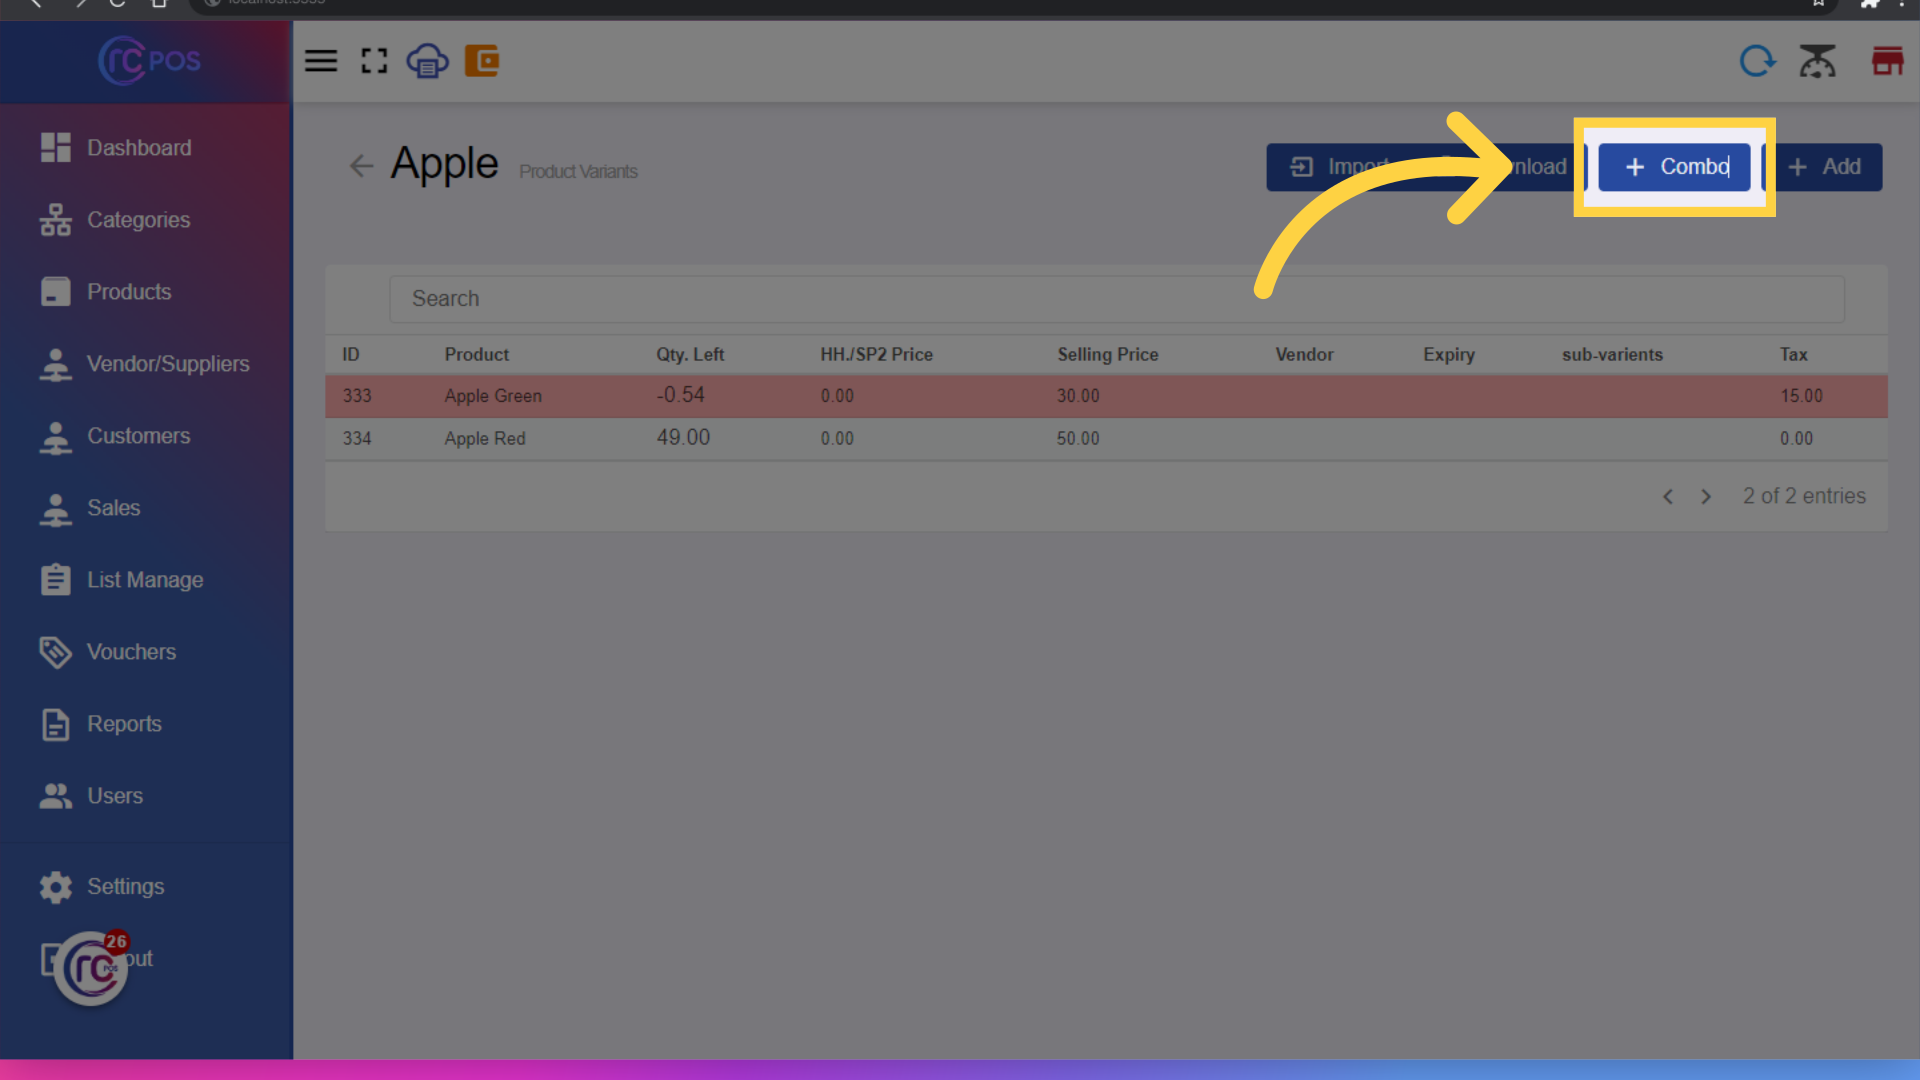
34. Add "Combo"
You can Combine multiple products into a single combo item. When a combo is sold, the inventory for each included product is adjusted accordingly.
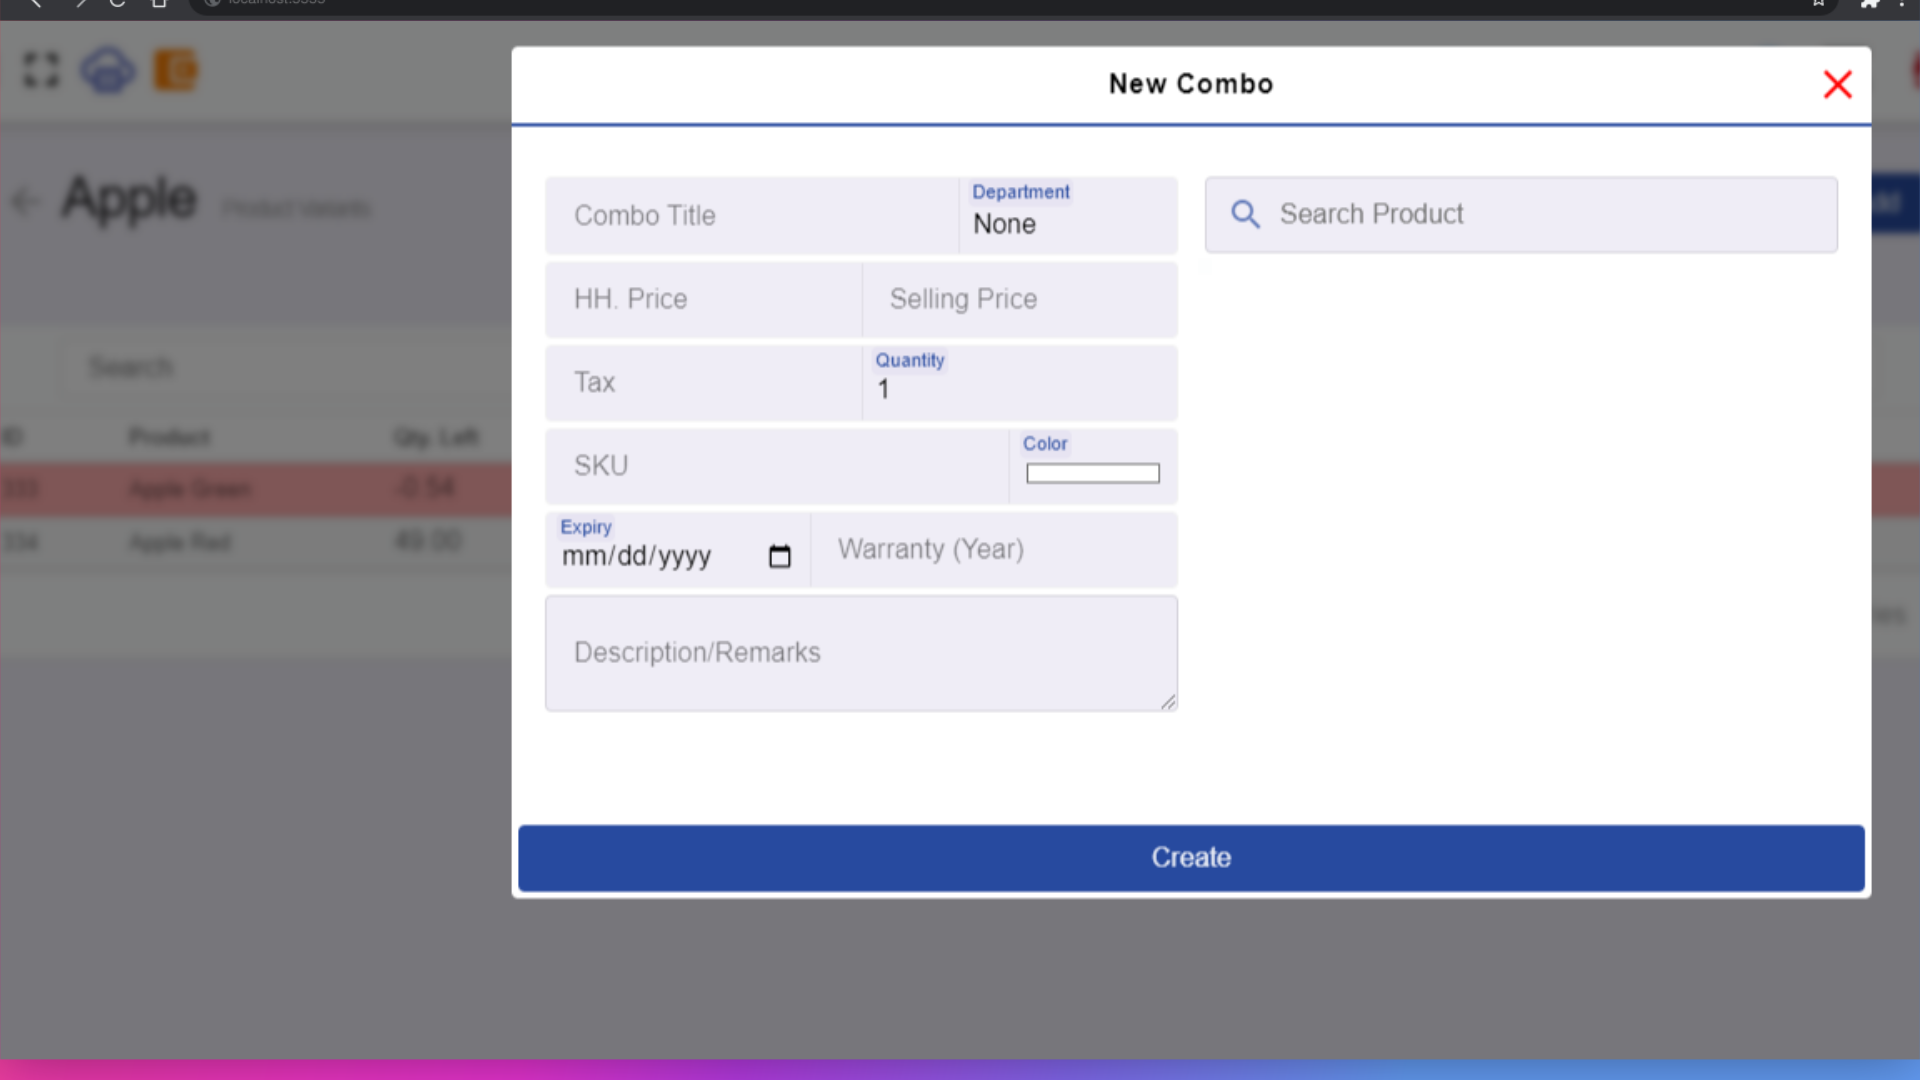
35. Click here
Click here for adjusting stocks.
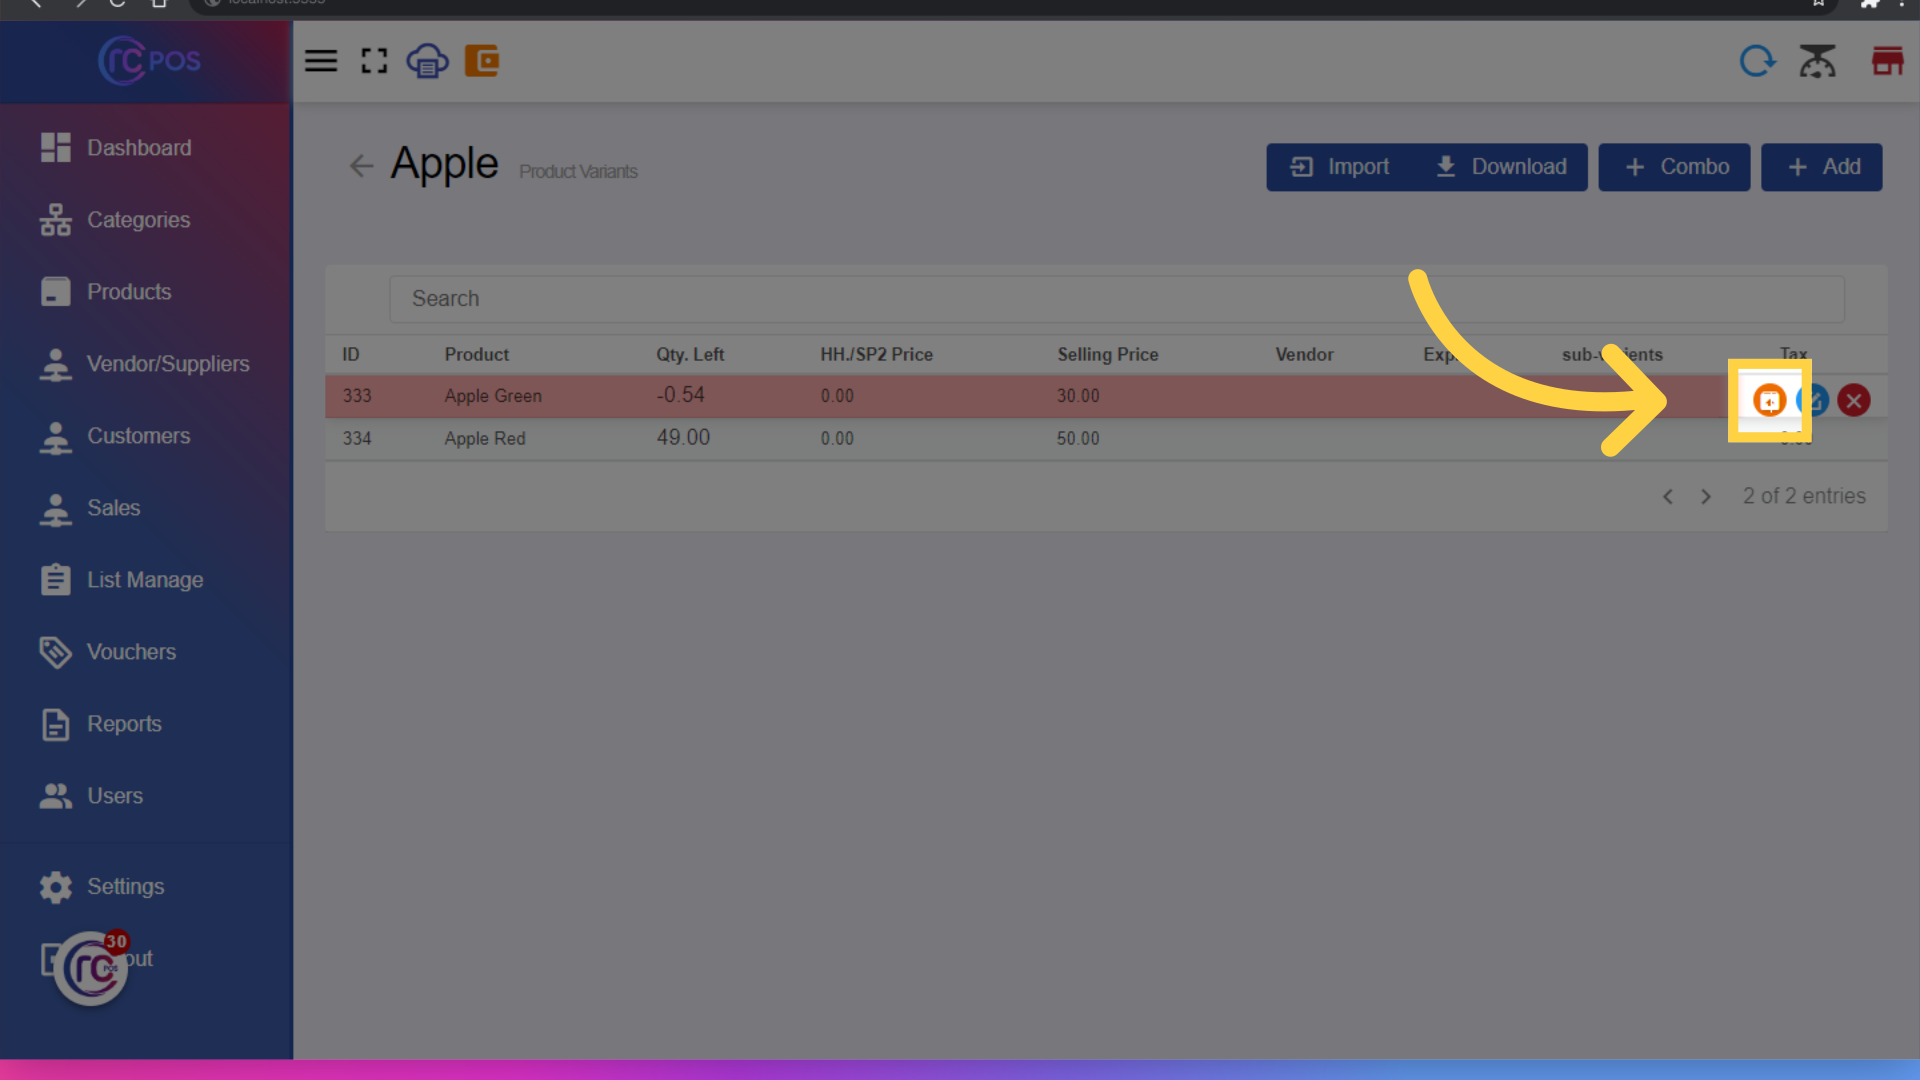
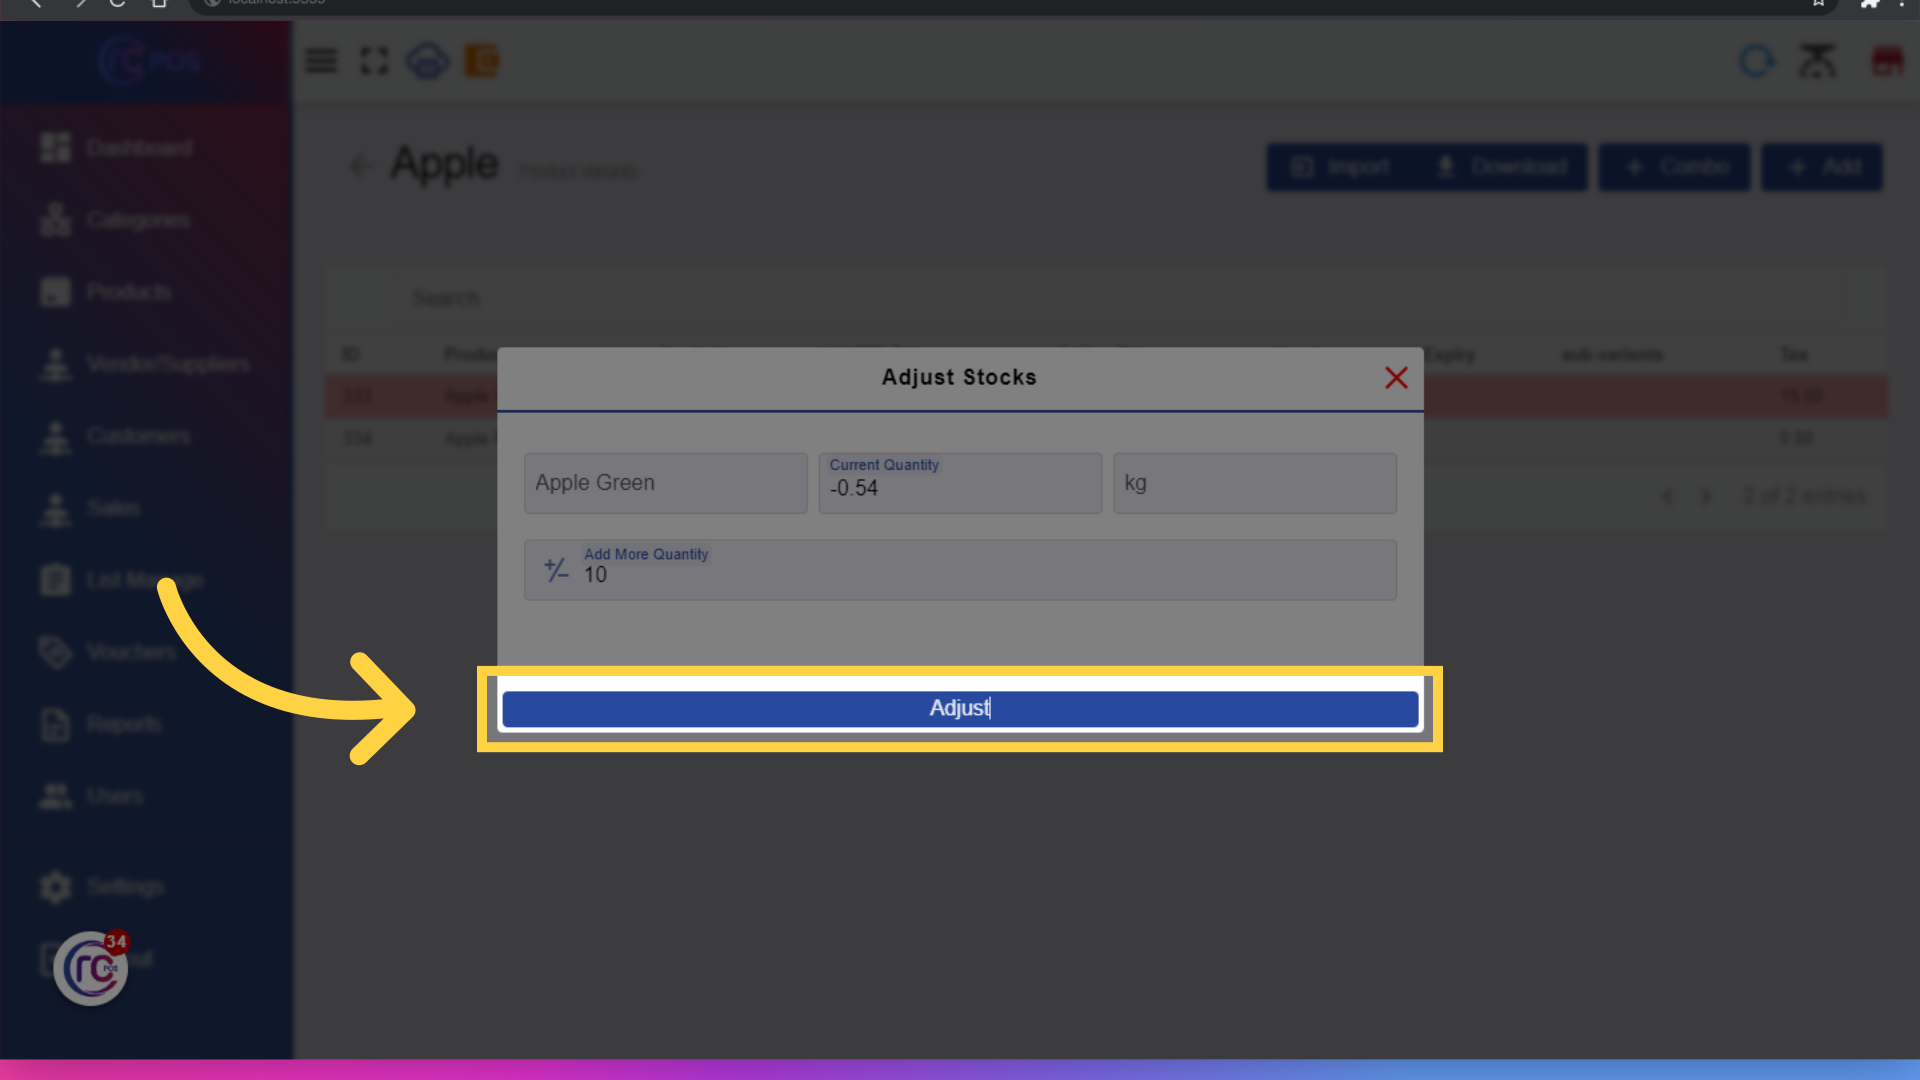
36. Fill "Quantity"
Fill the quantity you want to add
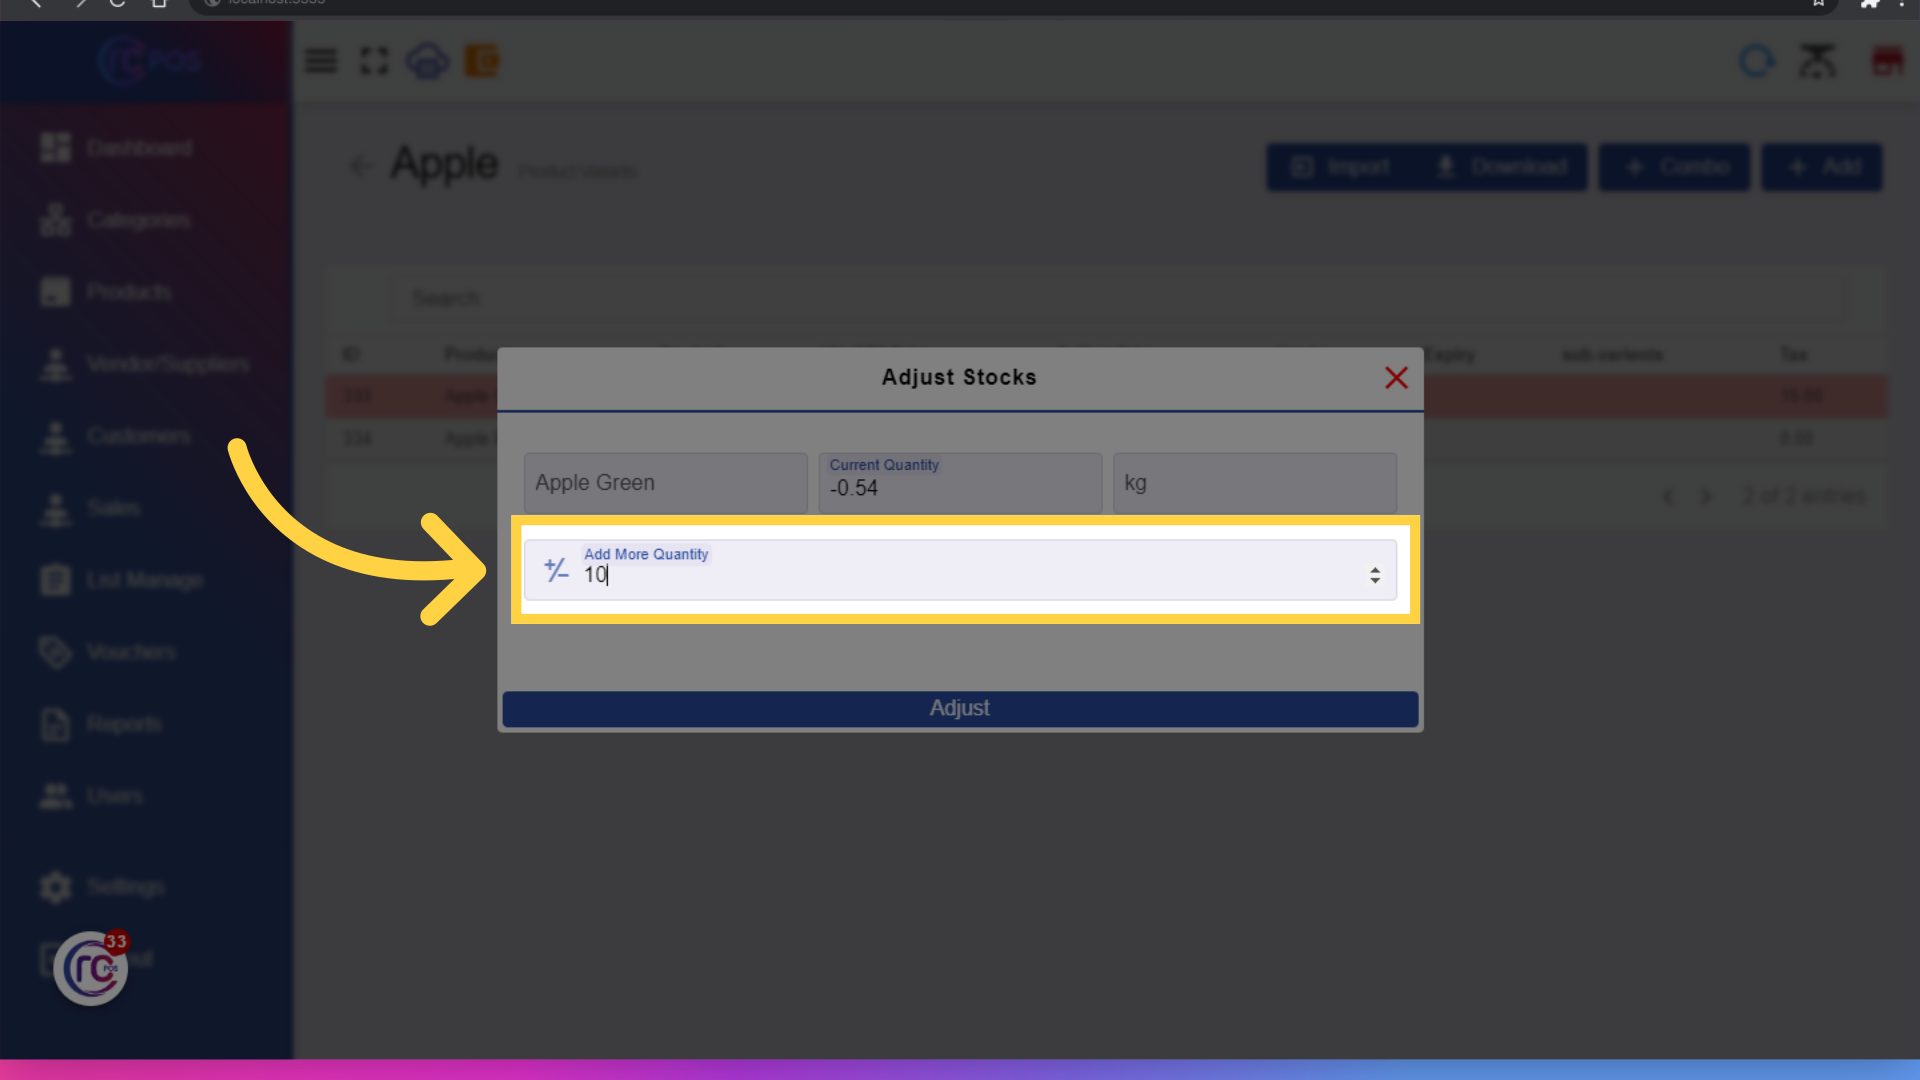
37. Click "Adjust"
Then click on adjust to save.
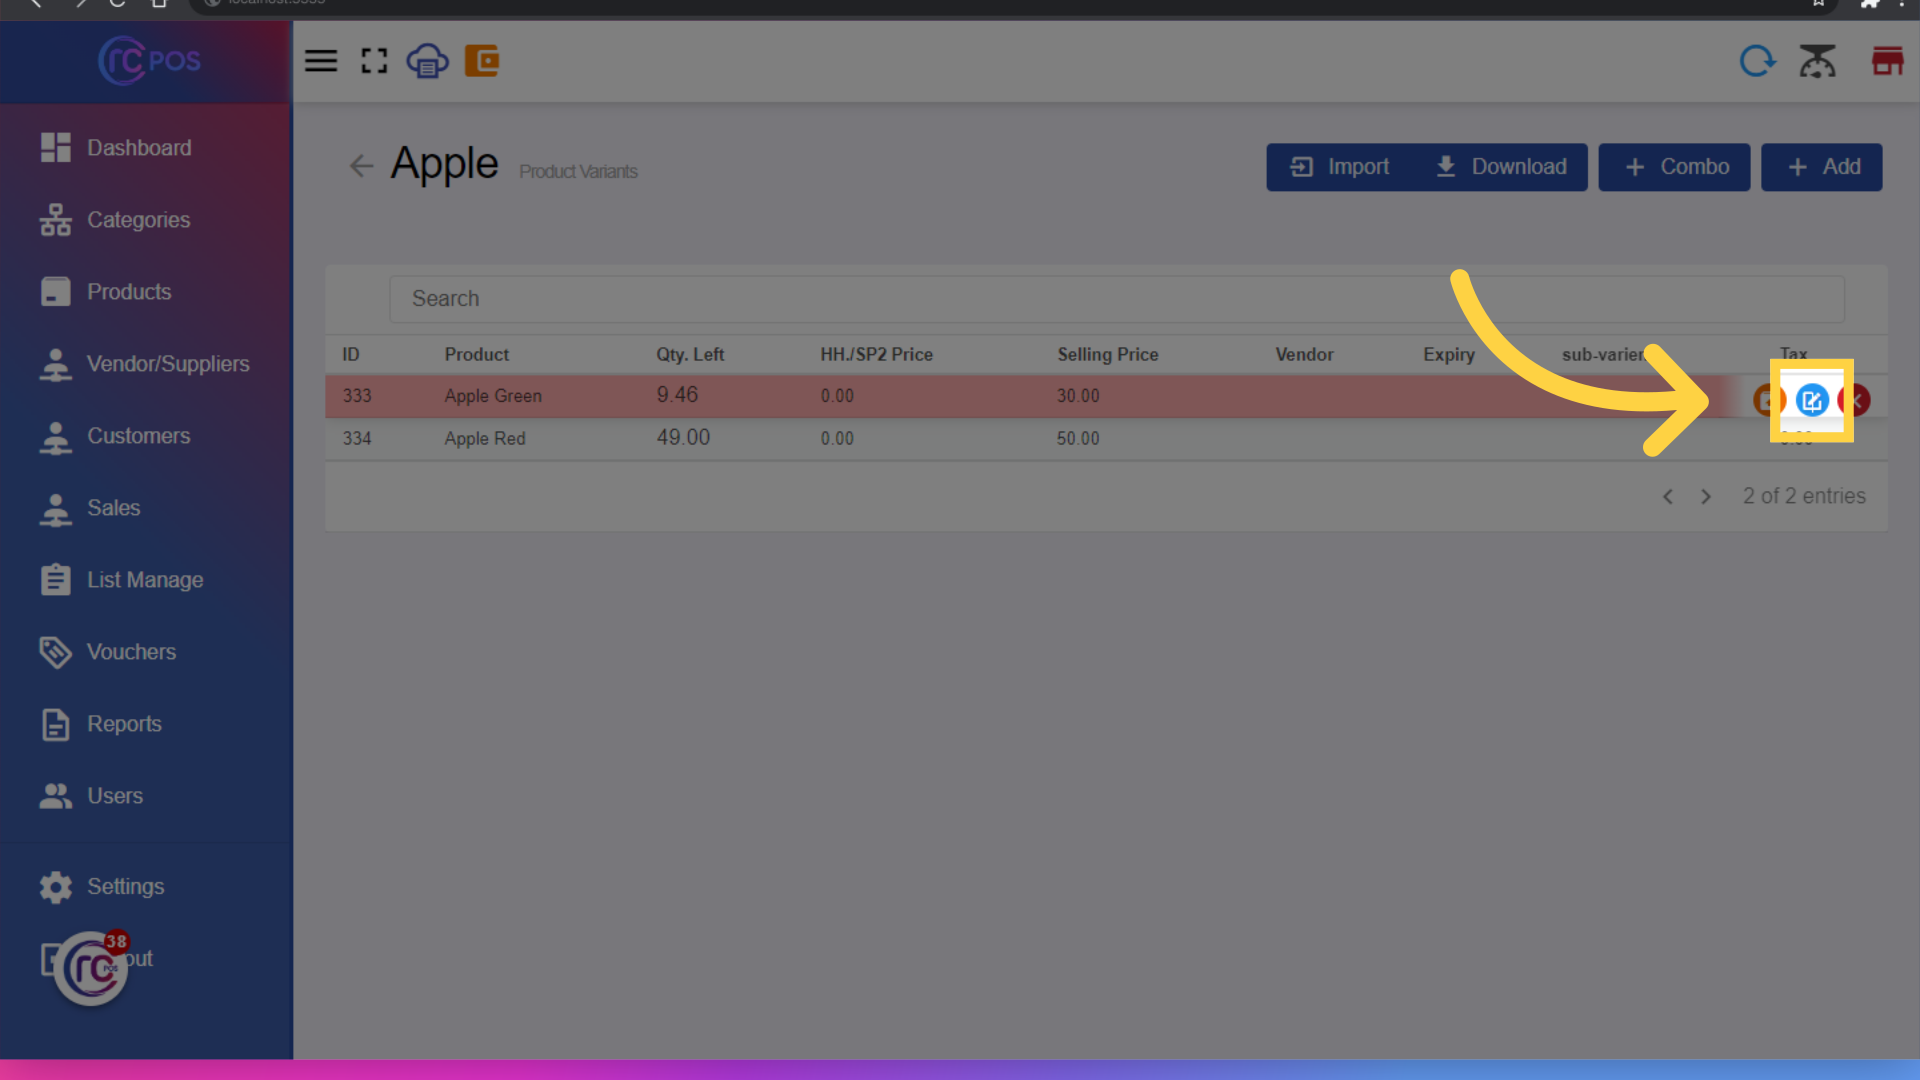
38. Click here
Click here to edit product variants.
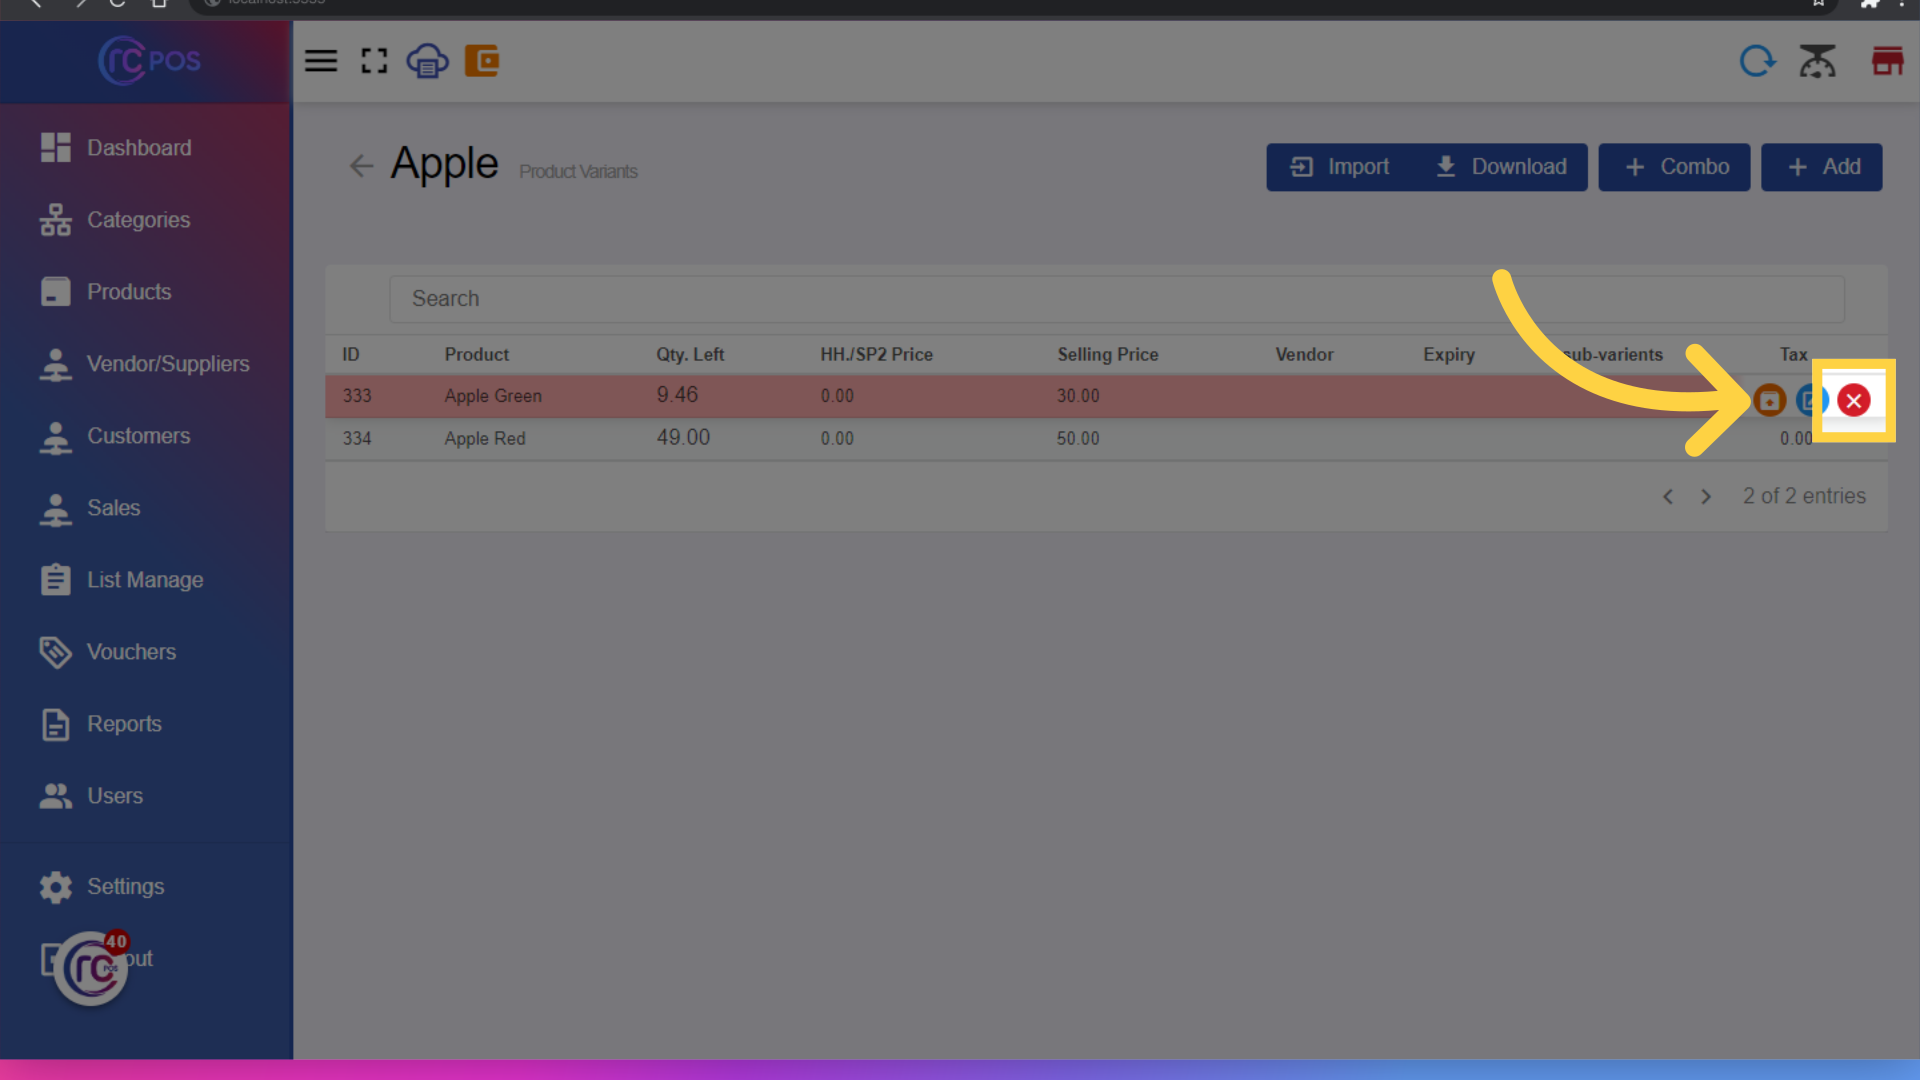
39. Click here
Click here to delete.
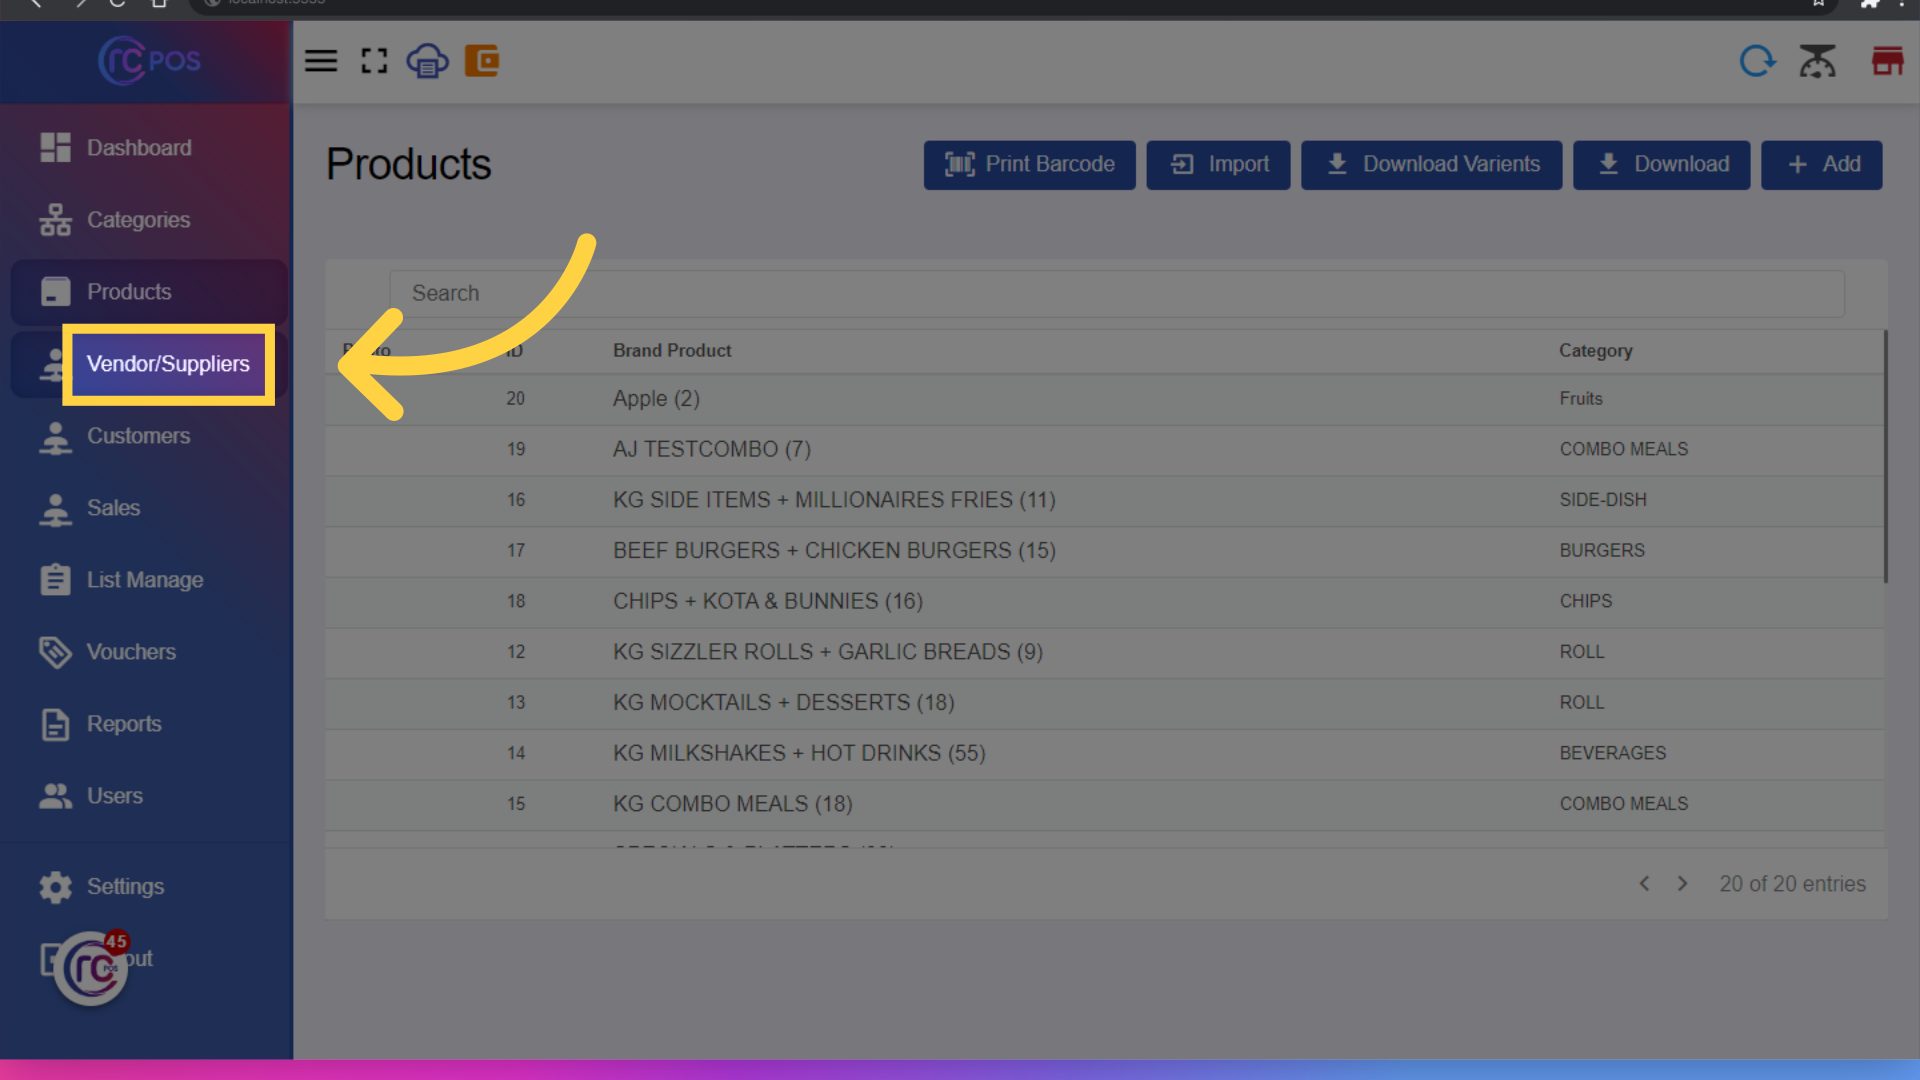
40. Click "Vendor/Suppliers"
Click here to access to Vendor/Suppliers section.
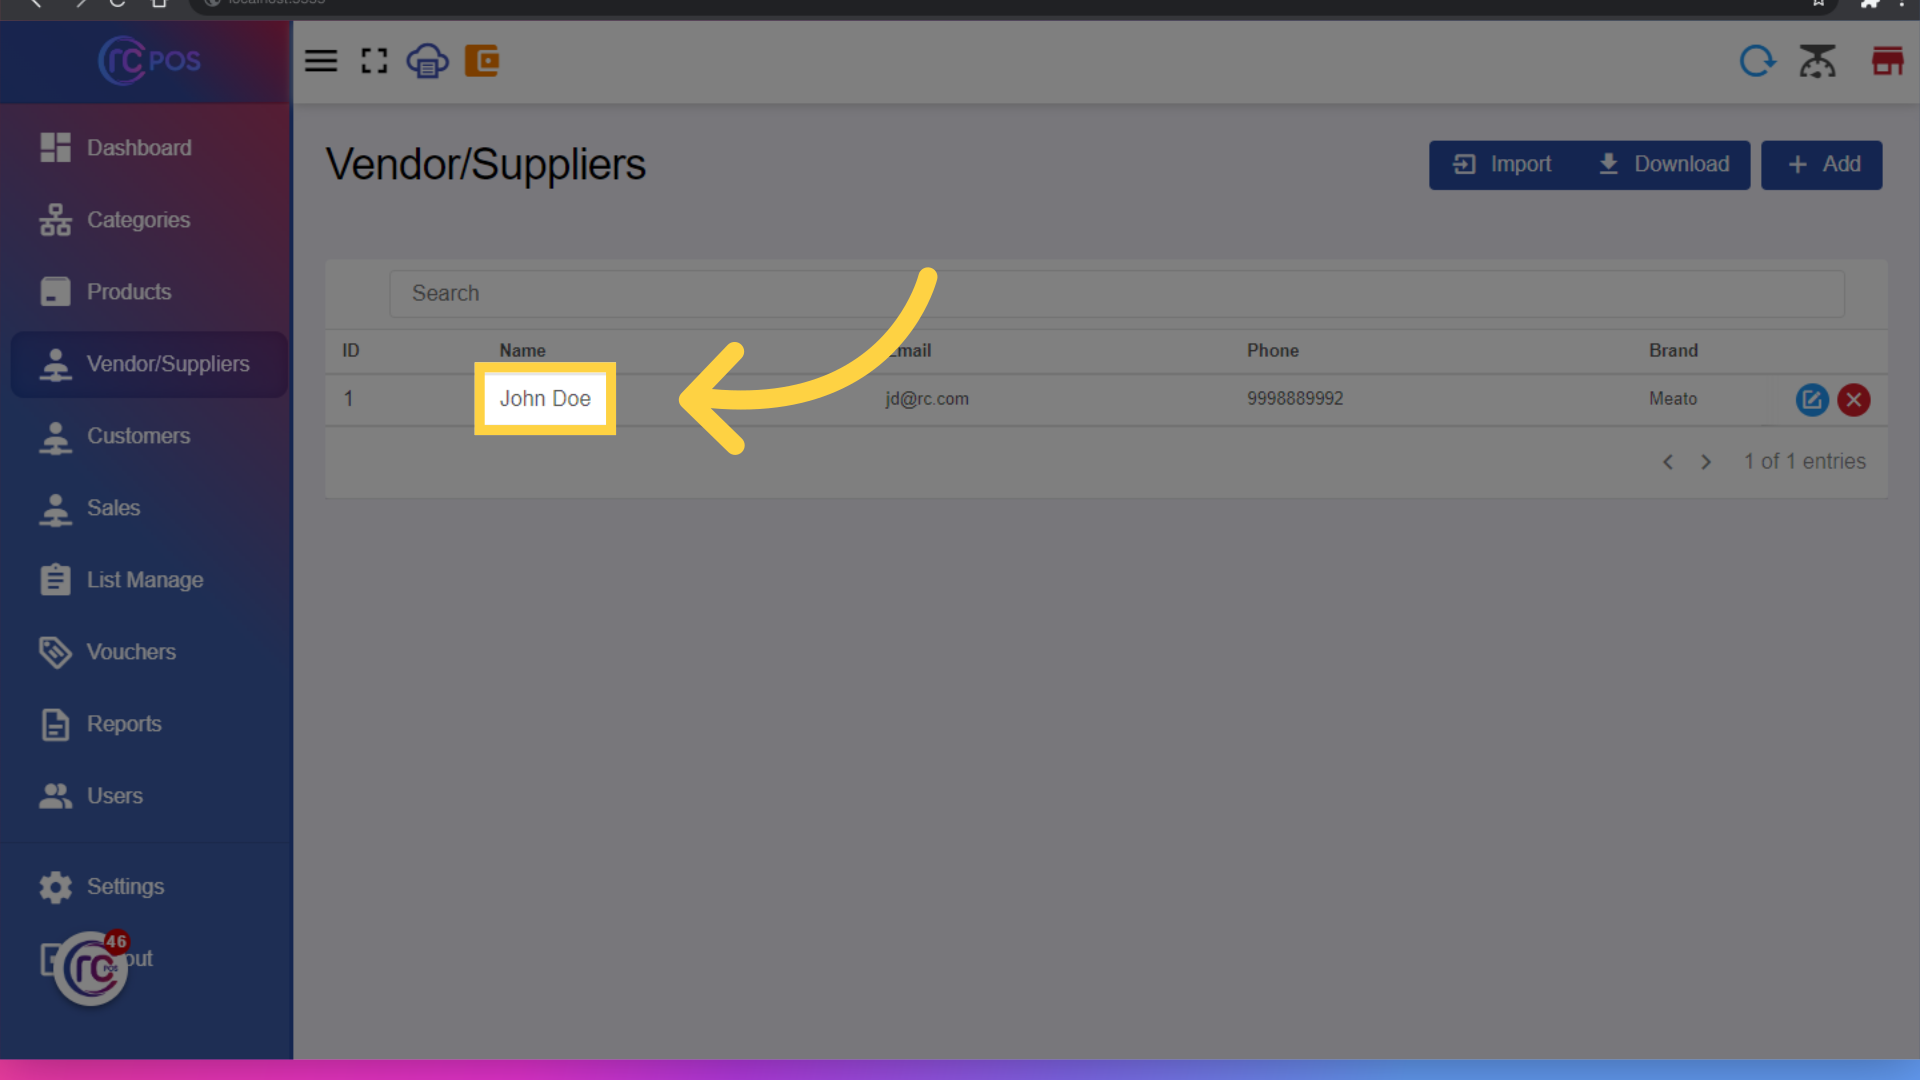
41. Click "John Doe"
and you access the page and manage like add,edit and delete the vendors information,by Clicking on Vendor Names,
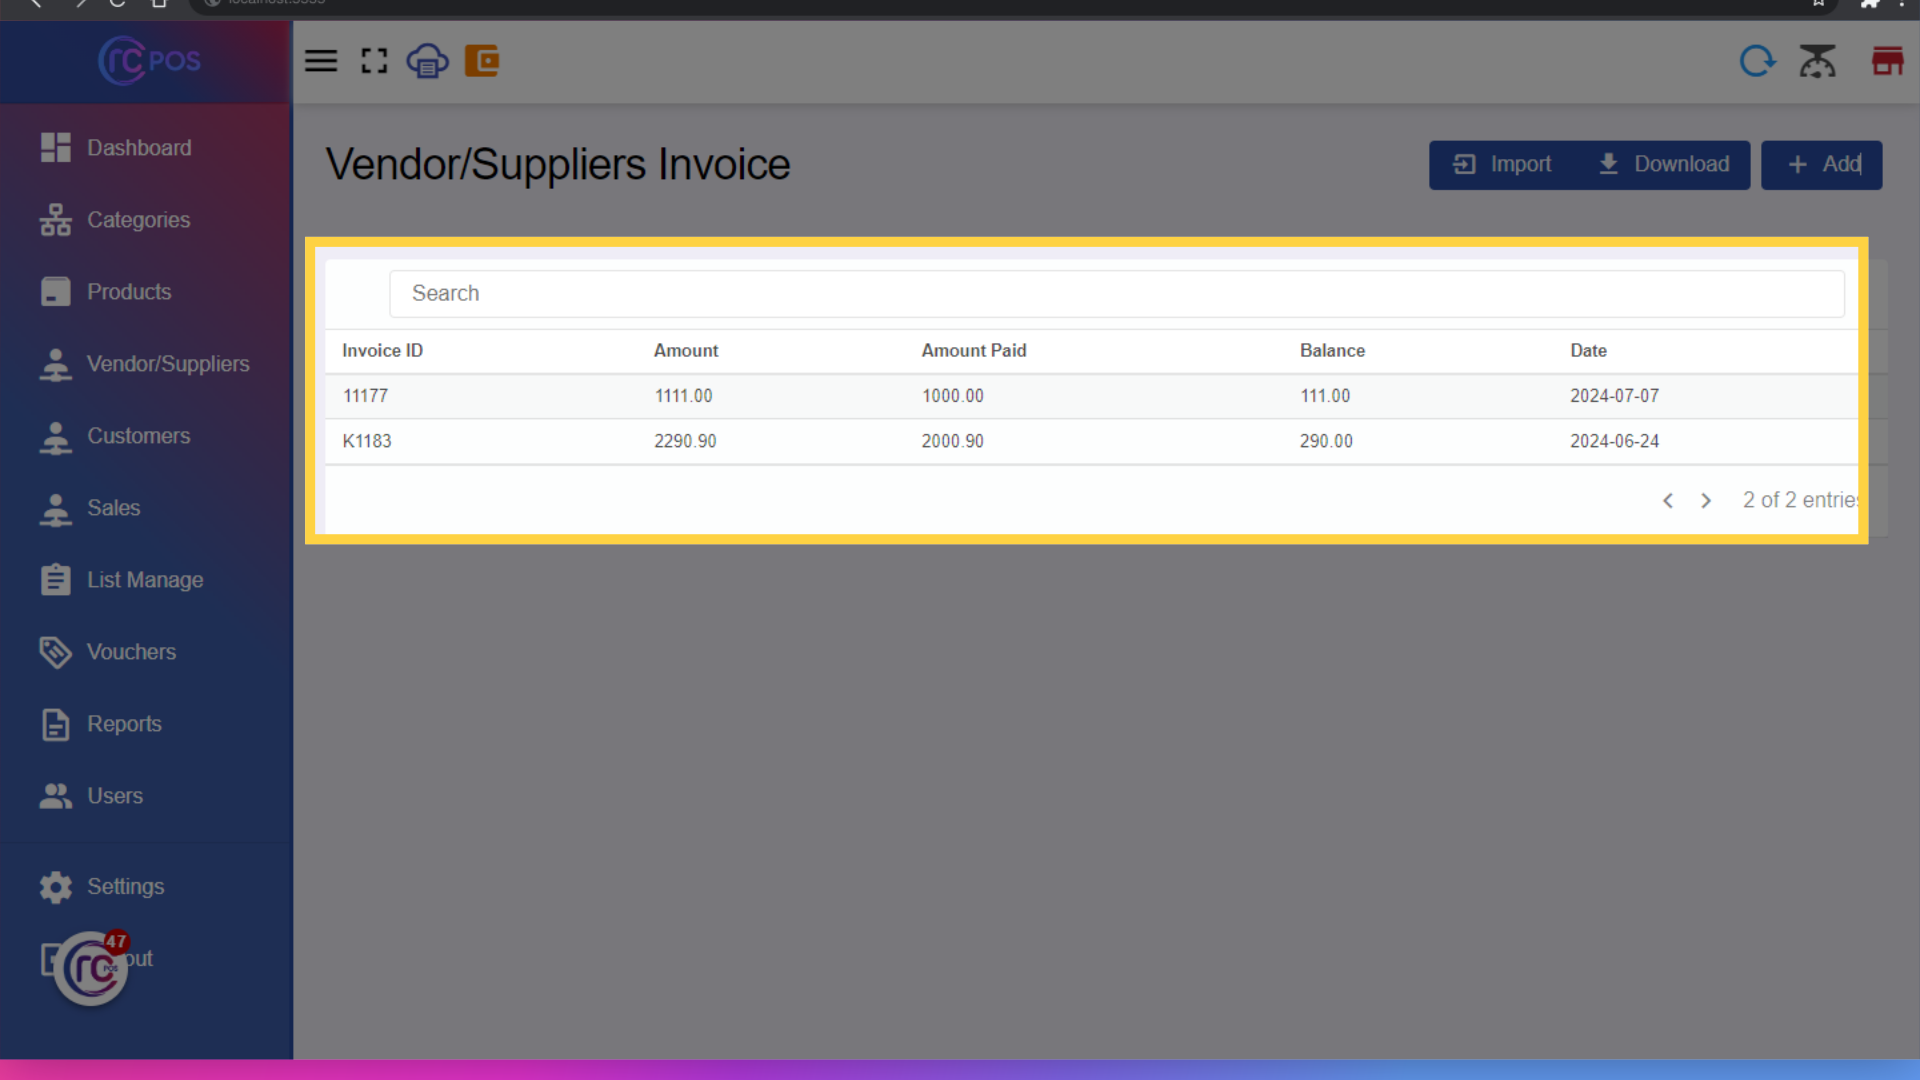
42. View Vendors/Suppliers
You can view the vendor invoices and can also add those vendor invoices by clicking on add button
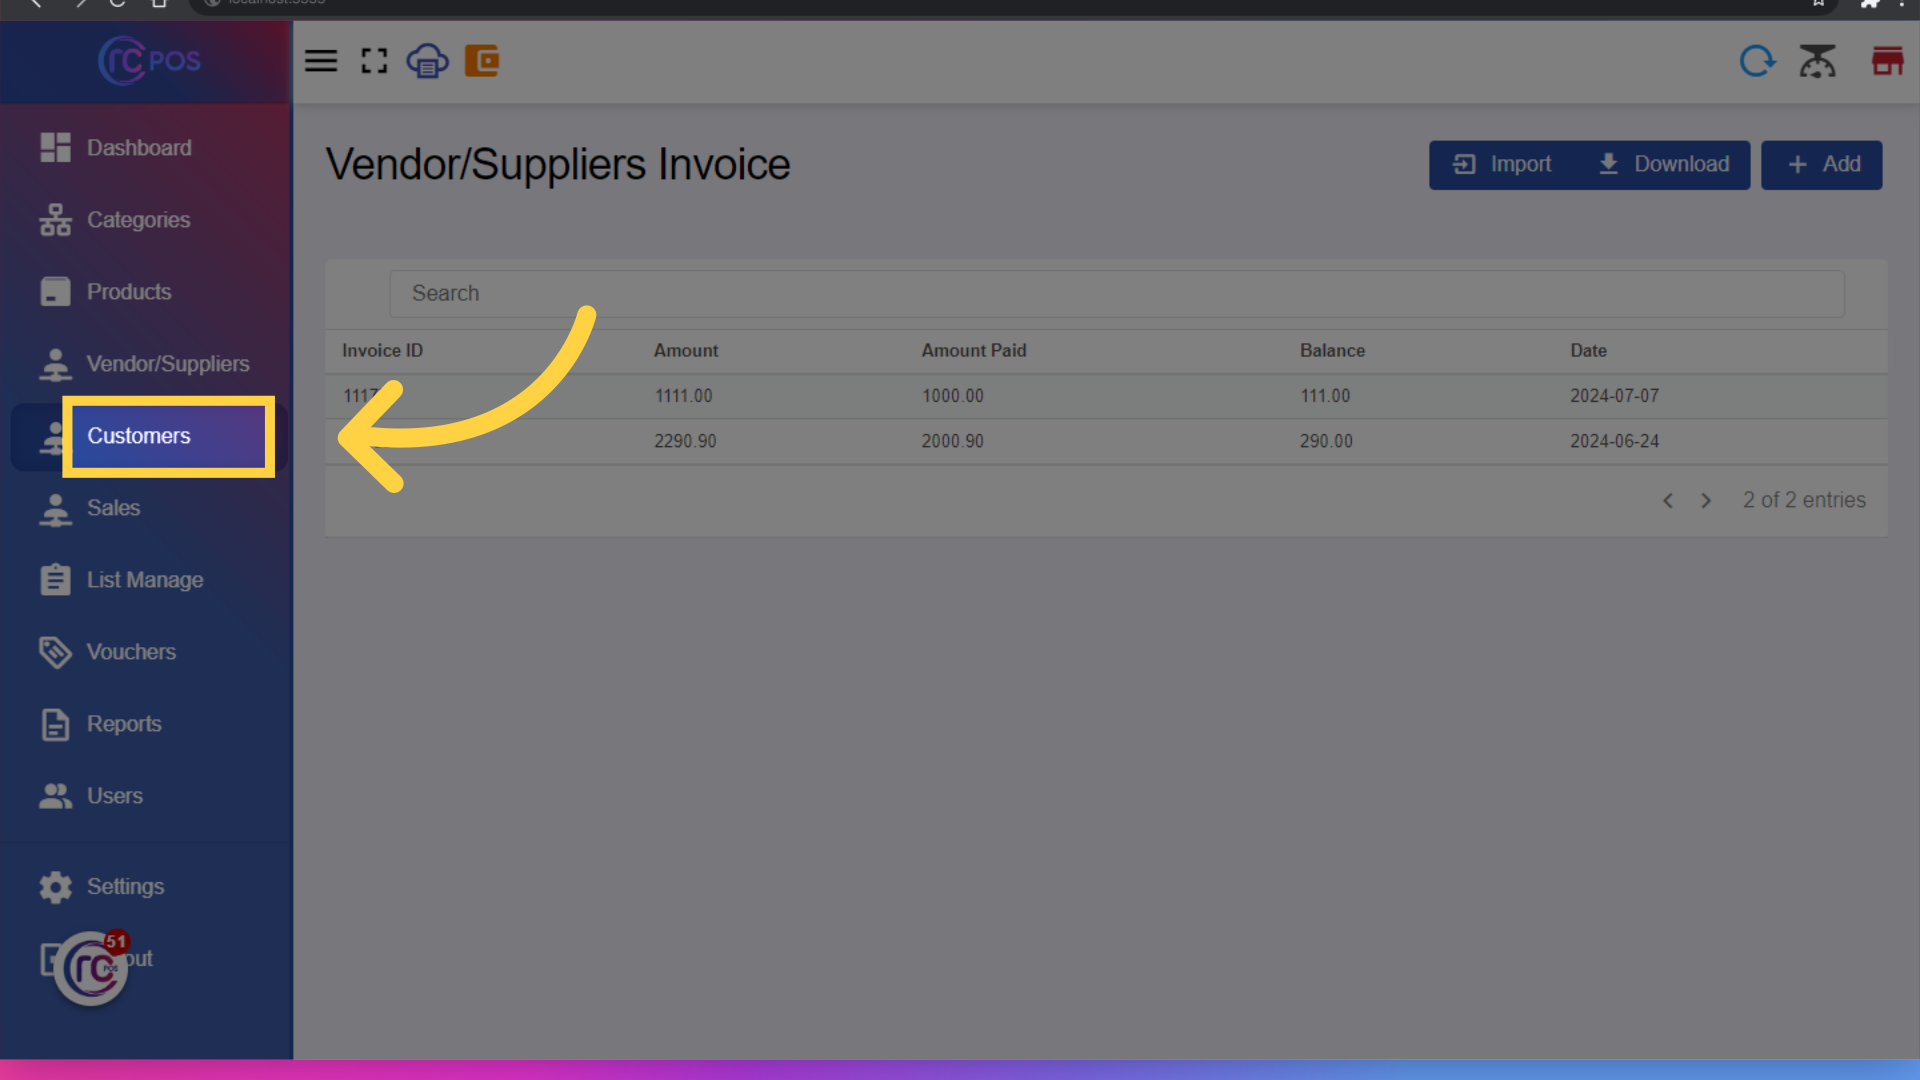
43. Click "Customers"
to access the Customers section.Click on customer.
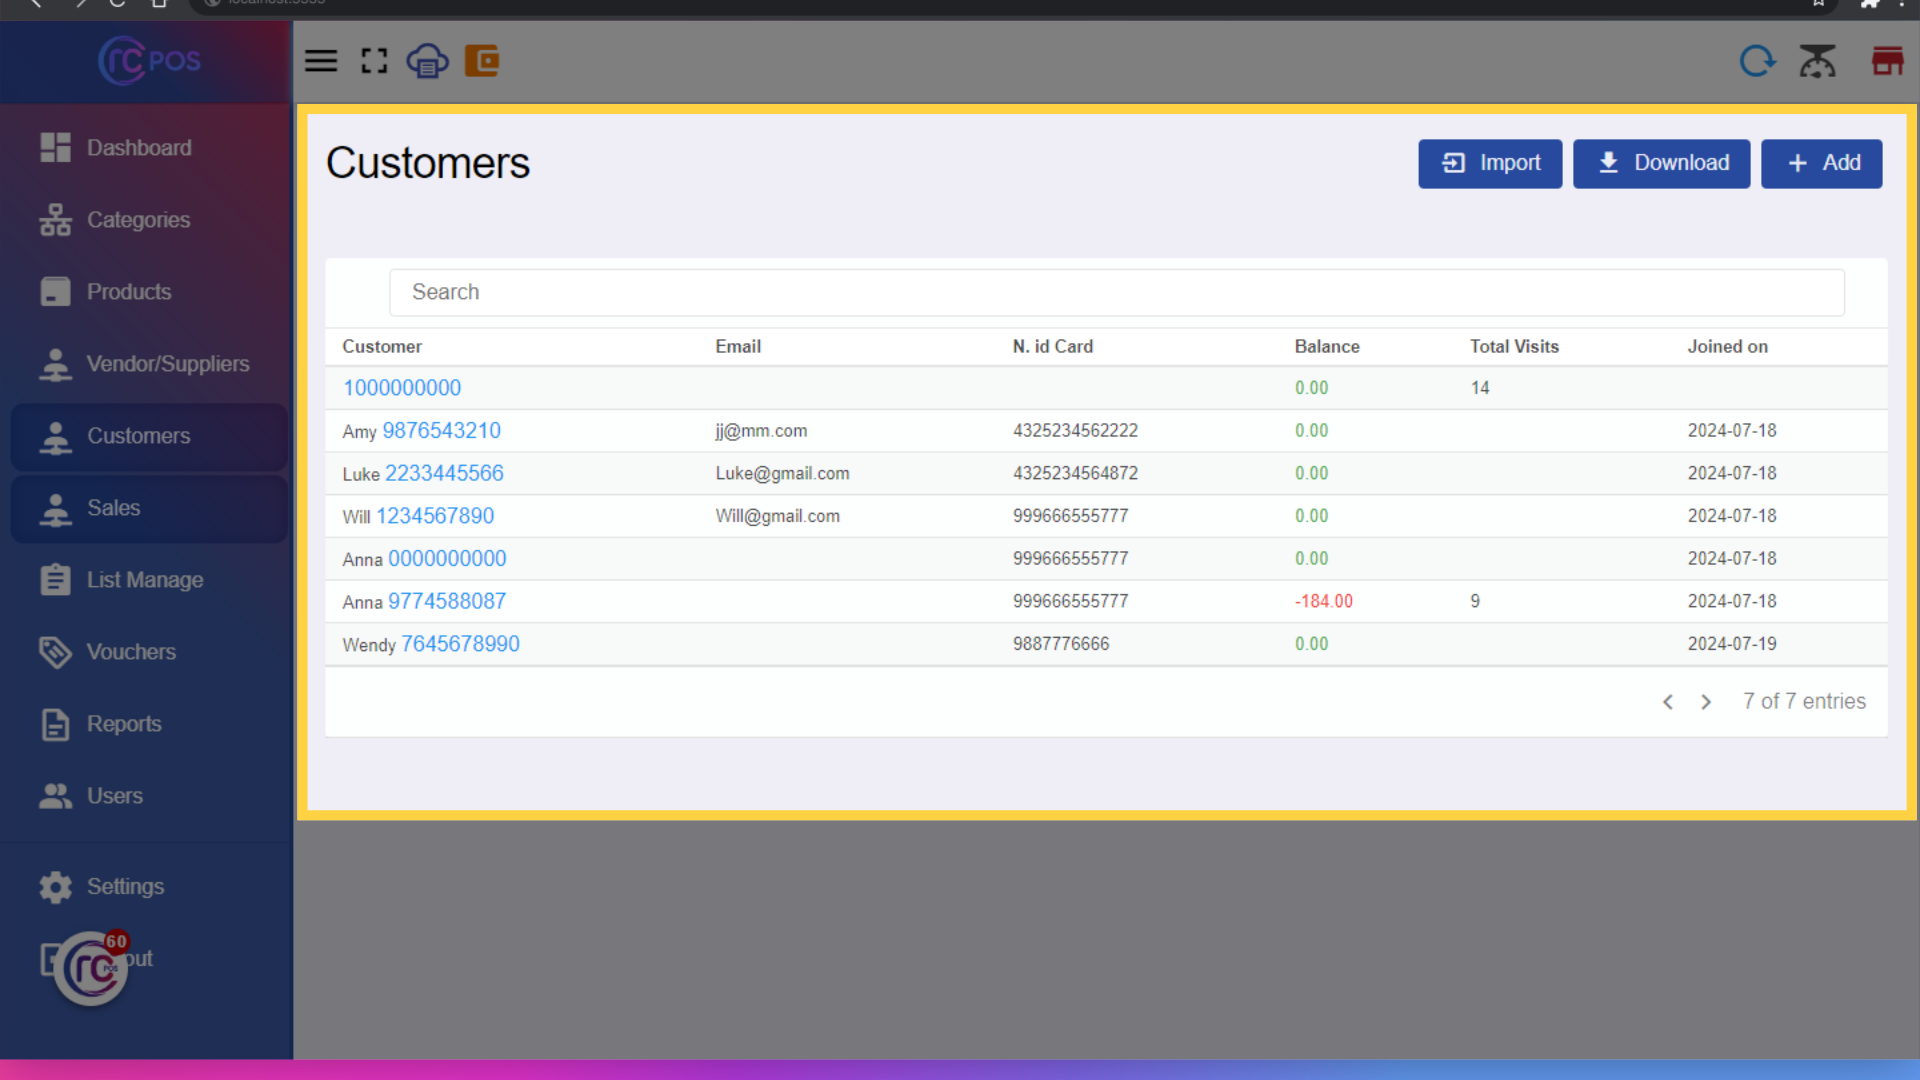
44. View "Customer"
You can Add/Manage Customers: by entering and managing the customer information.
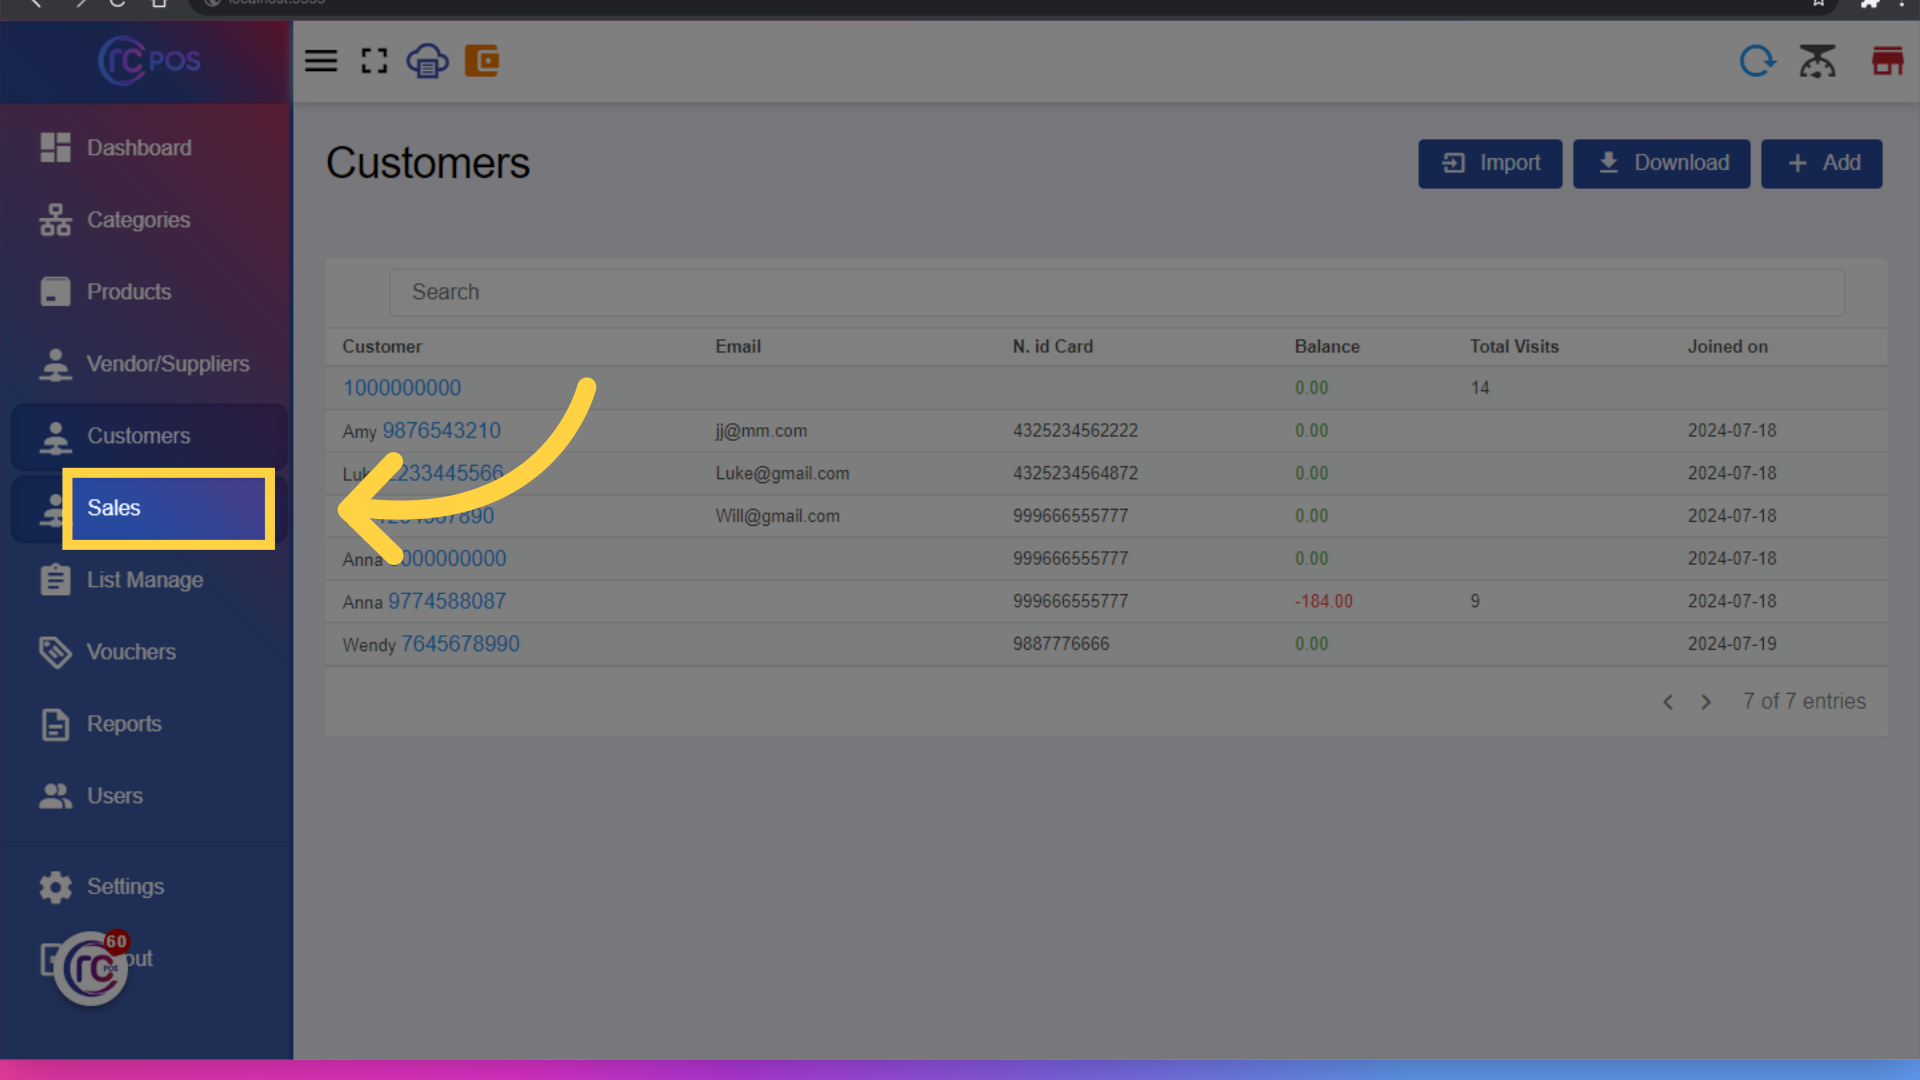
45. Click "Sales"
to access the sales section.Click here
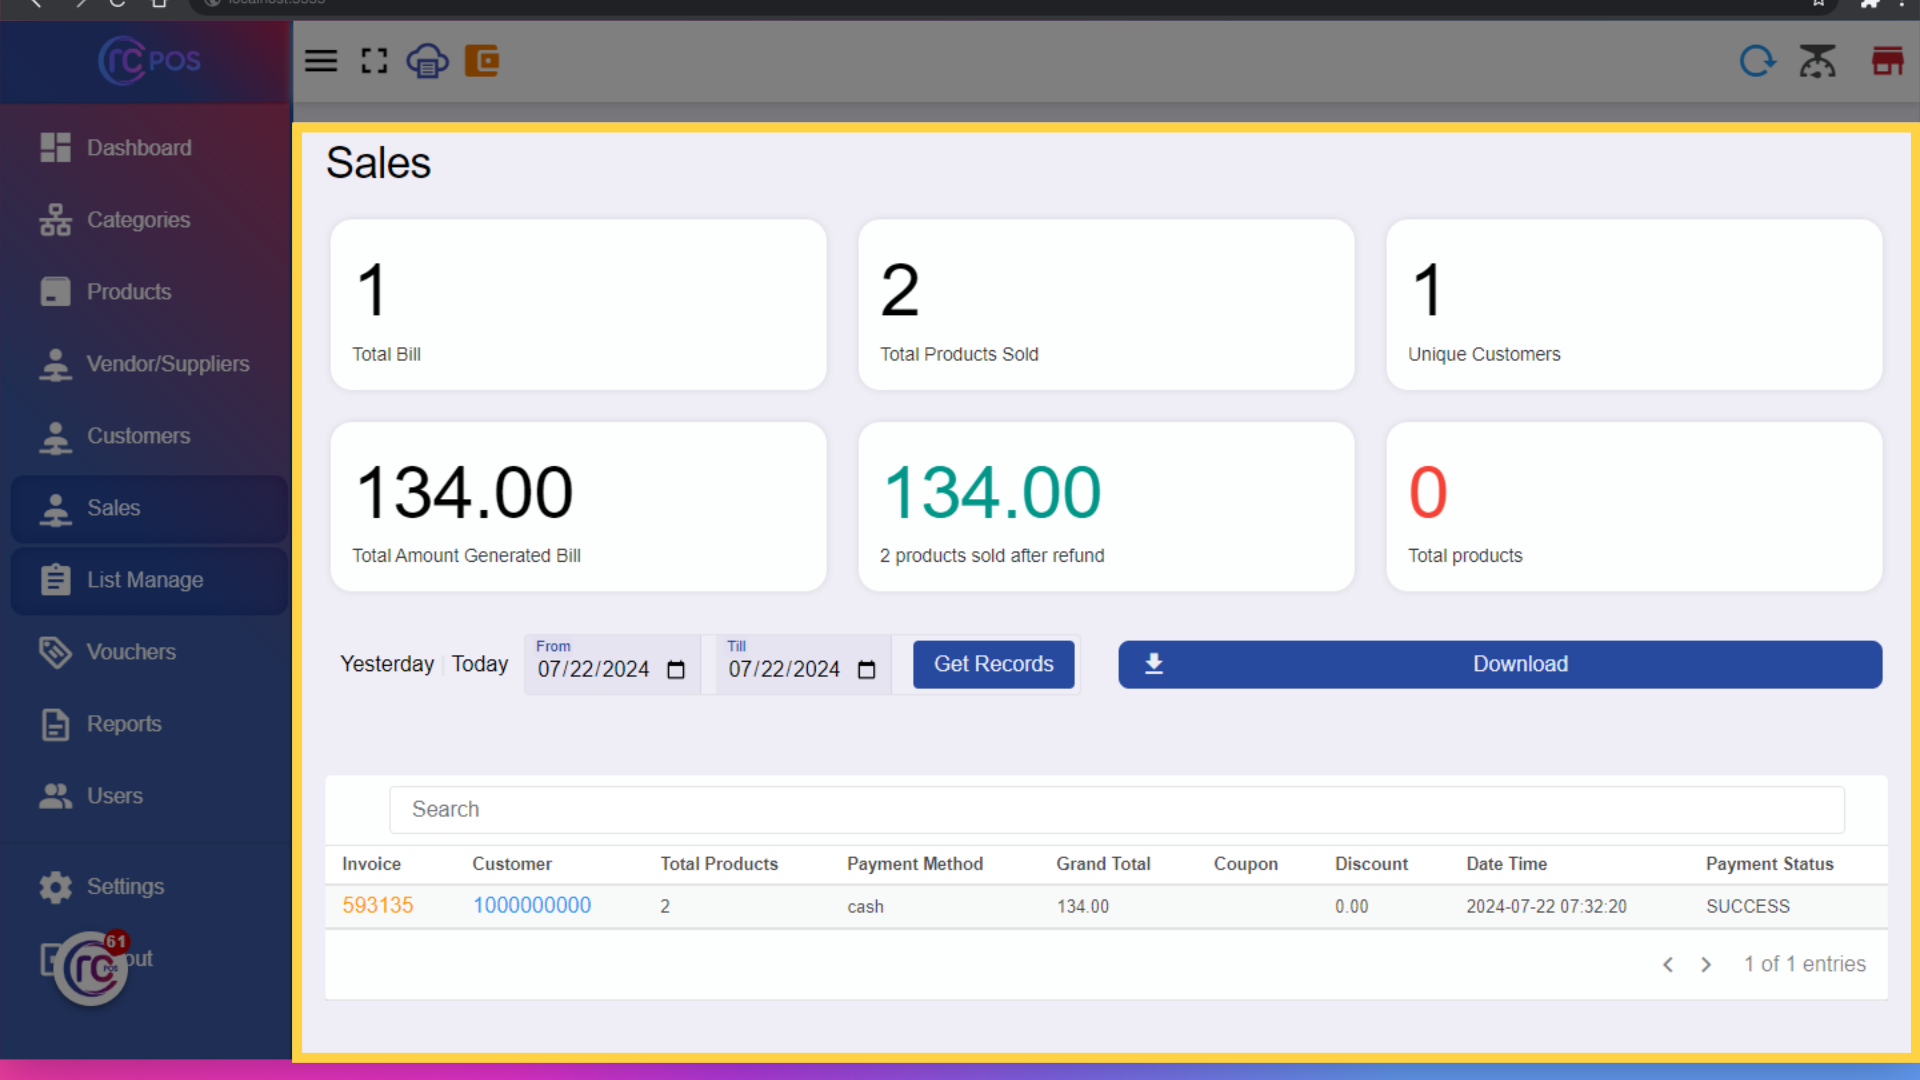
46. View "Sales"
You can View sales data by date to analyze business performance over specific periods.
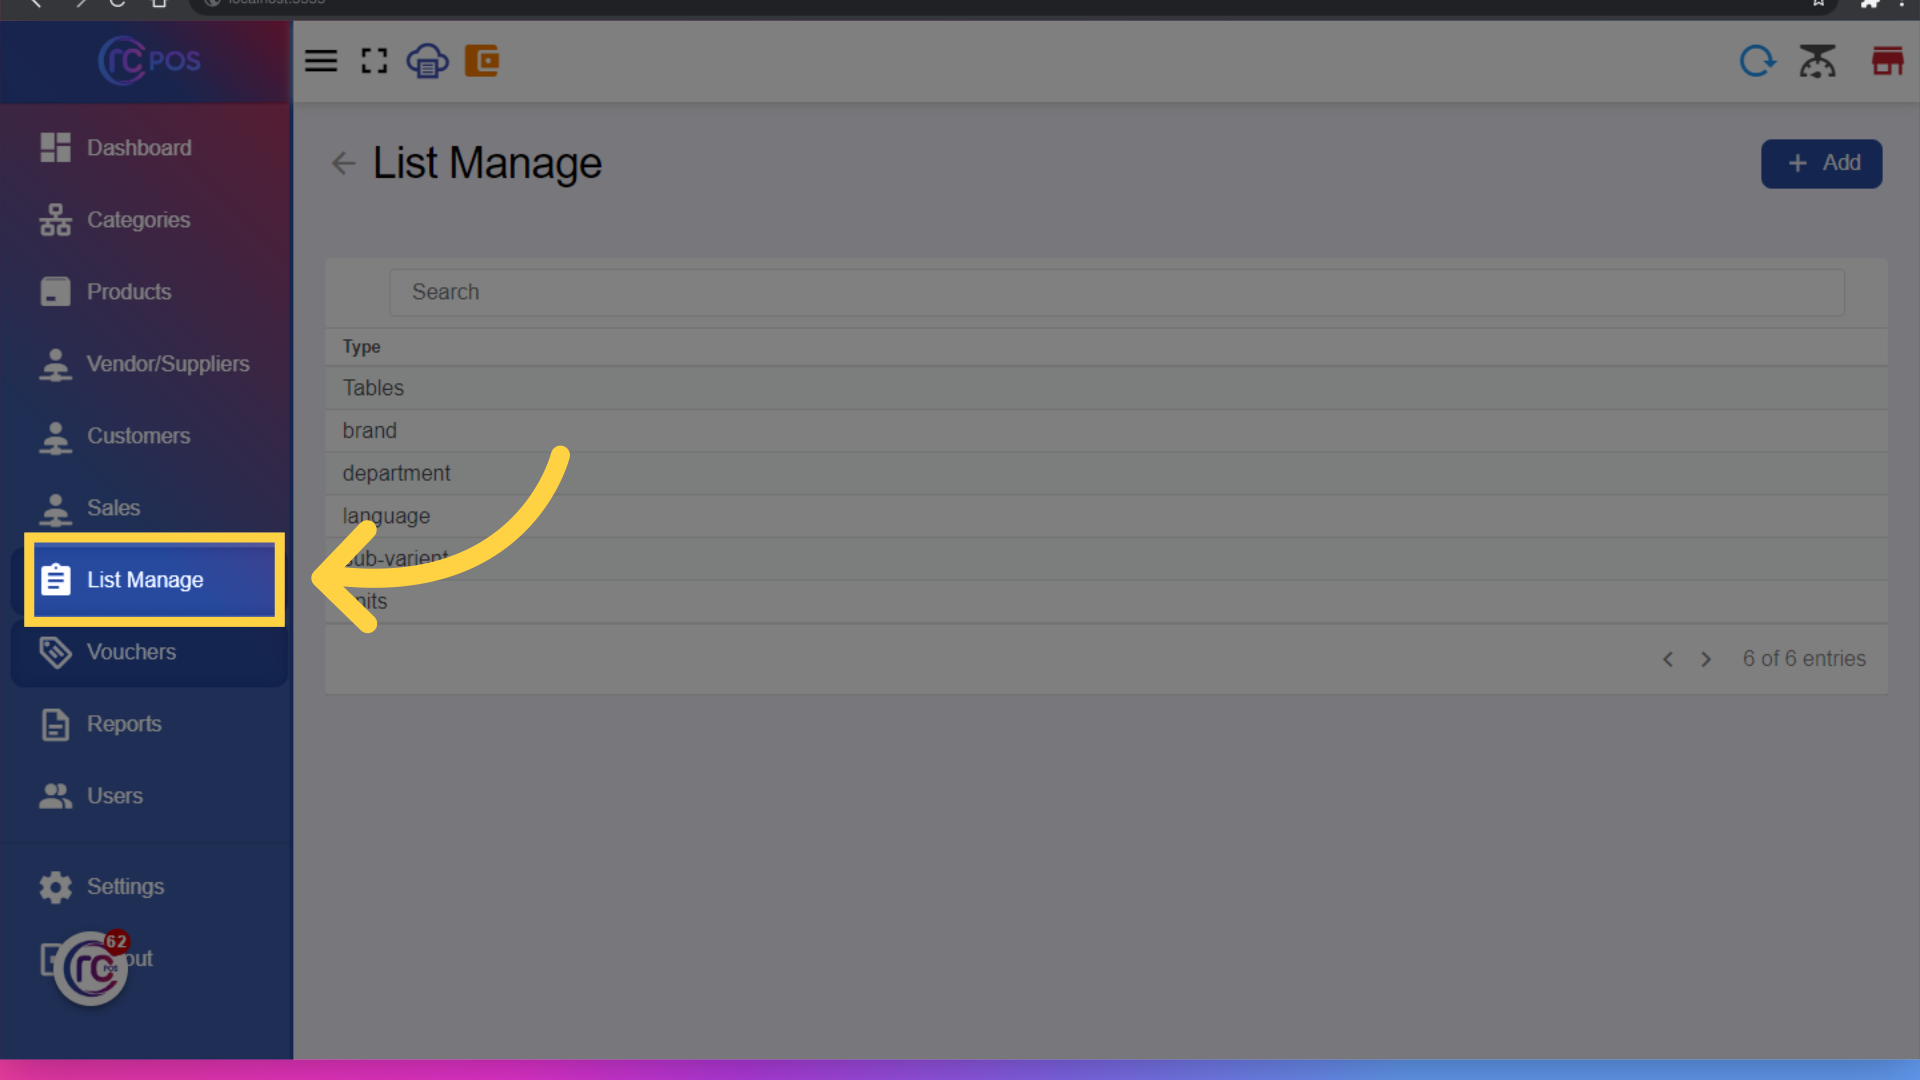
47. Click "List Manage"
Click List Manage
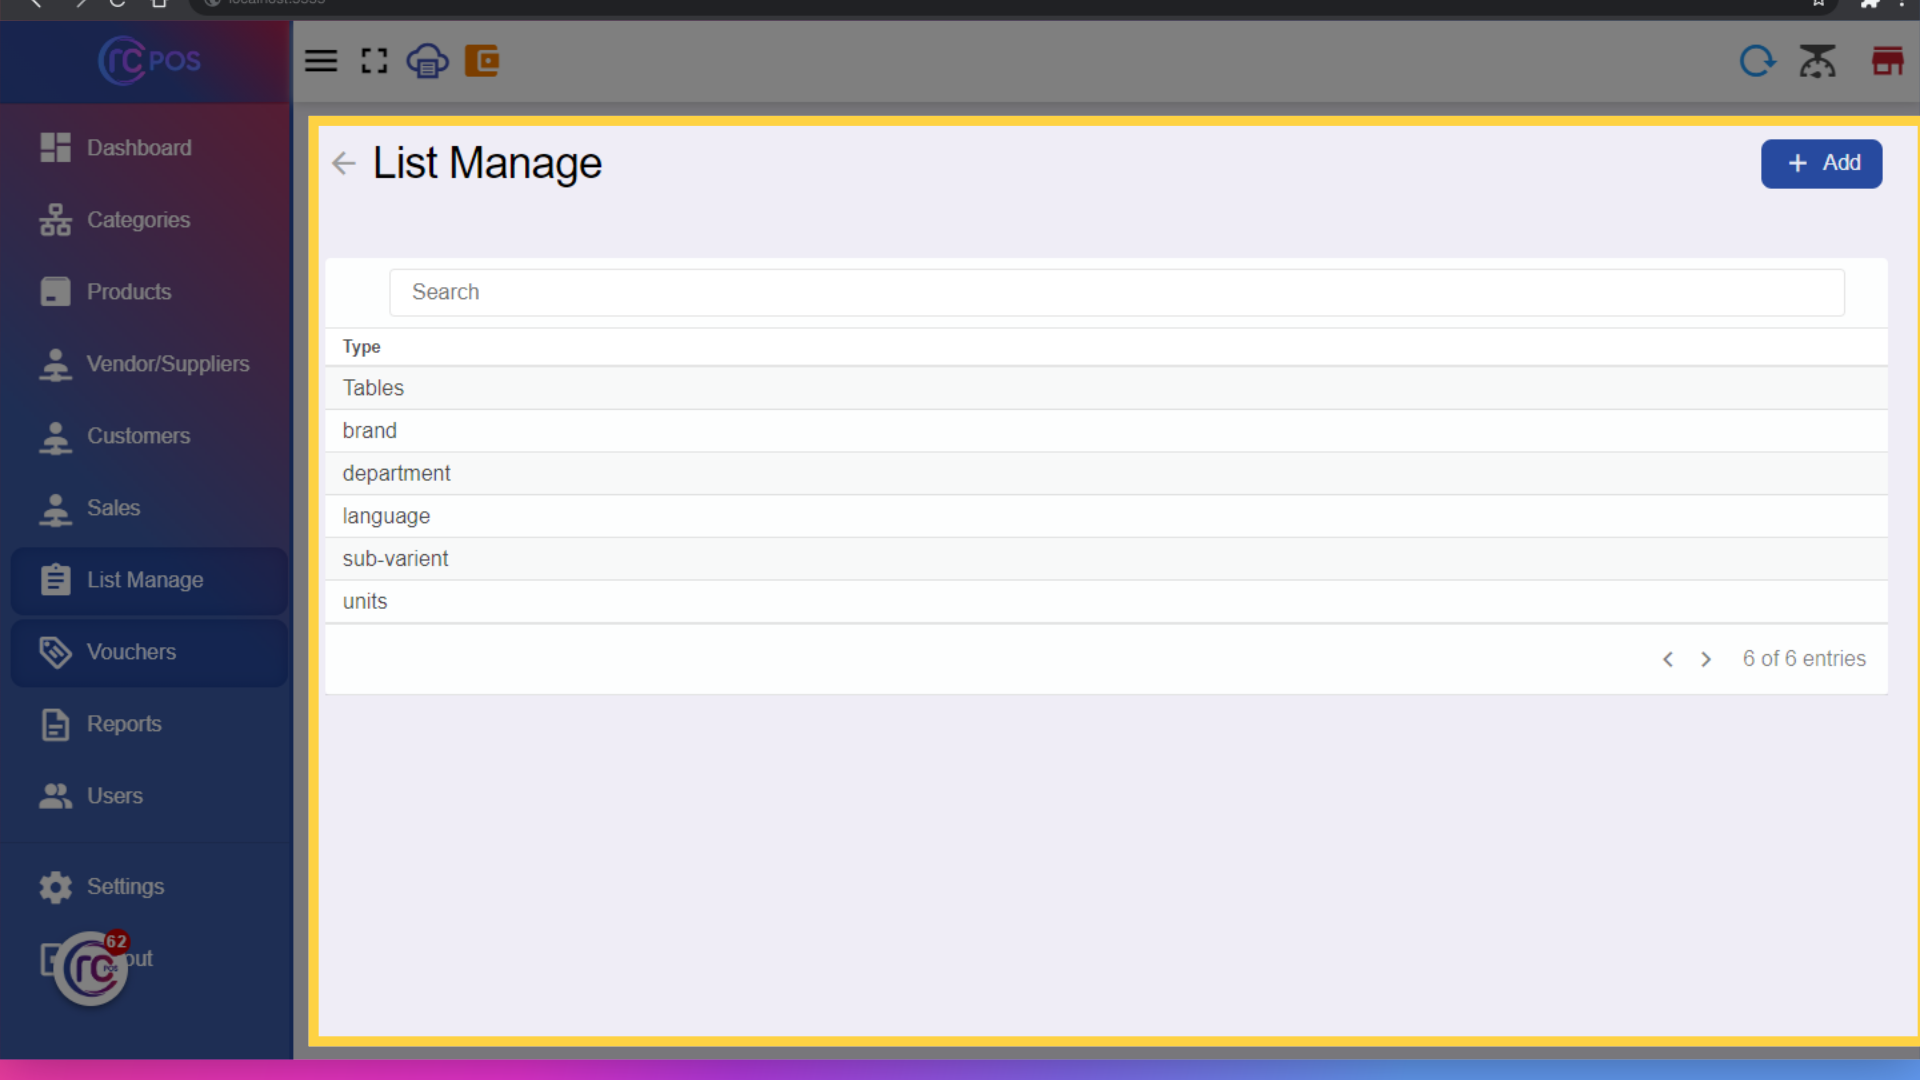
48. View "List Manage"
to access the List Manage section.
49. Click here
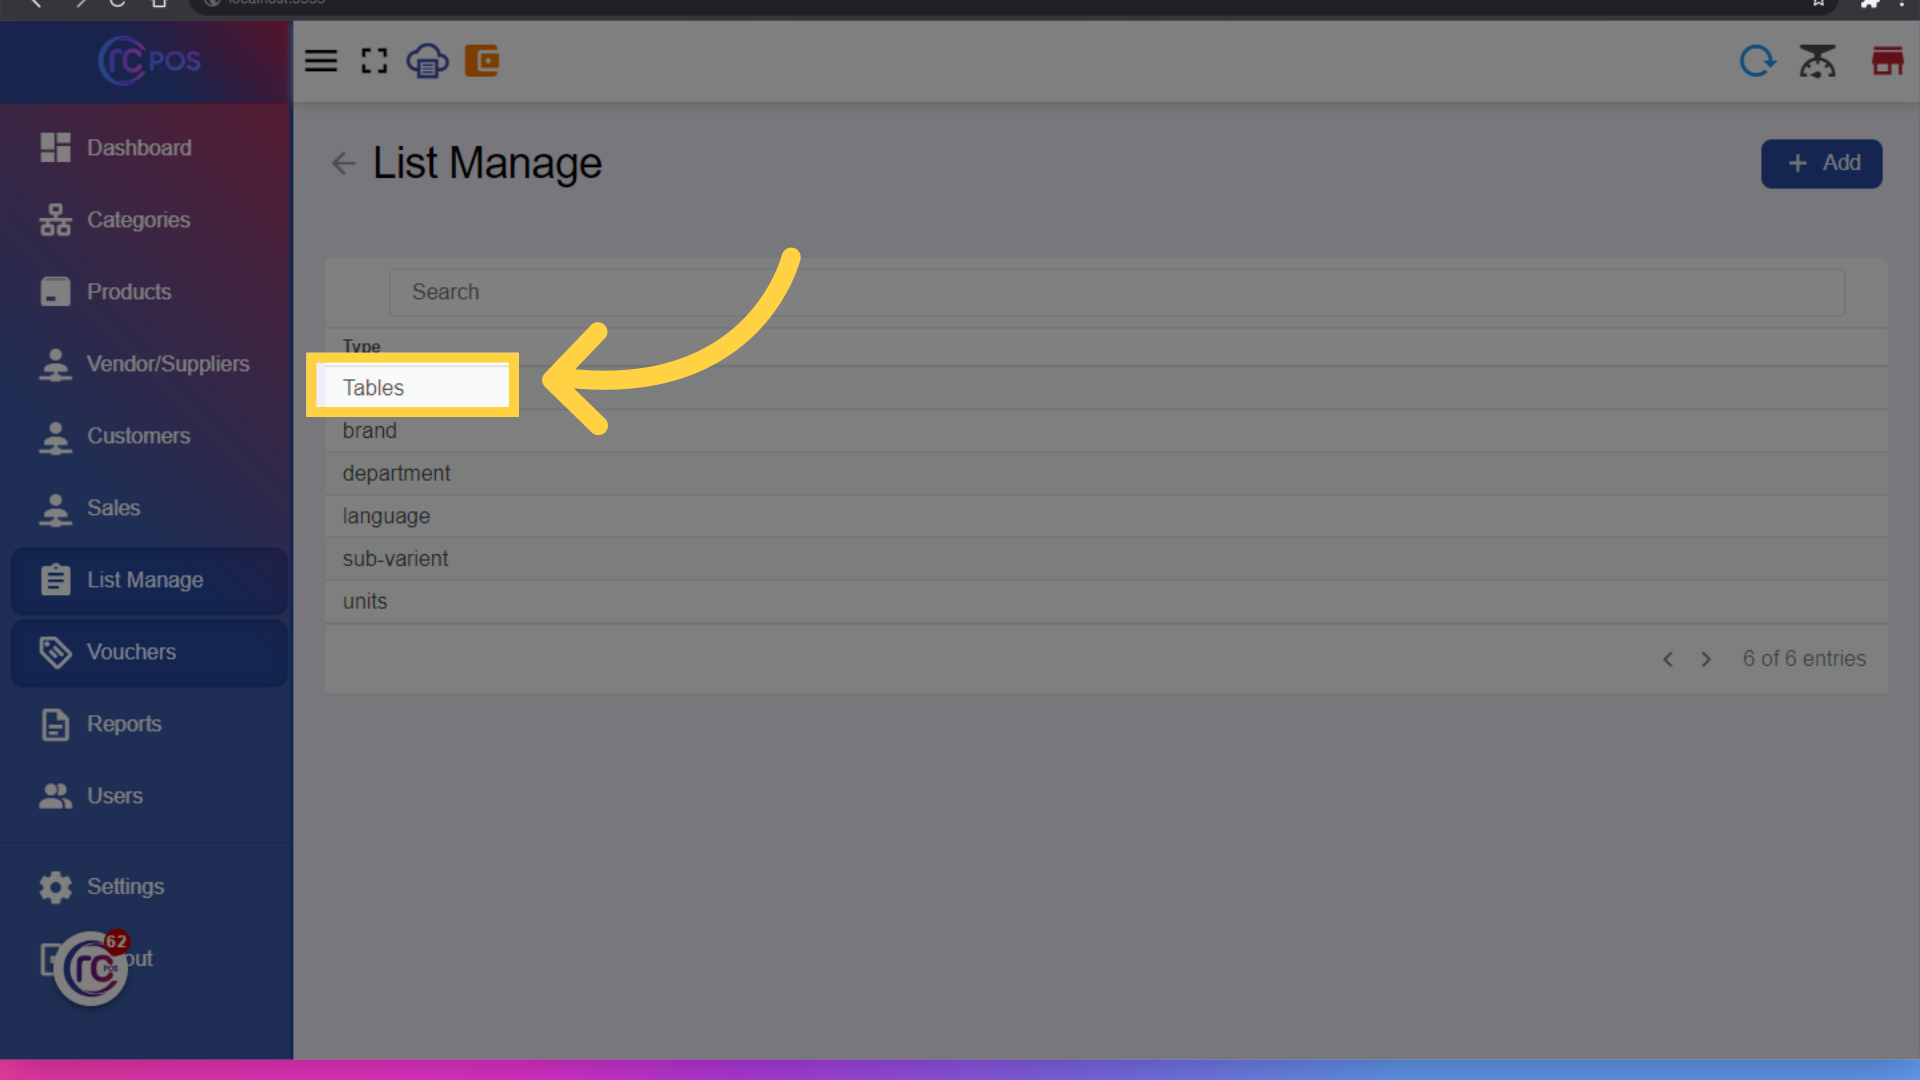
Click on table to manage table.
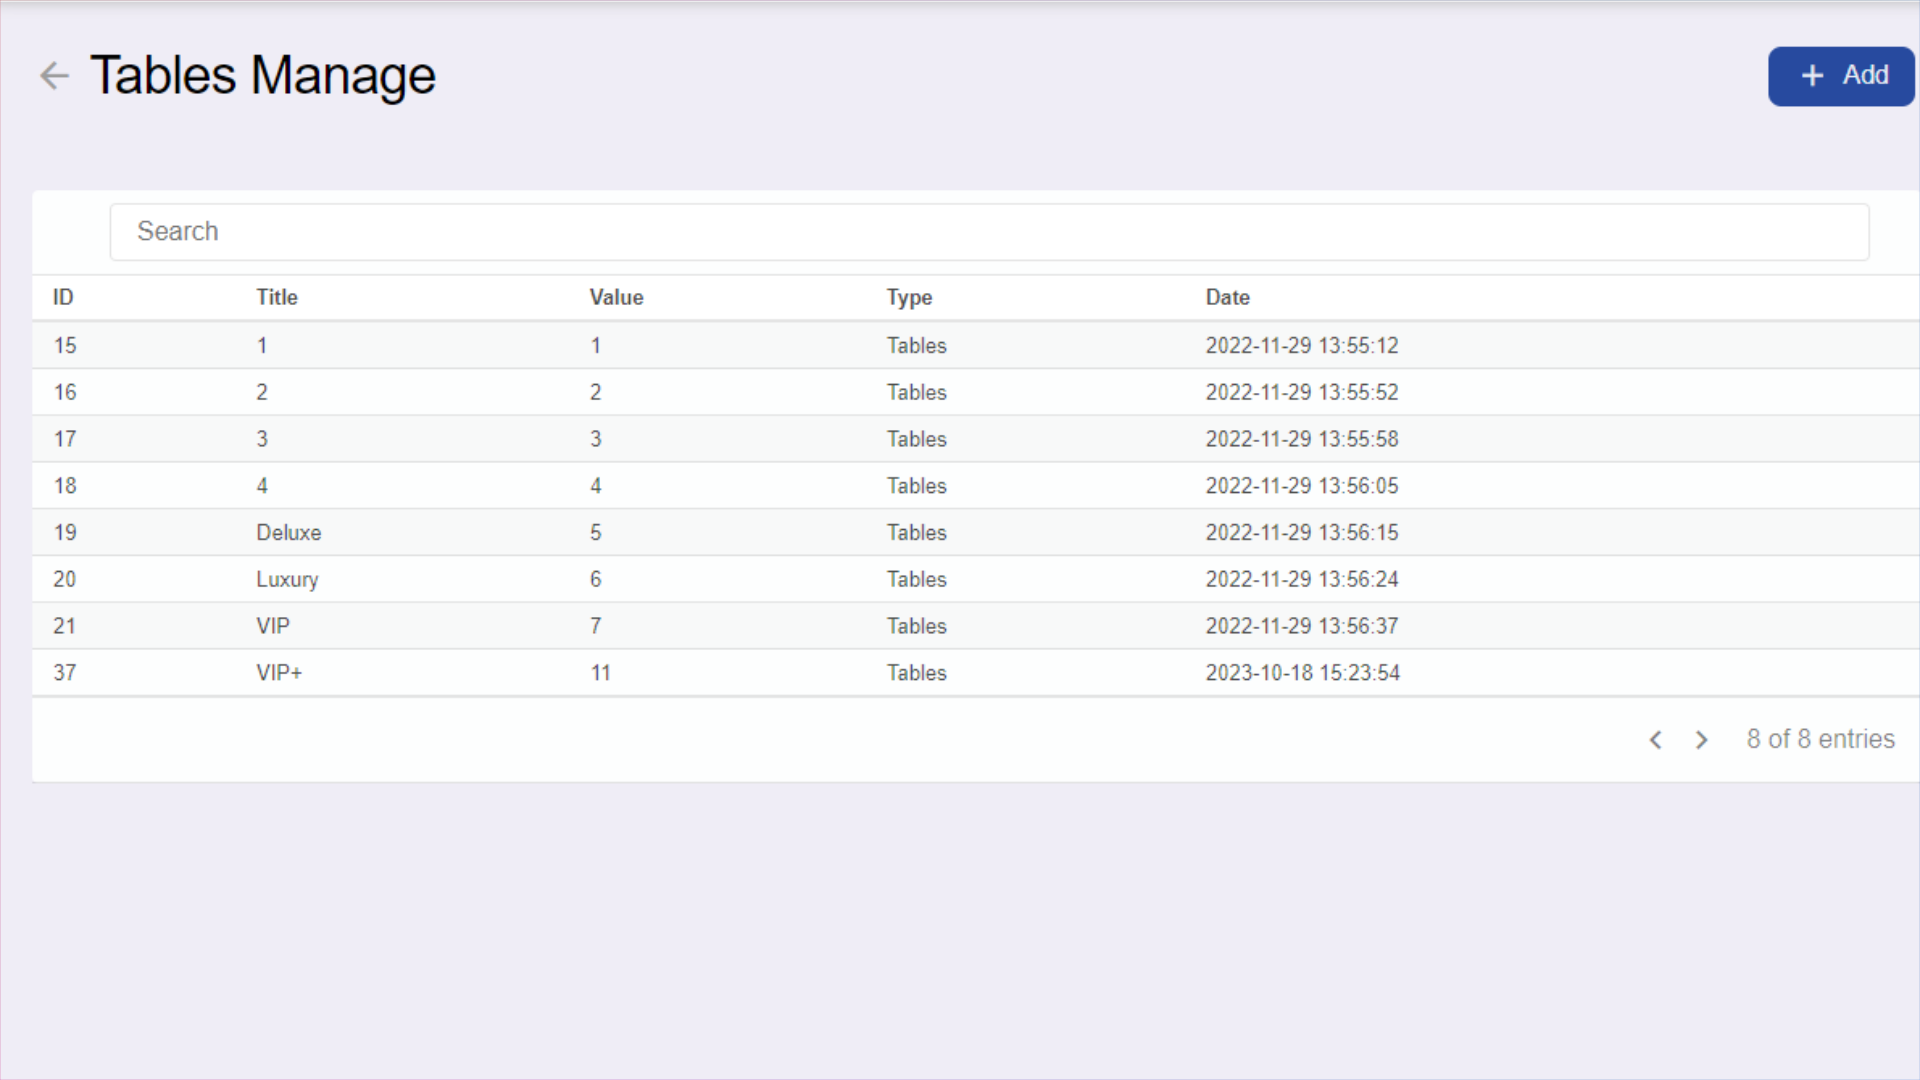
50.Manage Table
To manage table numbers for restaurant mode or any other way it can be used incase you want to appoint a cabin/row/table/chair or something to customer.
51. Click here
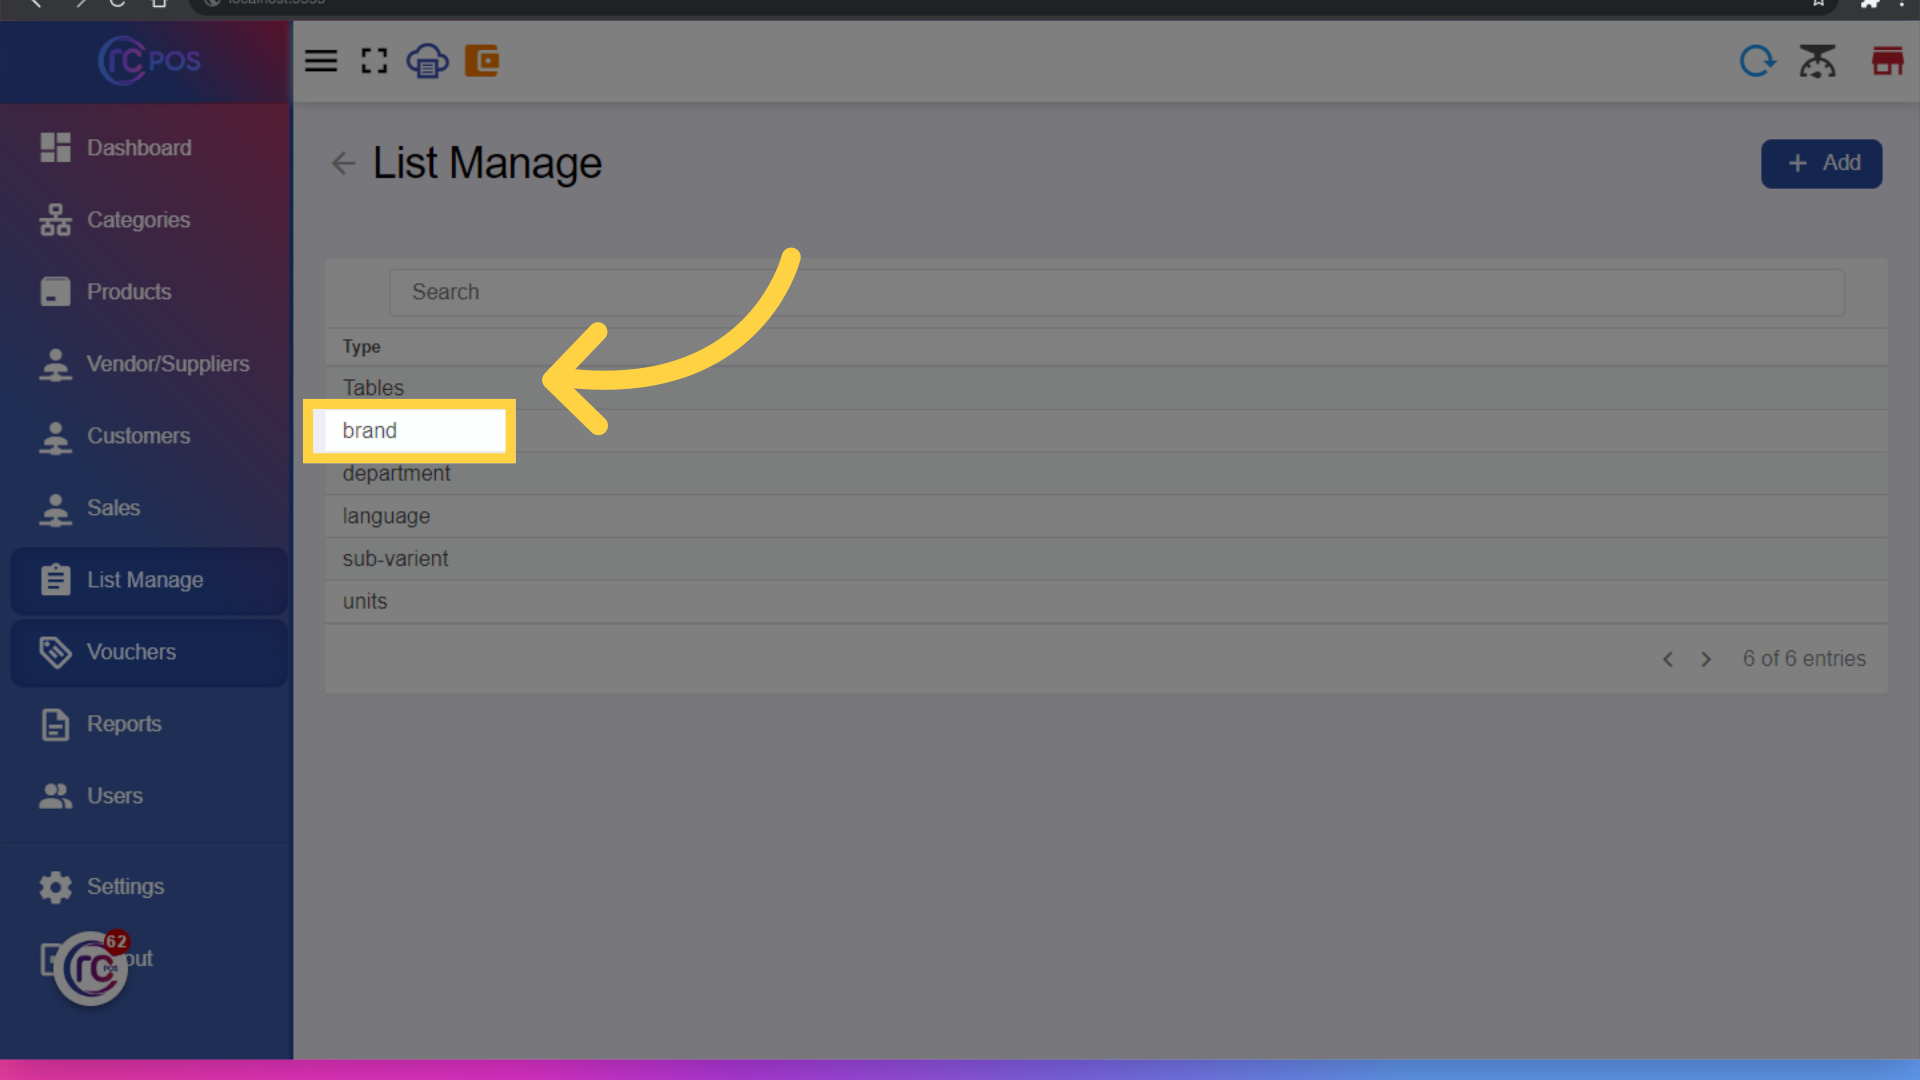
Click on brand
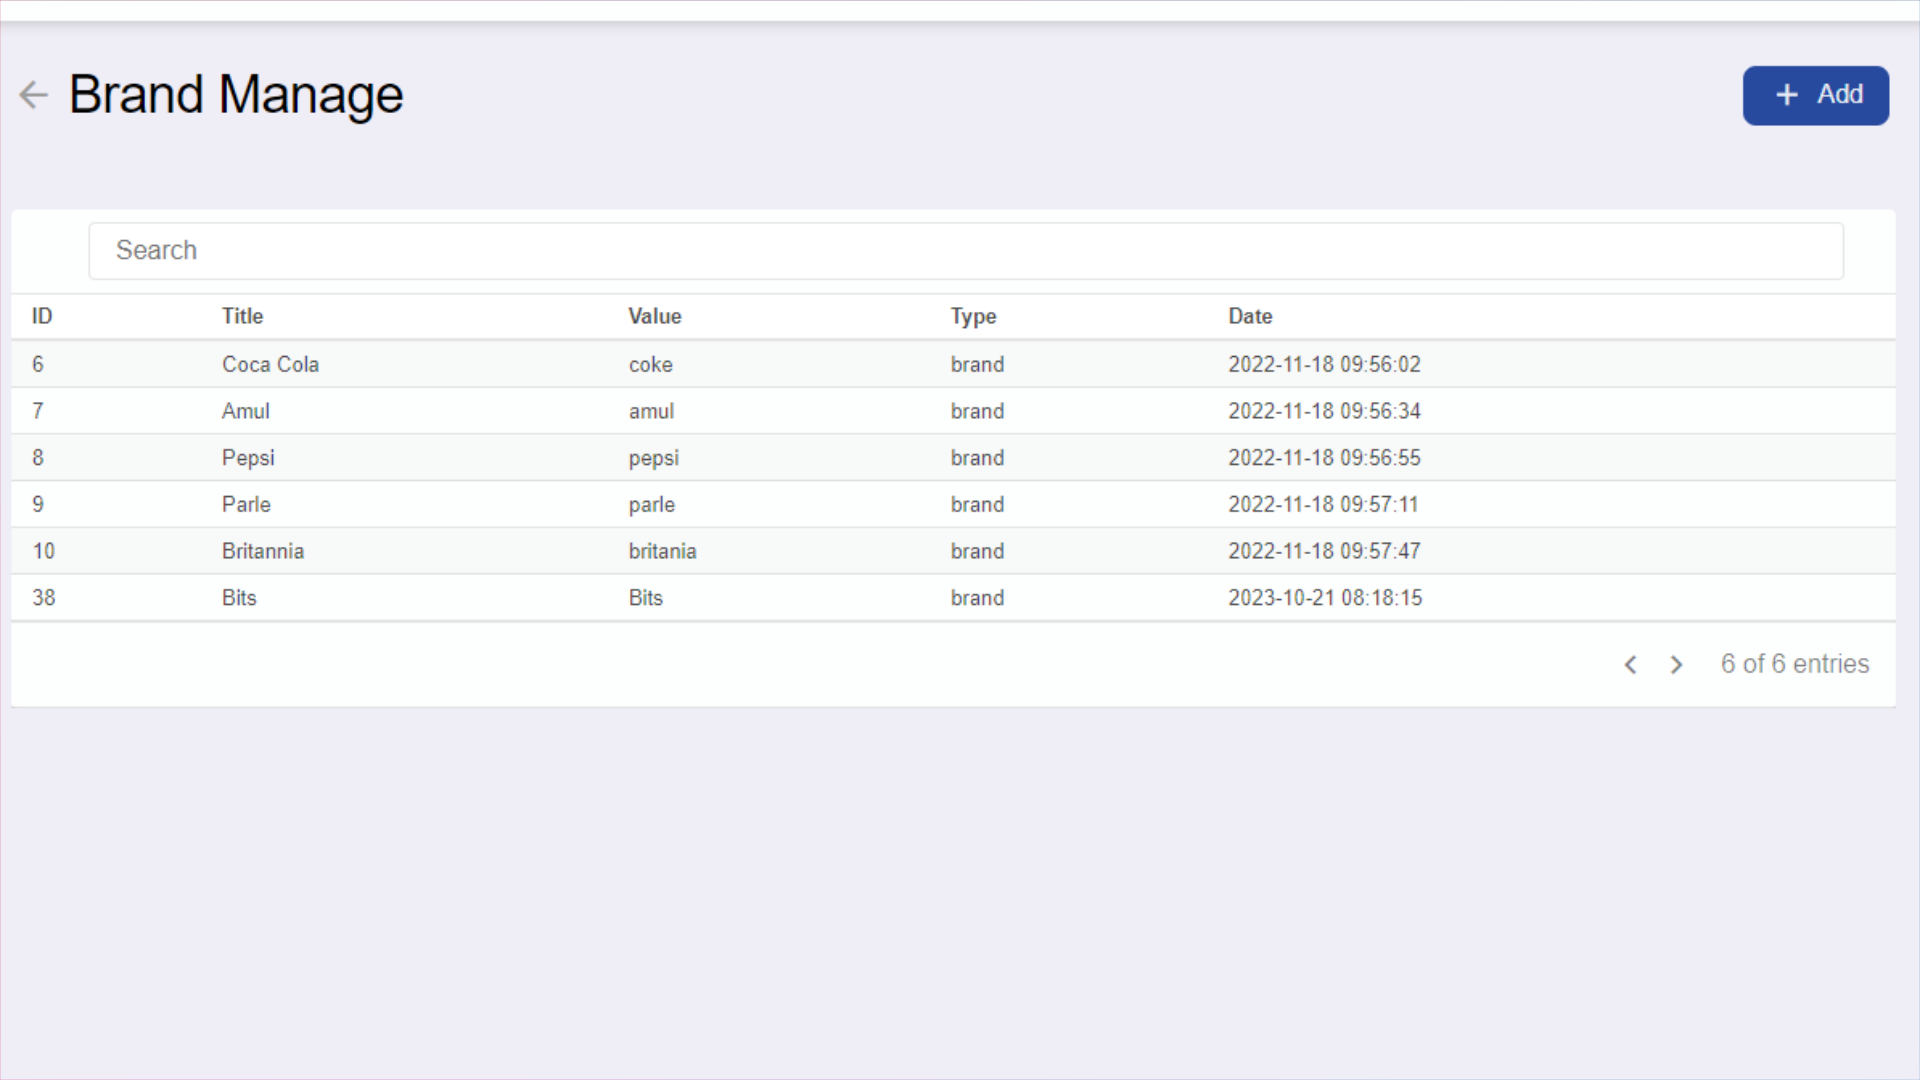
52.Manage Brands
For Managing Brands
53. Click here
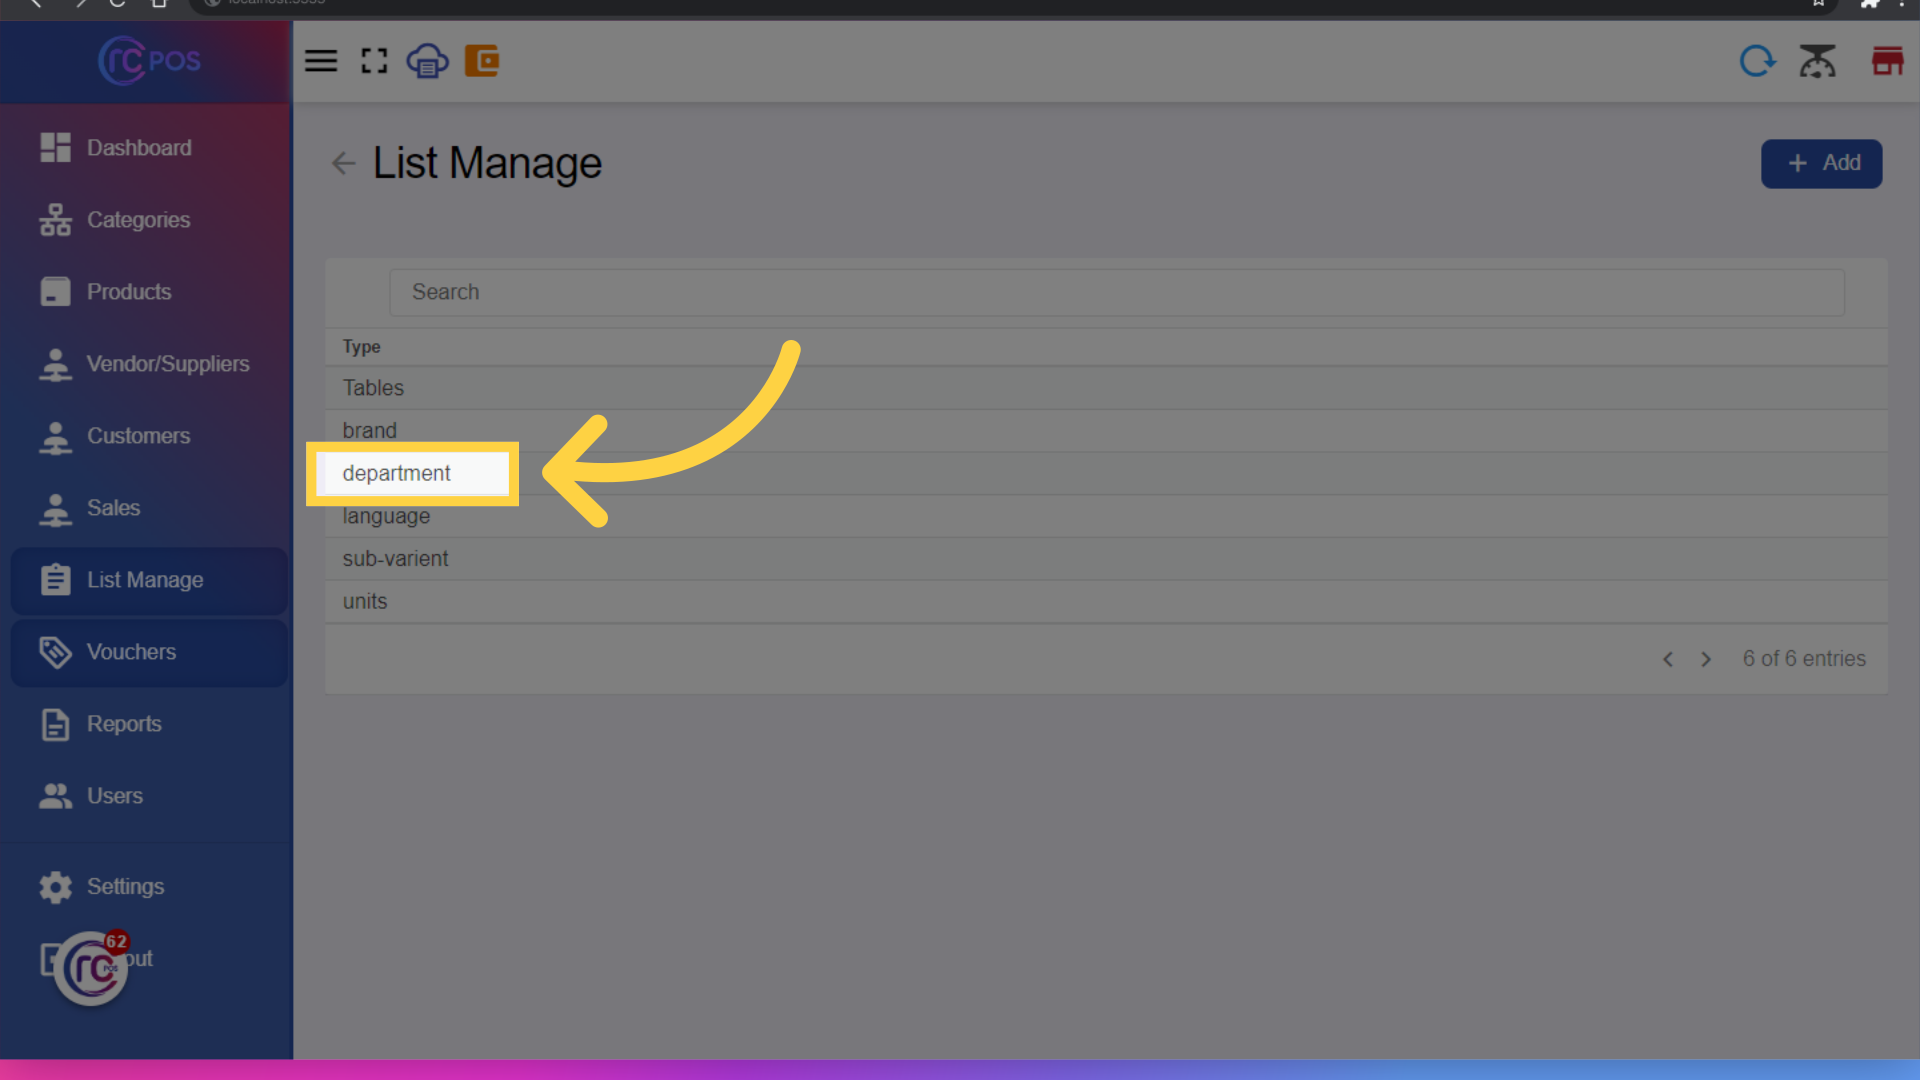
Click on department to manage department.
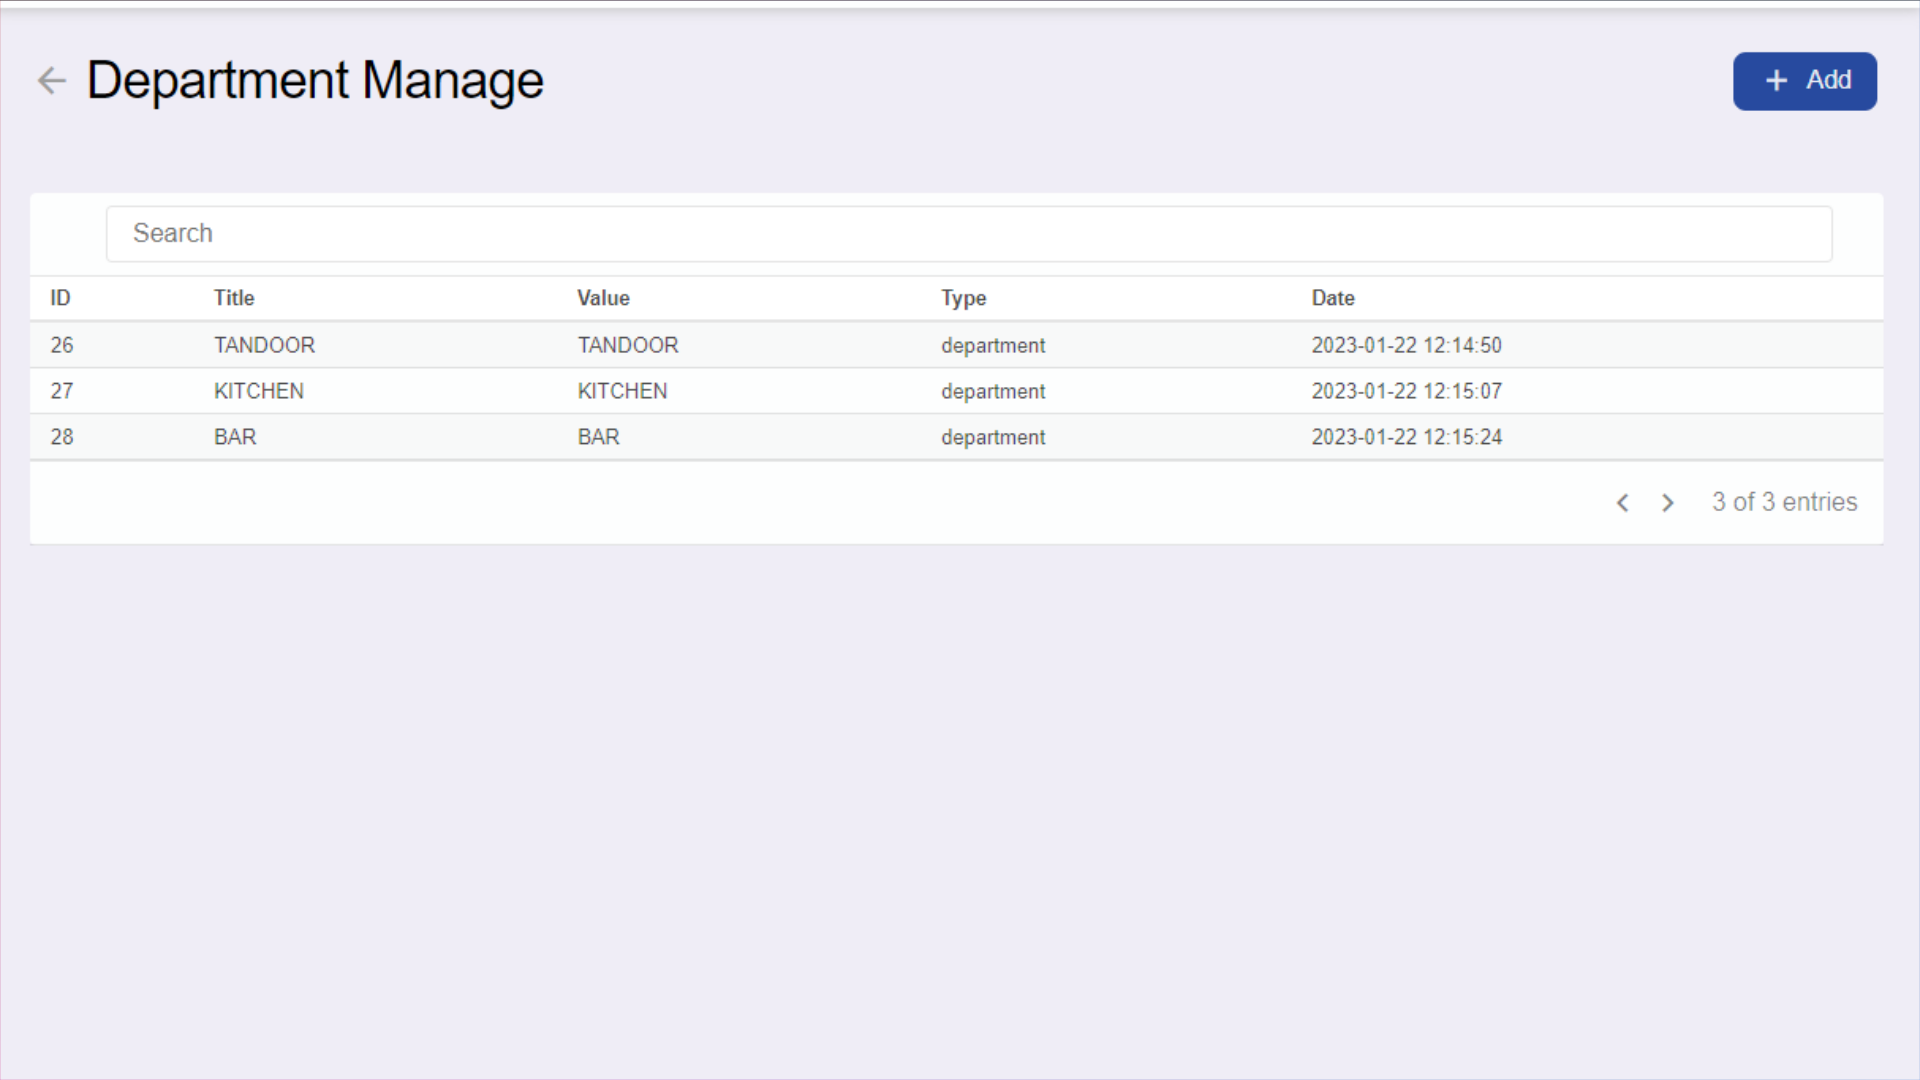
54. Manage Department
These are the Department used like Kitchen/Bar/Tandoor etc and if there is Printer allocated there then it will will print to that department too on every sales. Note: The Printer name and Department name should be matched and its Case Sensetive. Example: Department name is "KITCHEN" then the printer which is situated to Kitchen also should be named as "KITCHEN".
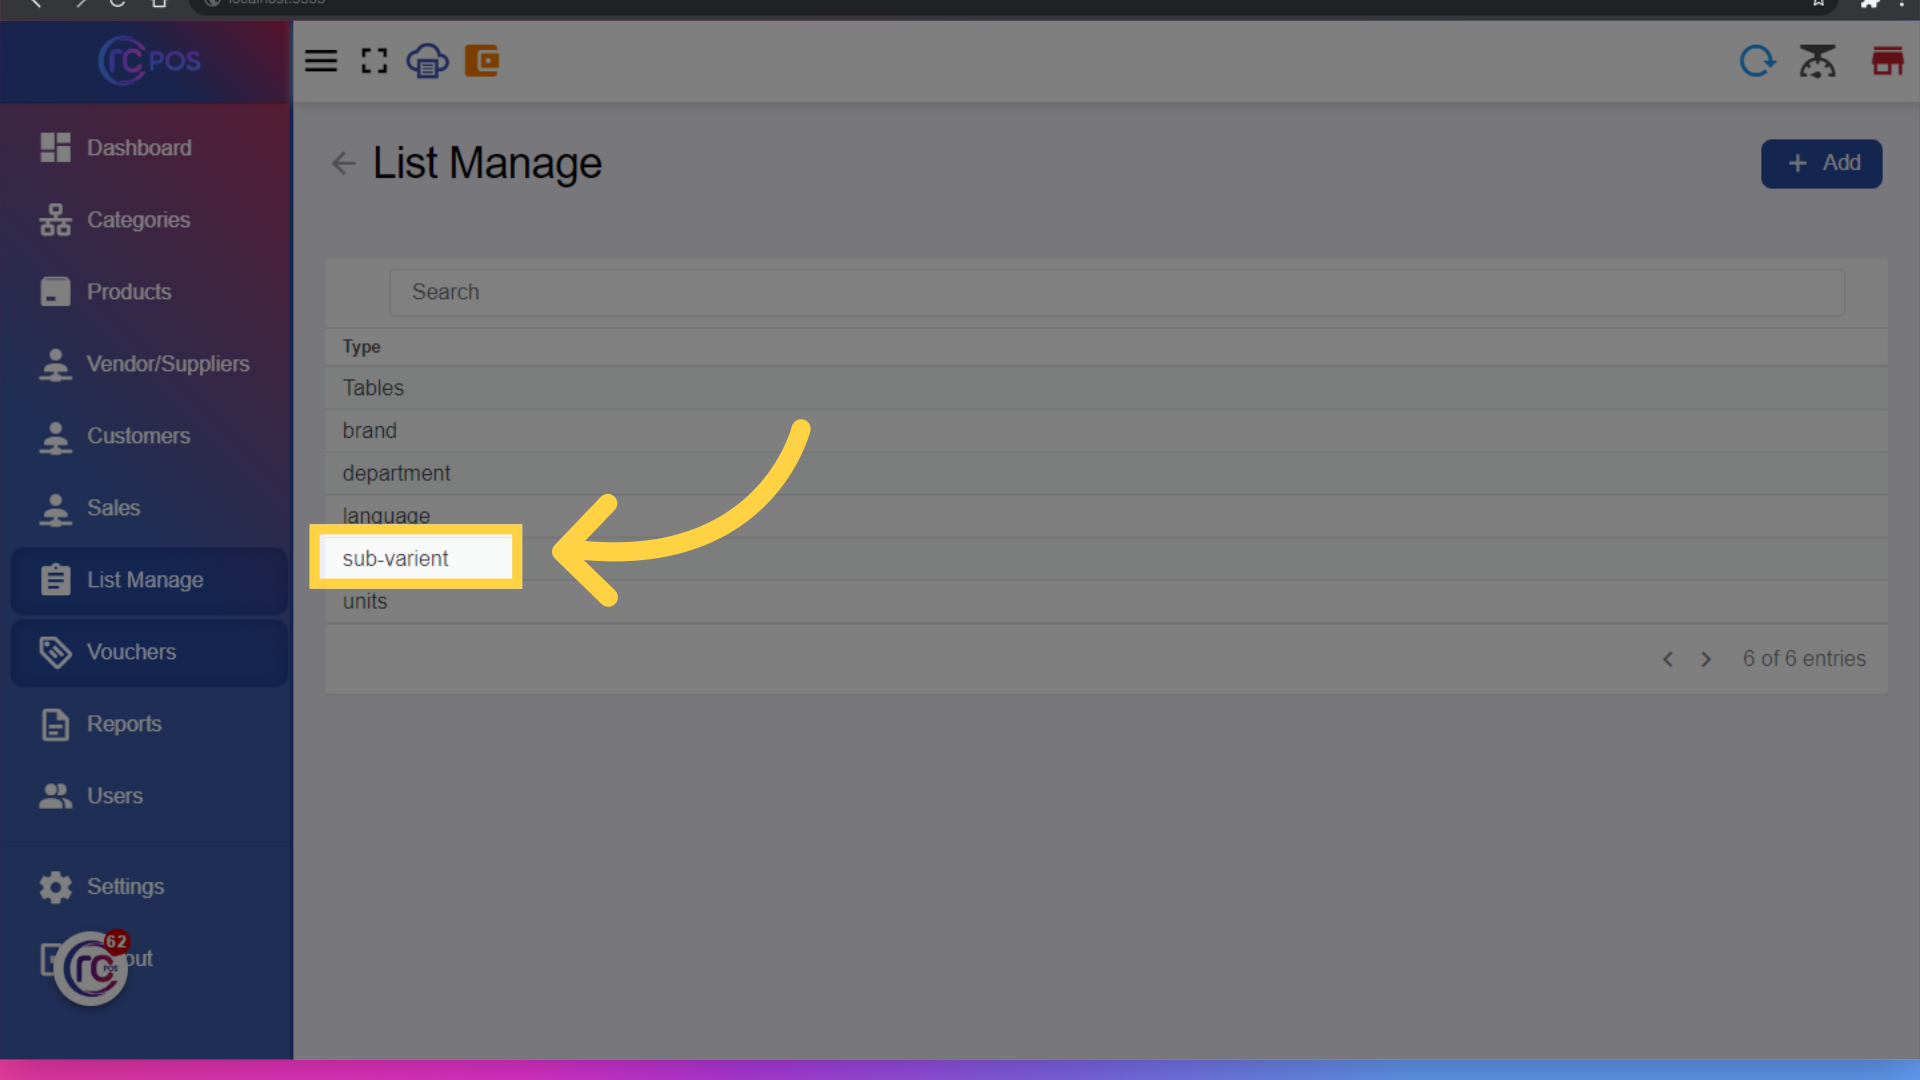
55. Click here
Click on sub variant to manage sub variants.
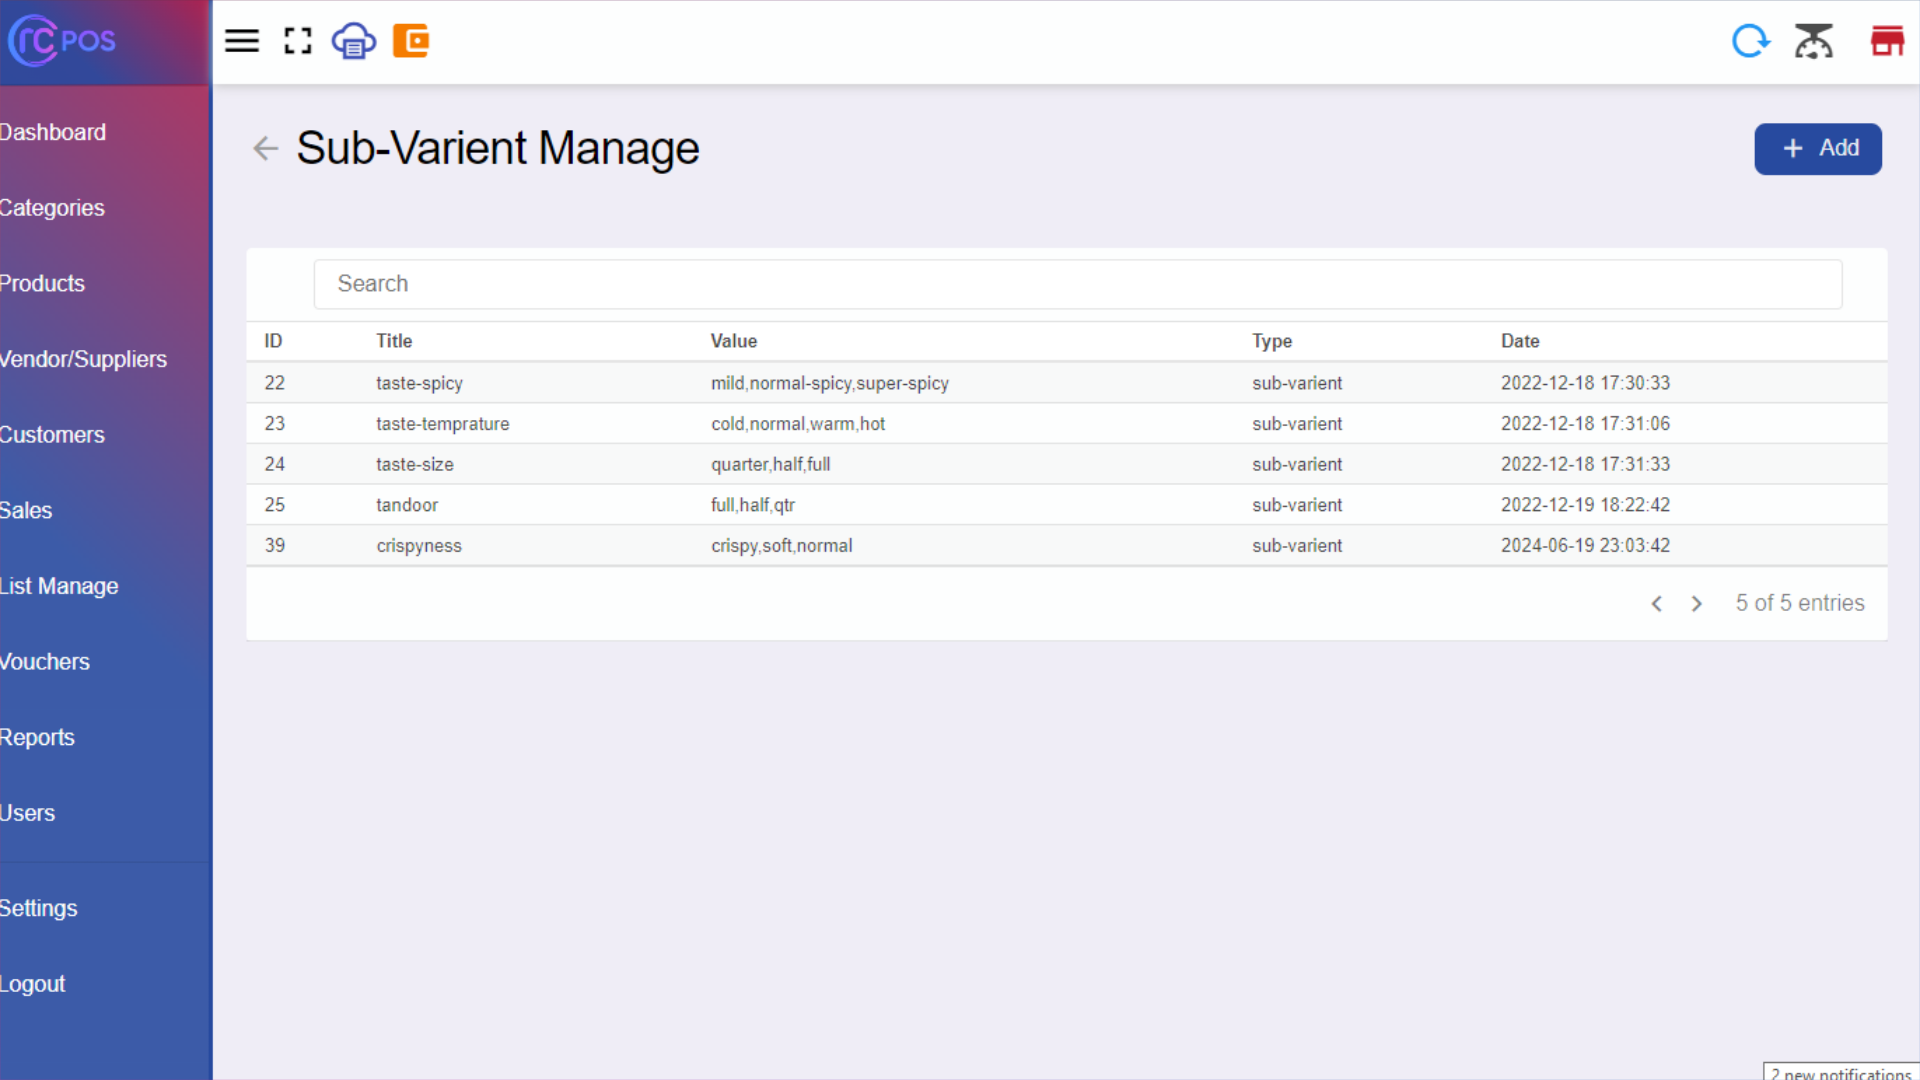
56.Manage Sub-Variants
Sub- Variants are the variant of particular product variants which doesn't need to be cost extra. Example: Chips (crispy,soft,normal) etc. So that it will popup on particular product is selected in POS.
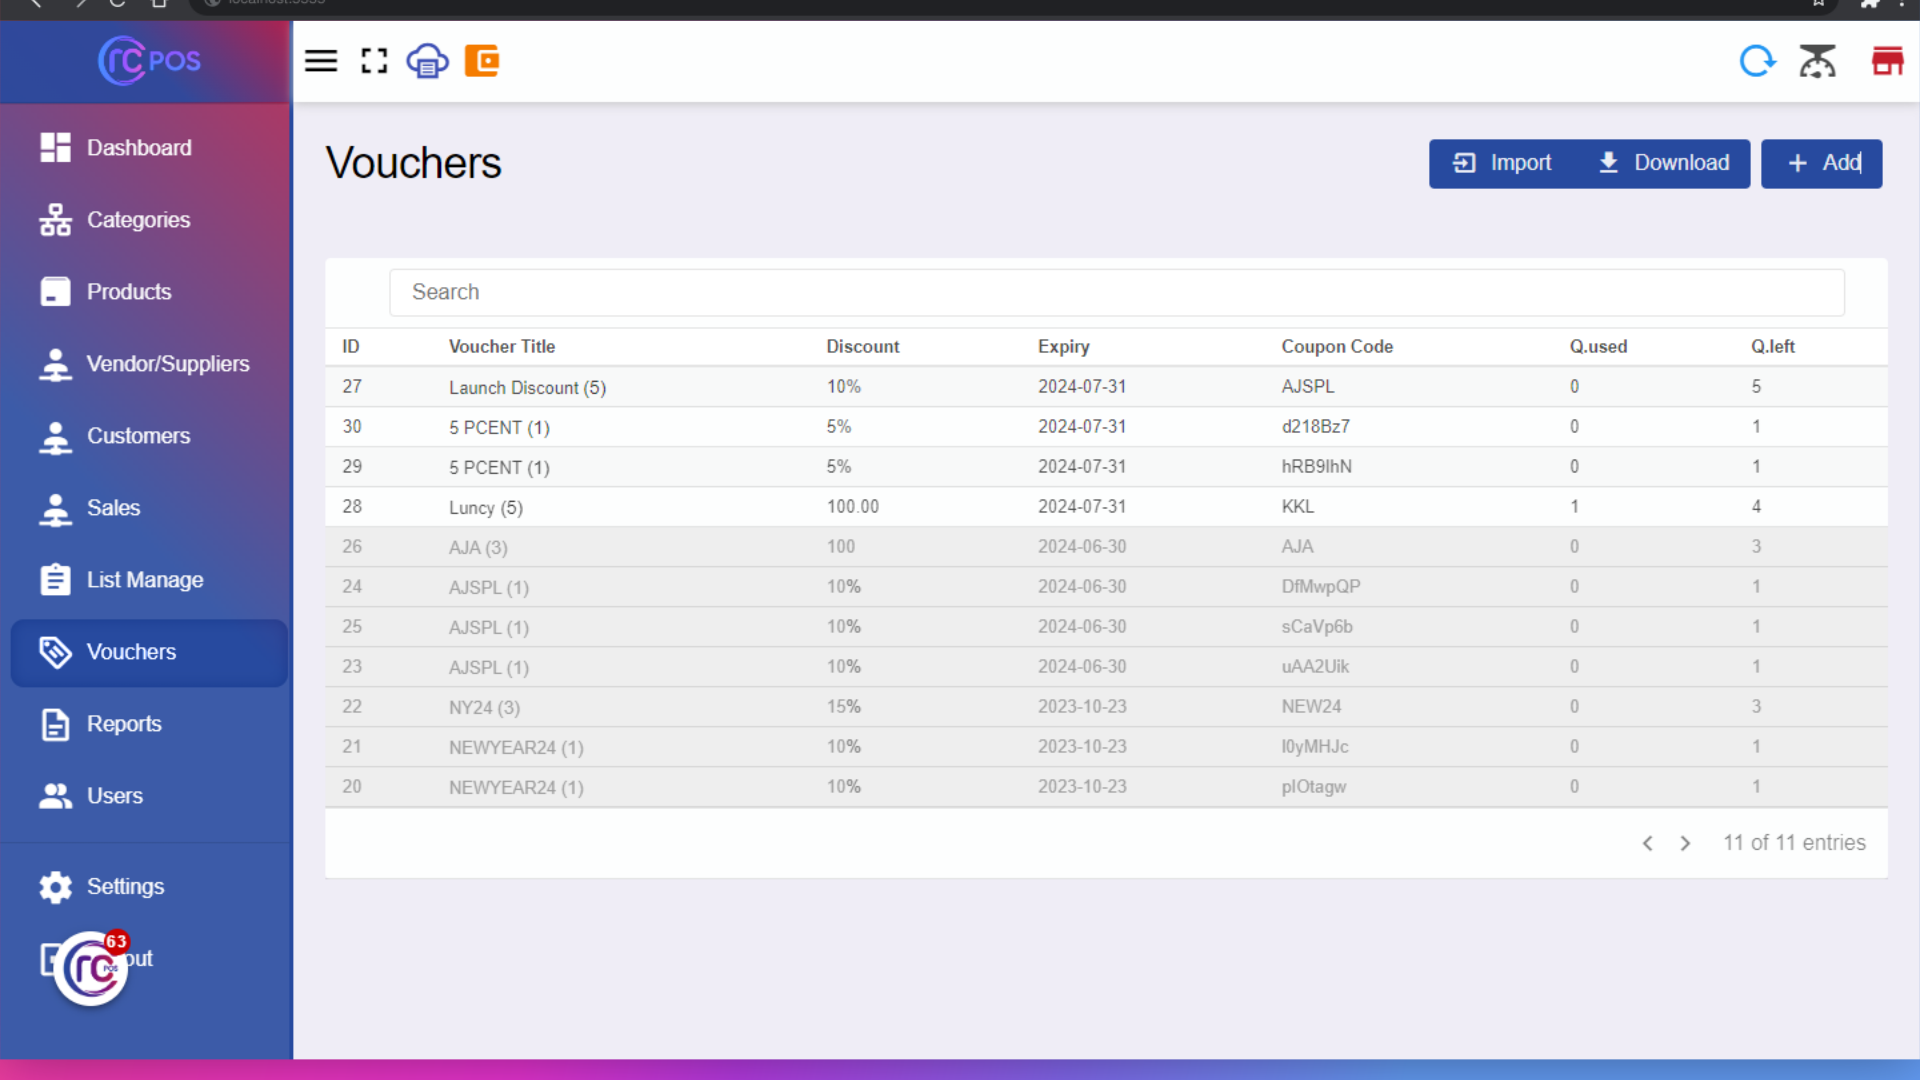
57. Click "Voucher"
Click on Voucher to manage Voucher like add,edit,delete.
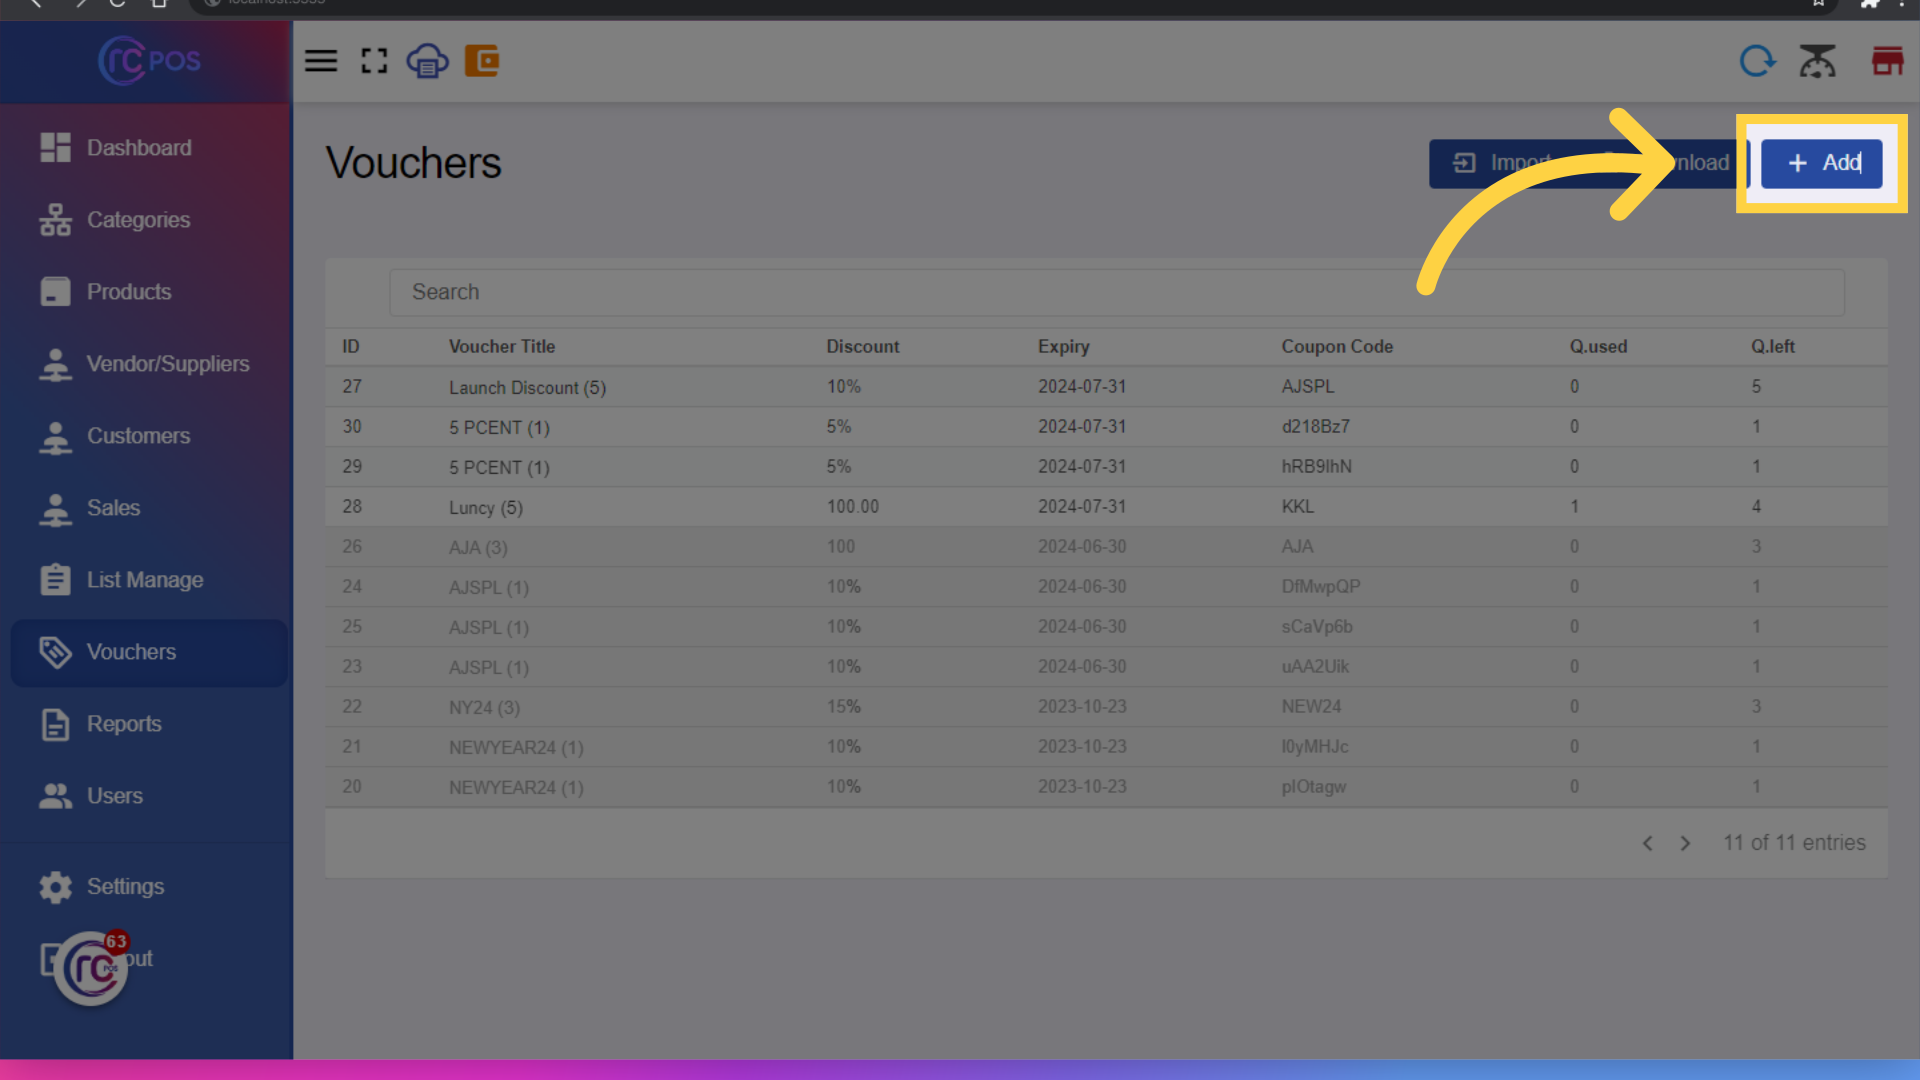
58. Click "Add"
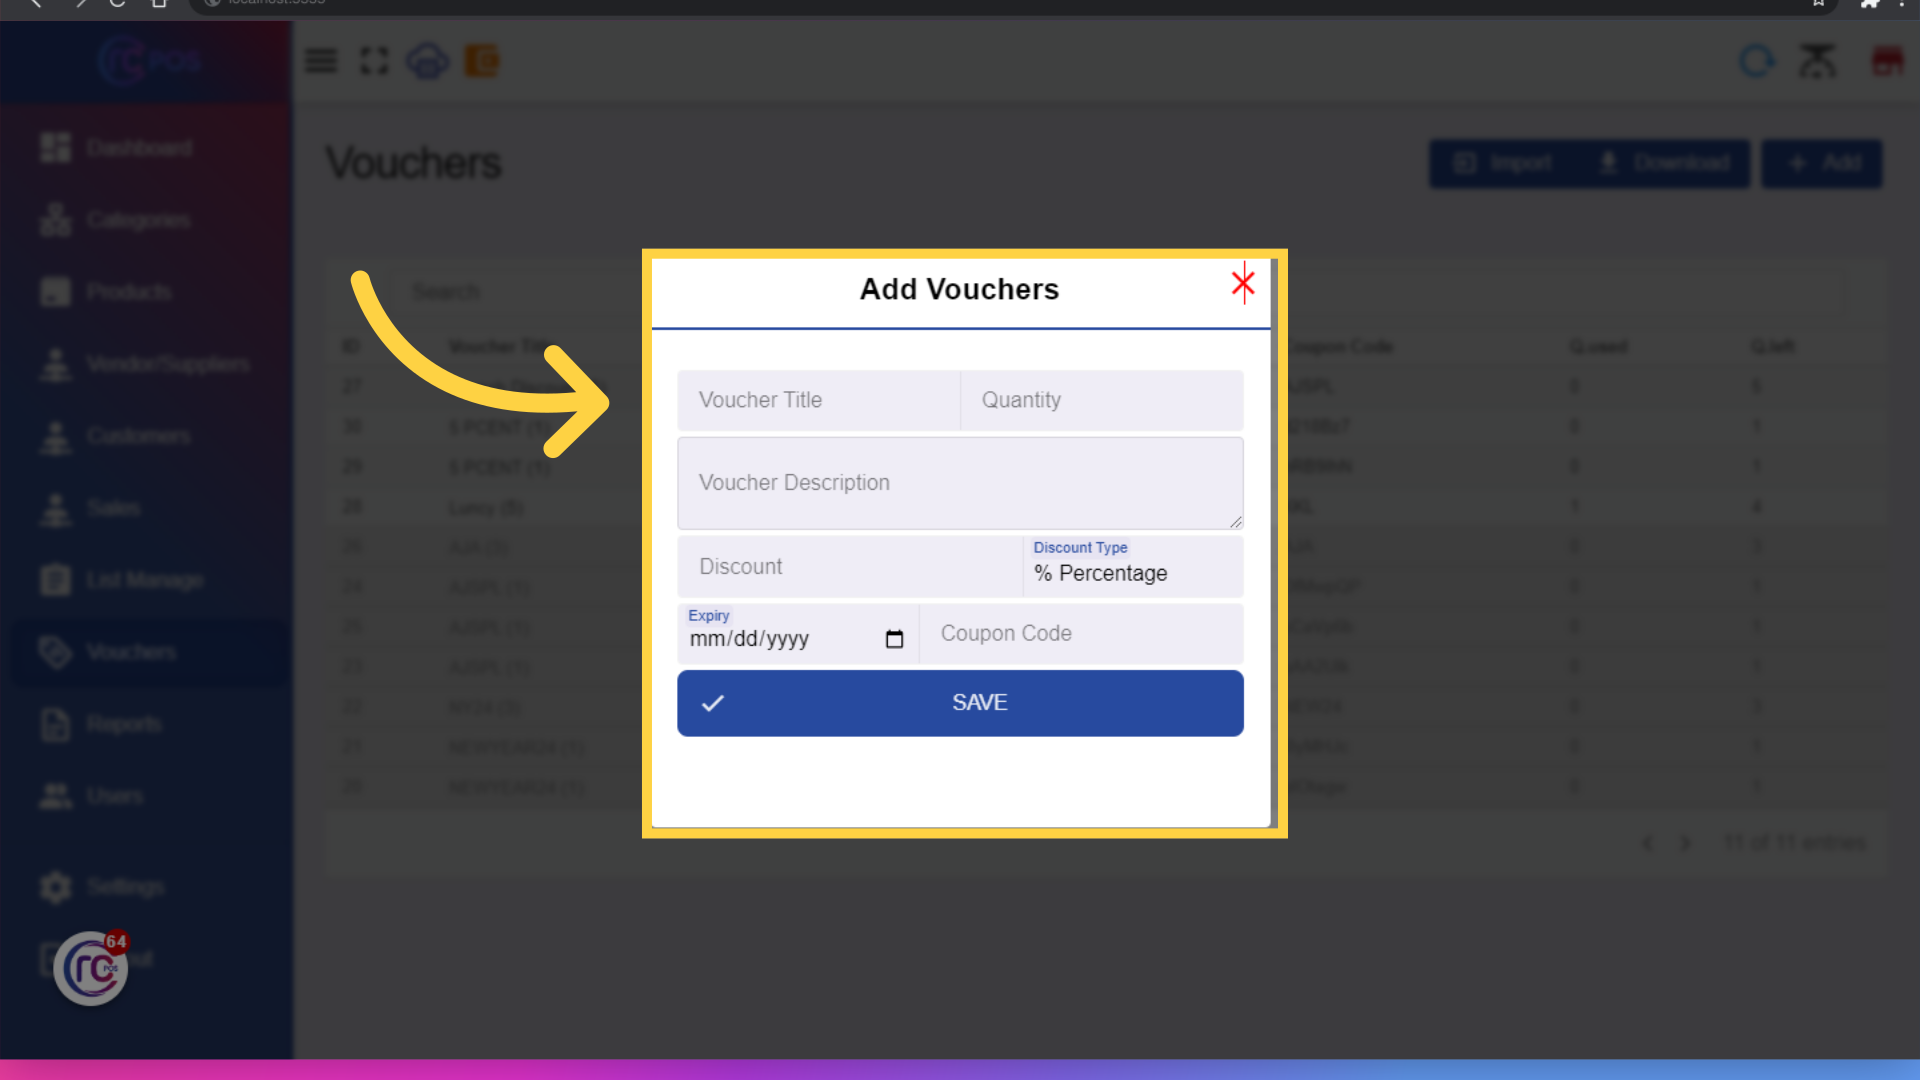
To add new voucher,click on add.If you add coupon then the same coupon will work till the qty specified.to add voucher without coupon,every coupon created based on the qty specified will have unique coupon nos. You can also choose to give percentage or flat discount.
59. Add Voucher
Add Vouchers With or without coupons, set discounts and then click on save.
60. Click "Reports"
Click on Report to view report.
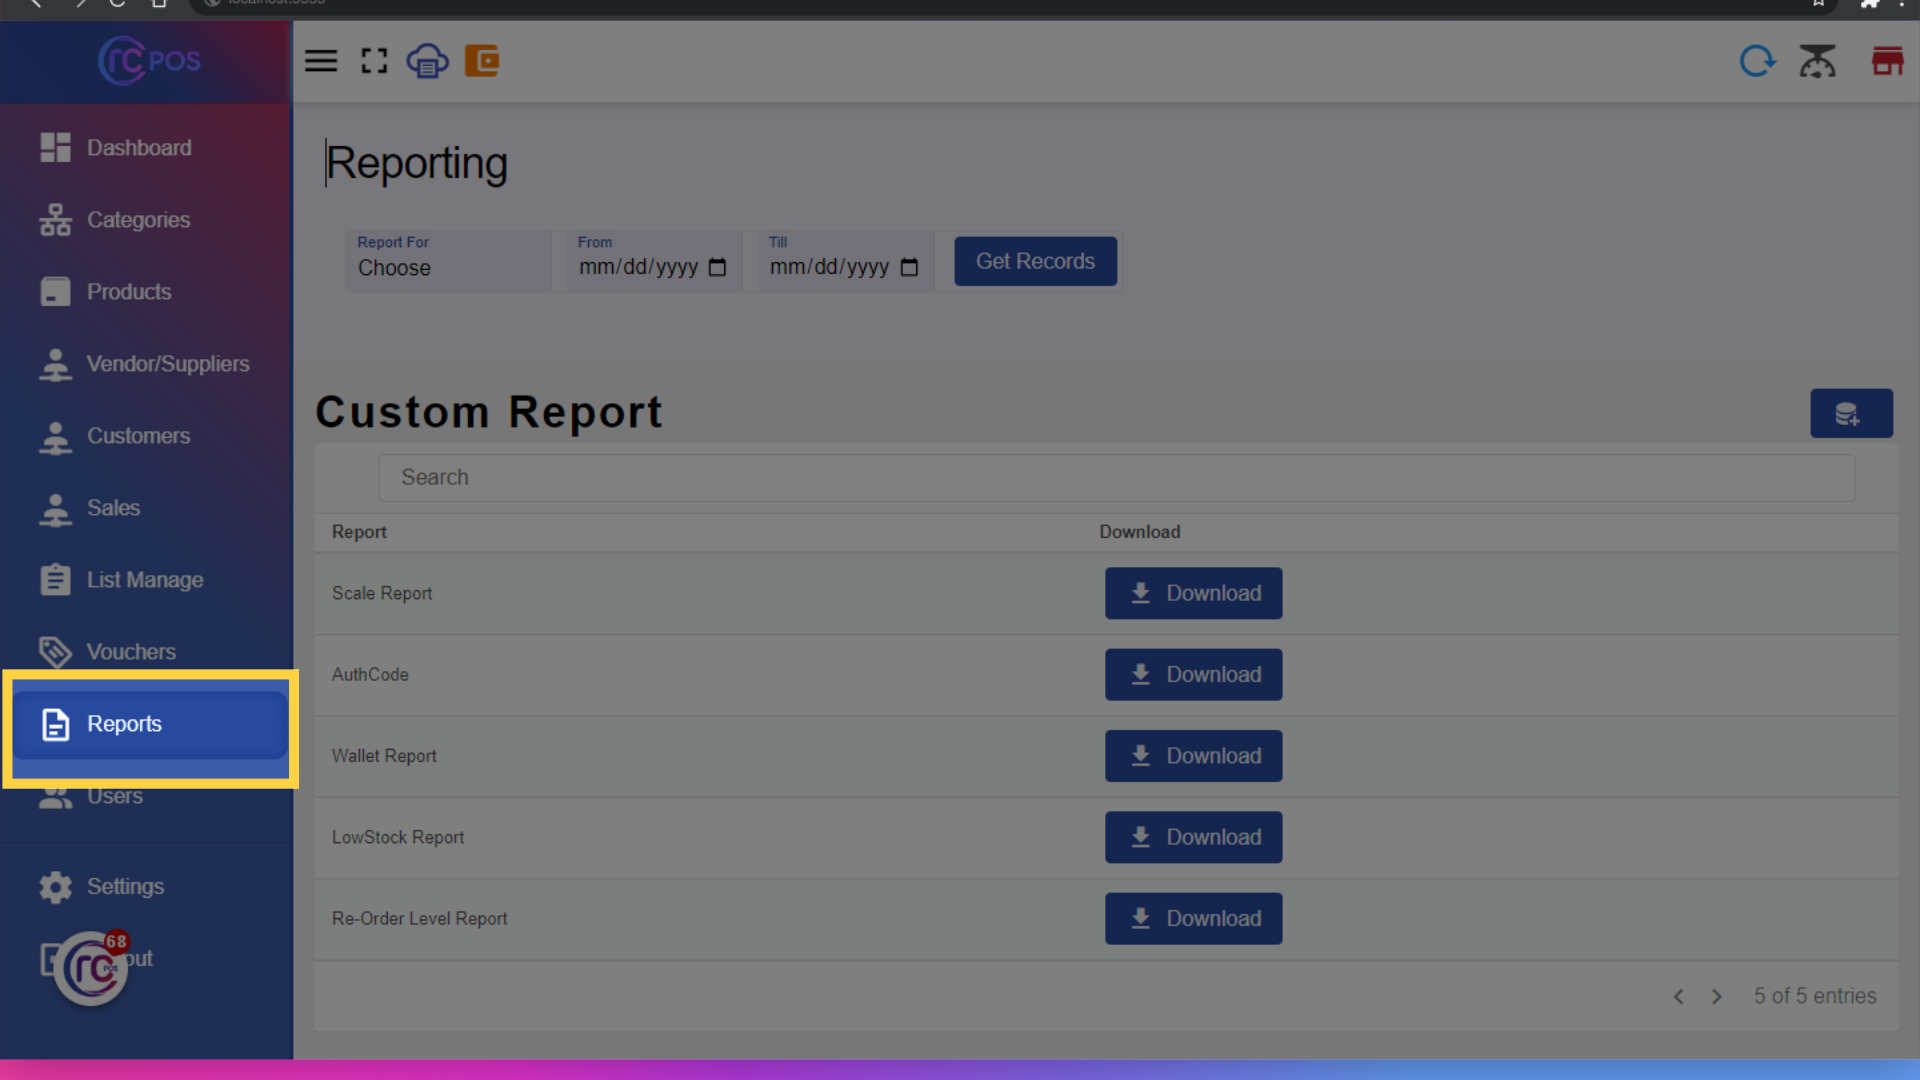
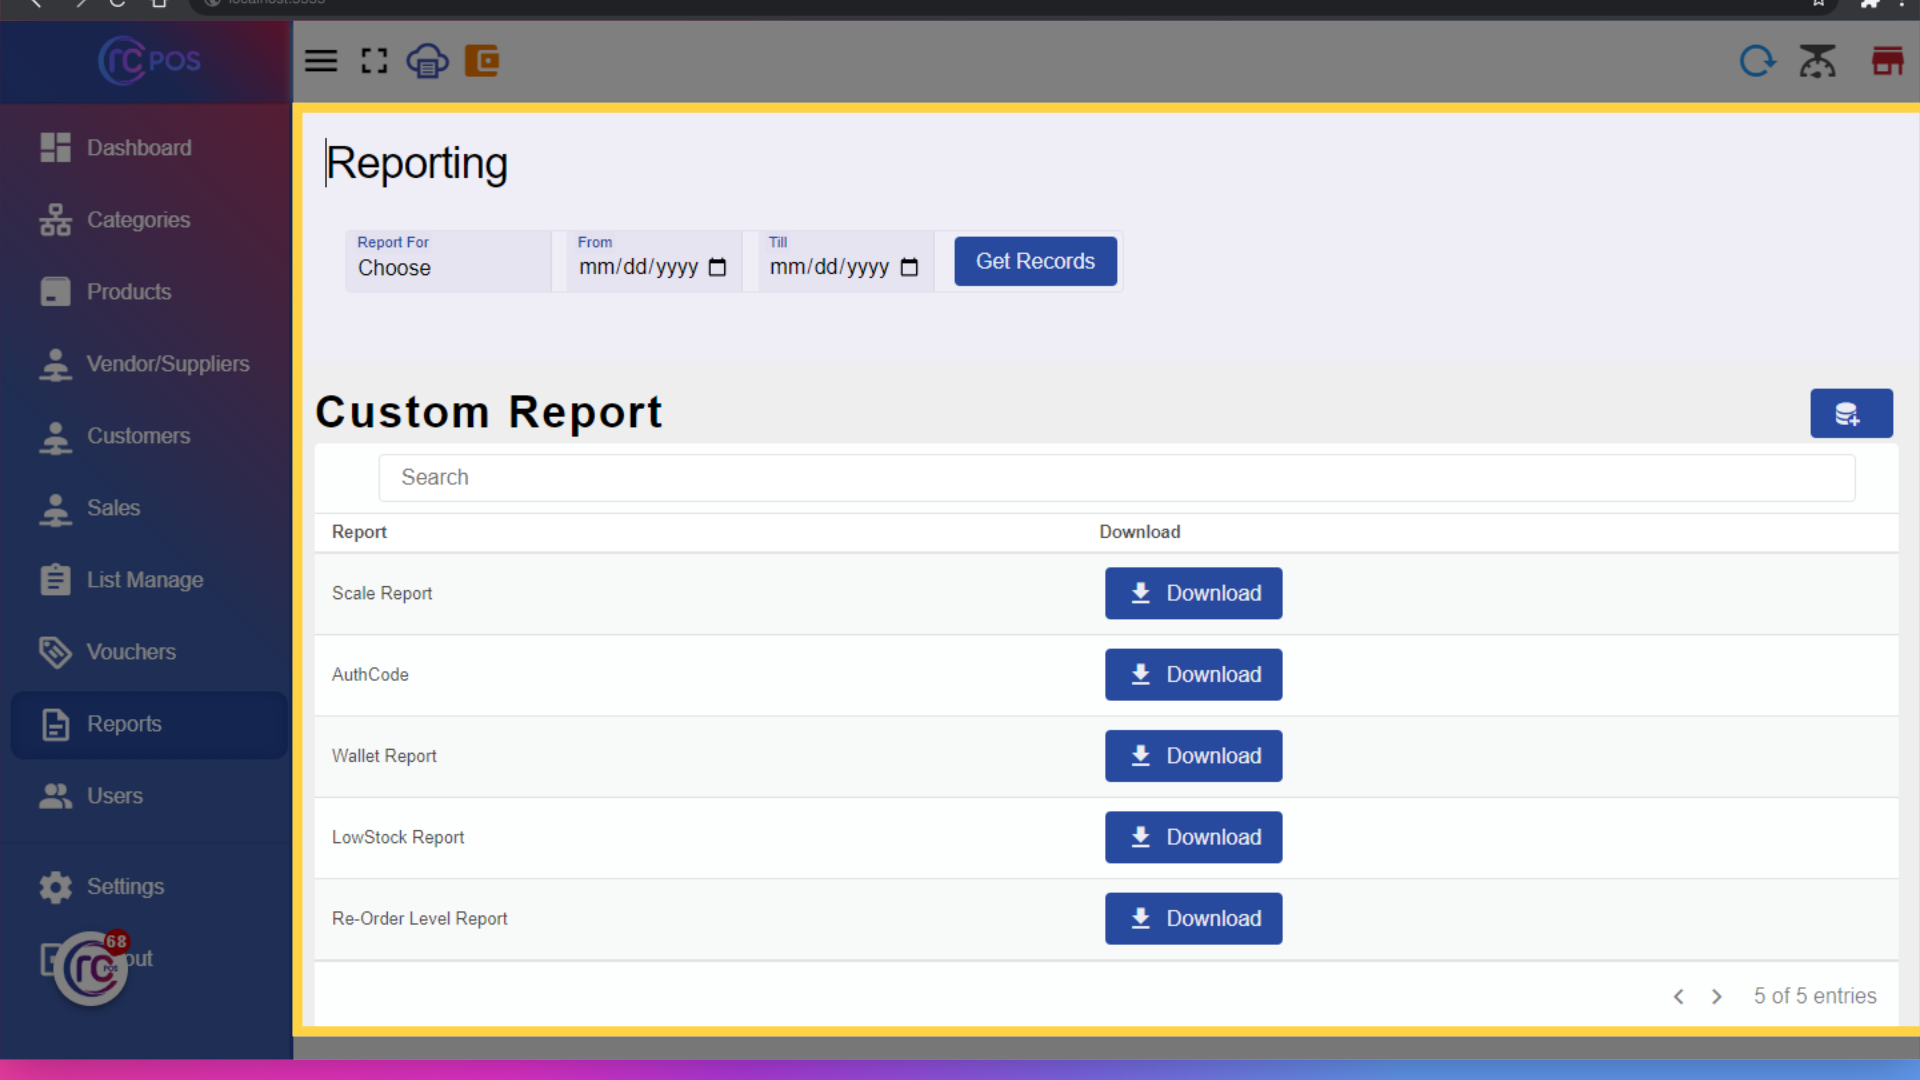
61. View Reports
You can update and delete report.you can aslo Download RAW Reports based on selecting.First select then get records and then click on download.Download customize reports by clicking on Download.By clicking the download it will open the records.
62. Click "Users"
Click on Users to Add/Manage Users
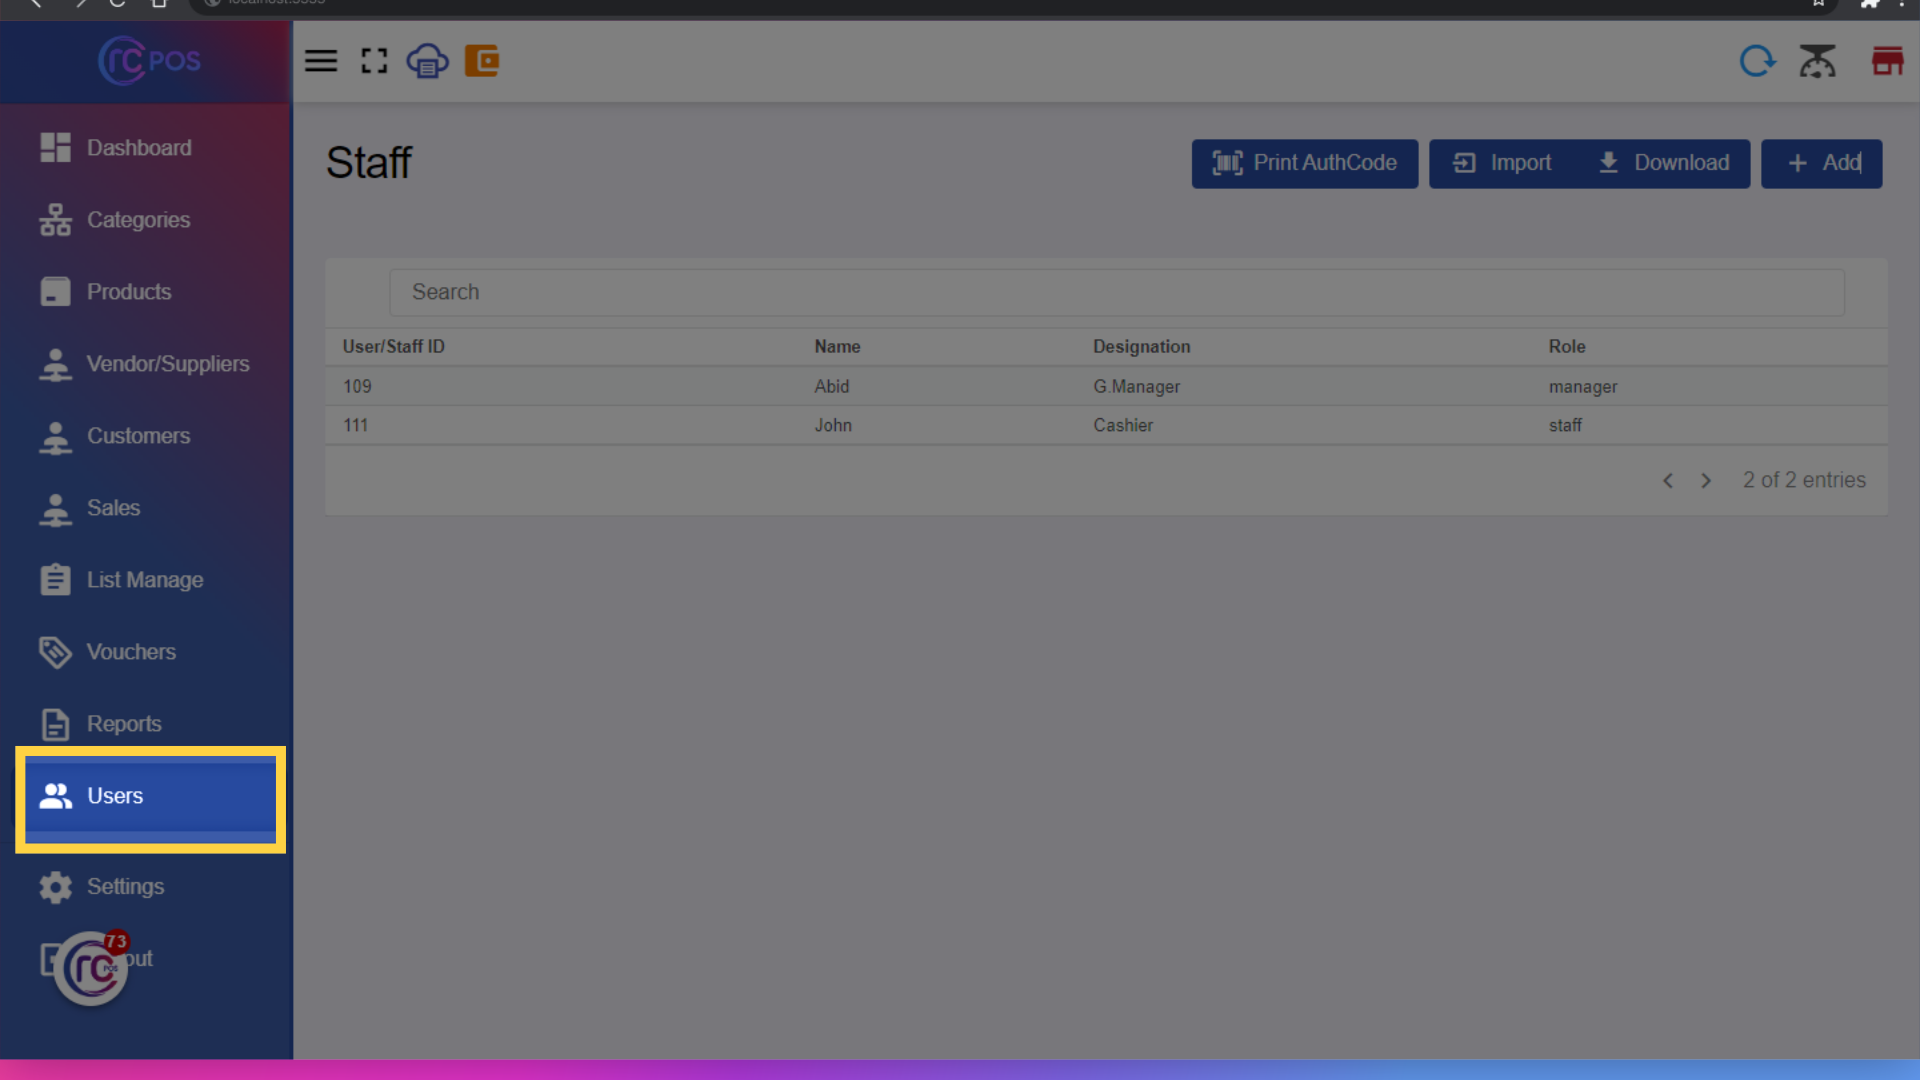
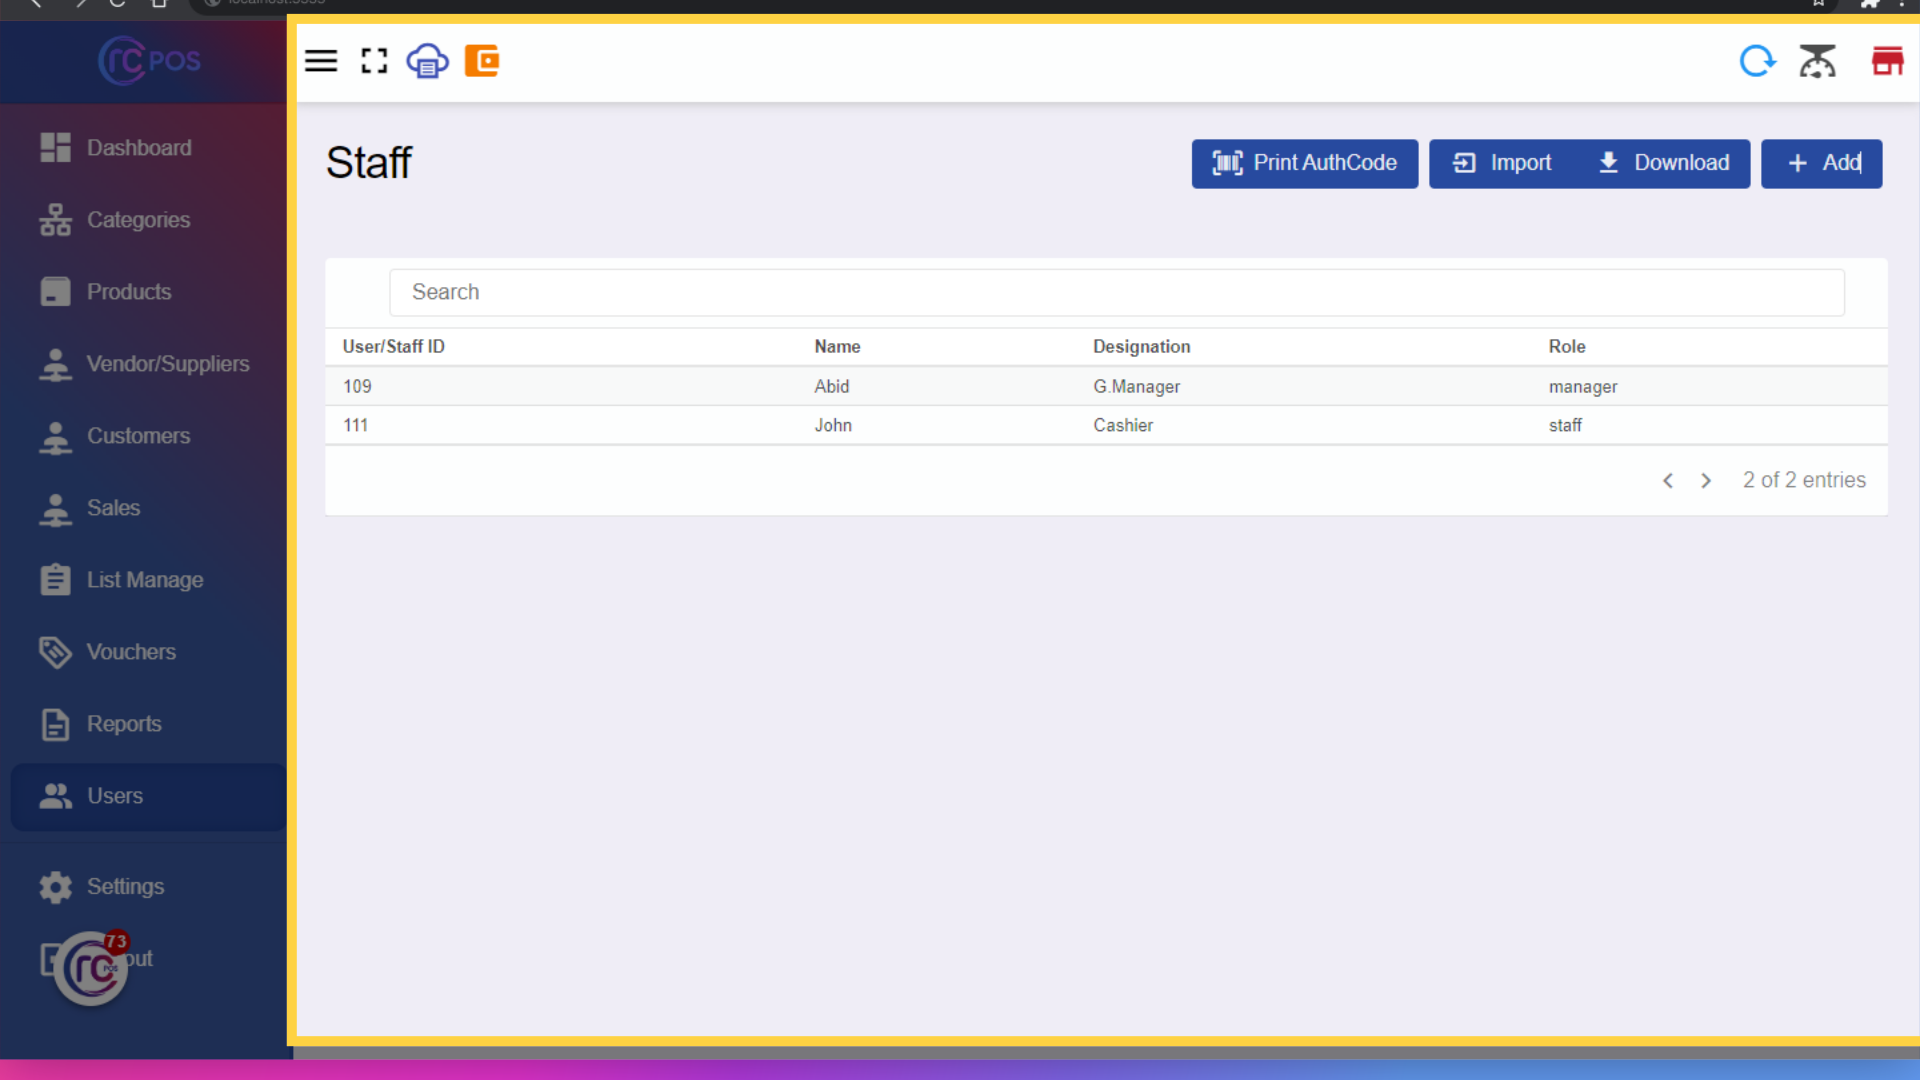
63. View "Users"
Add new users (manager or staff). Staff can access cashier-level features but cannot enter the manager/admin panel.
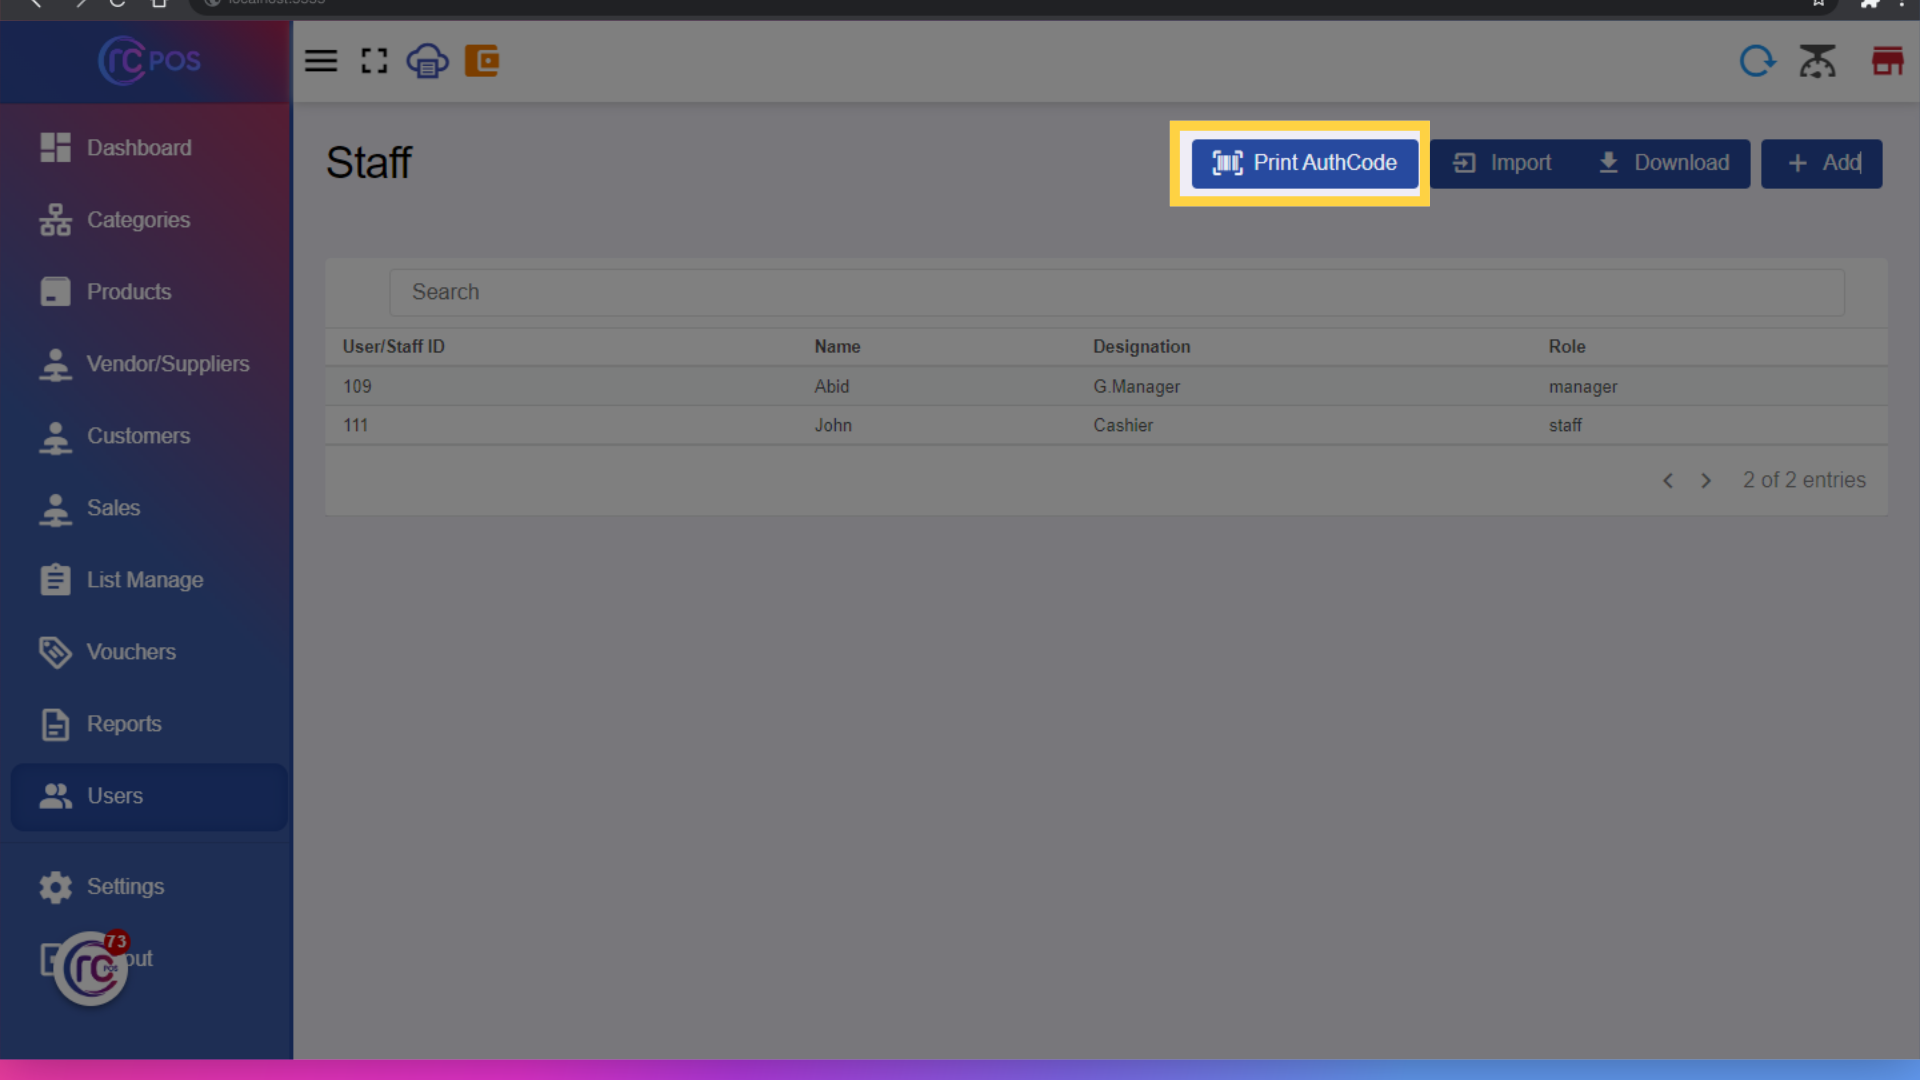
64. Click "Print Authcode"
Click on the "Print Authcode" button.
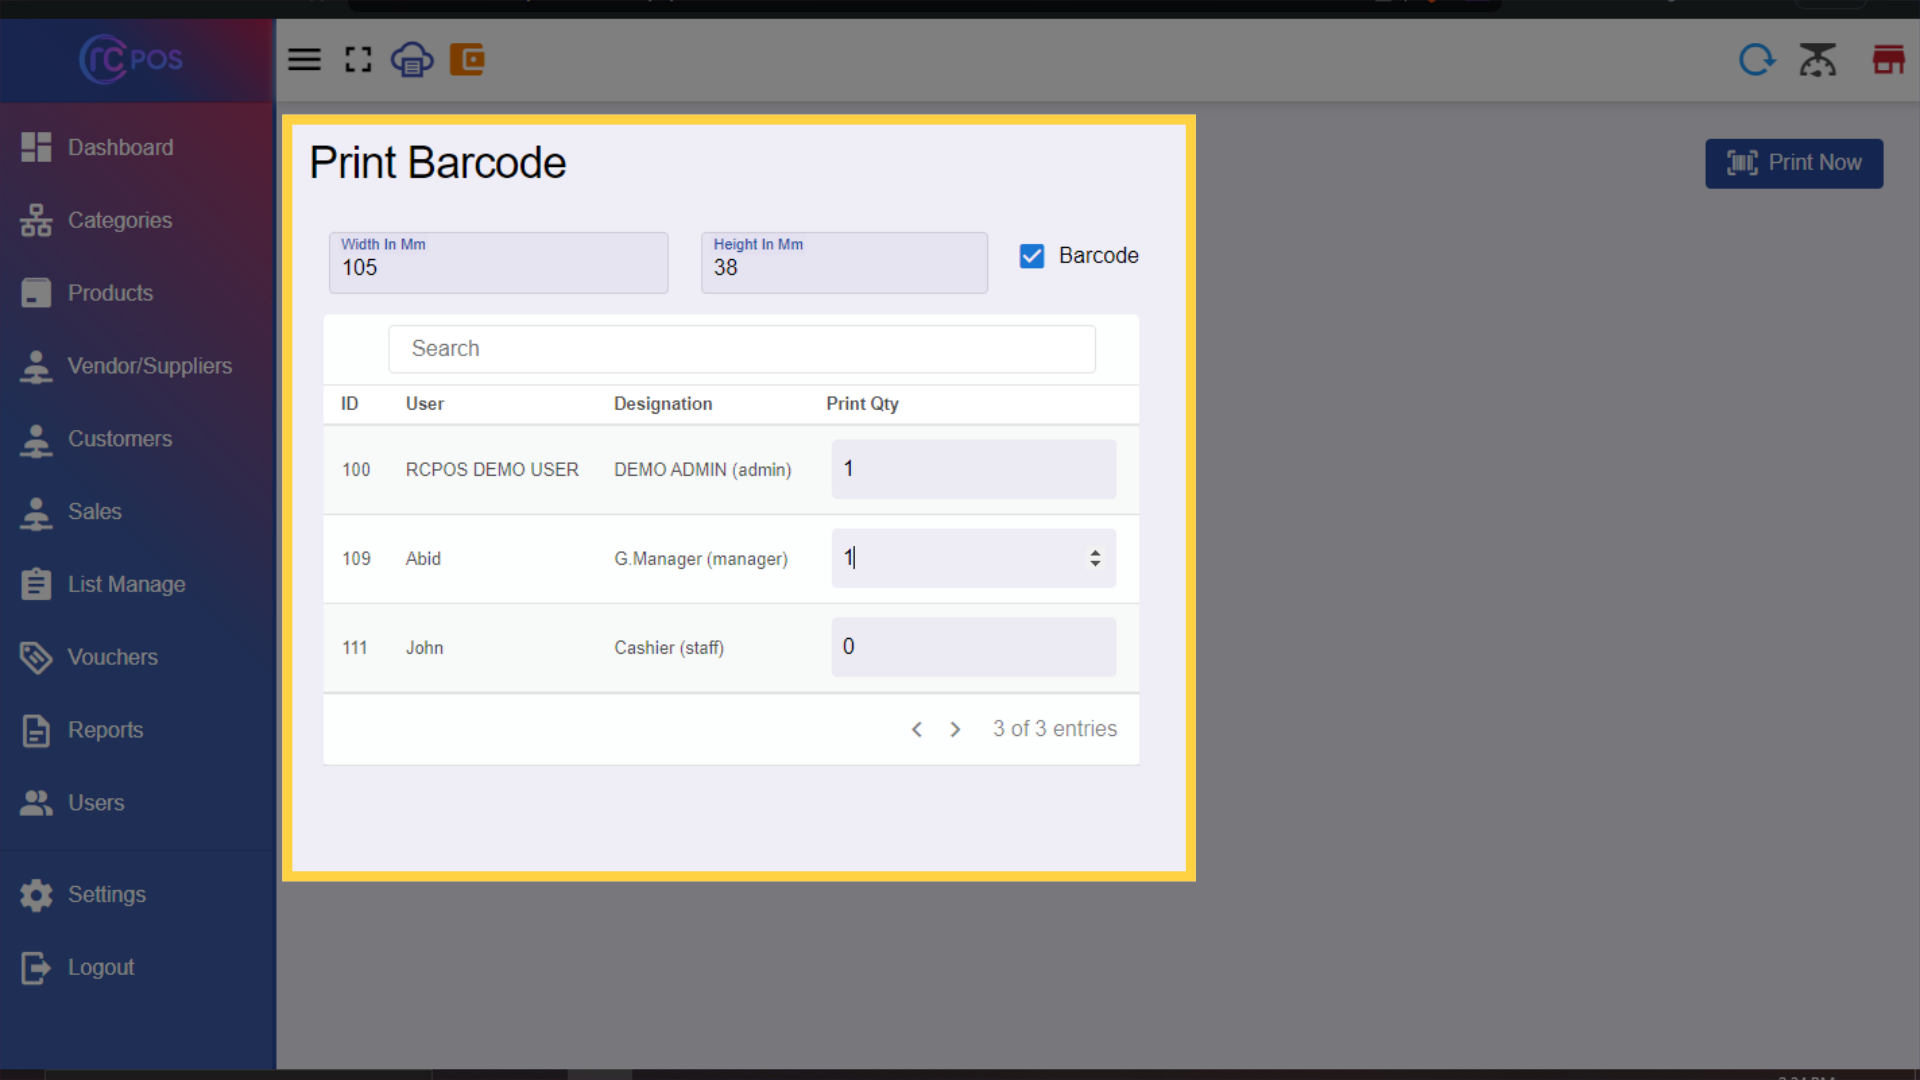
65.Form
A form will appear where you can select the users whose authcodes you want to print.
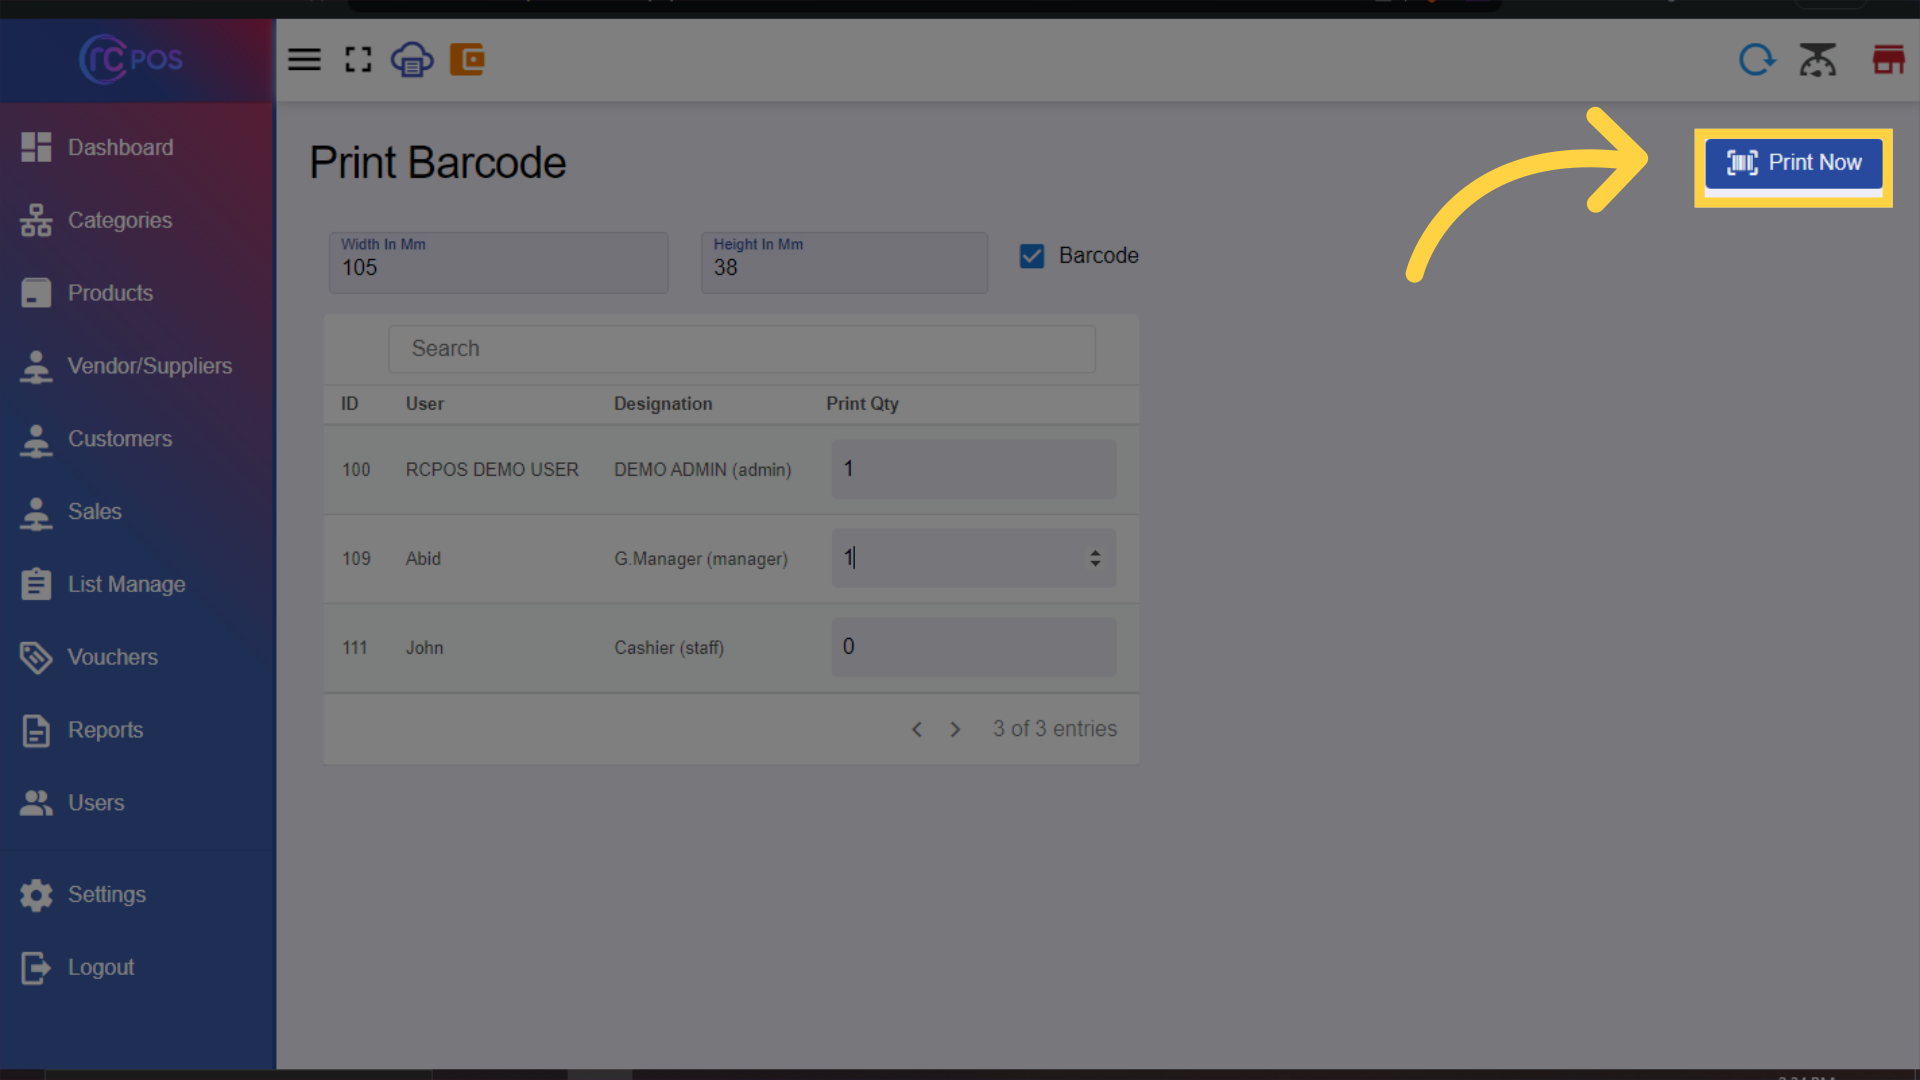
66. Click Print Now
Click "Print Now"
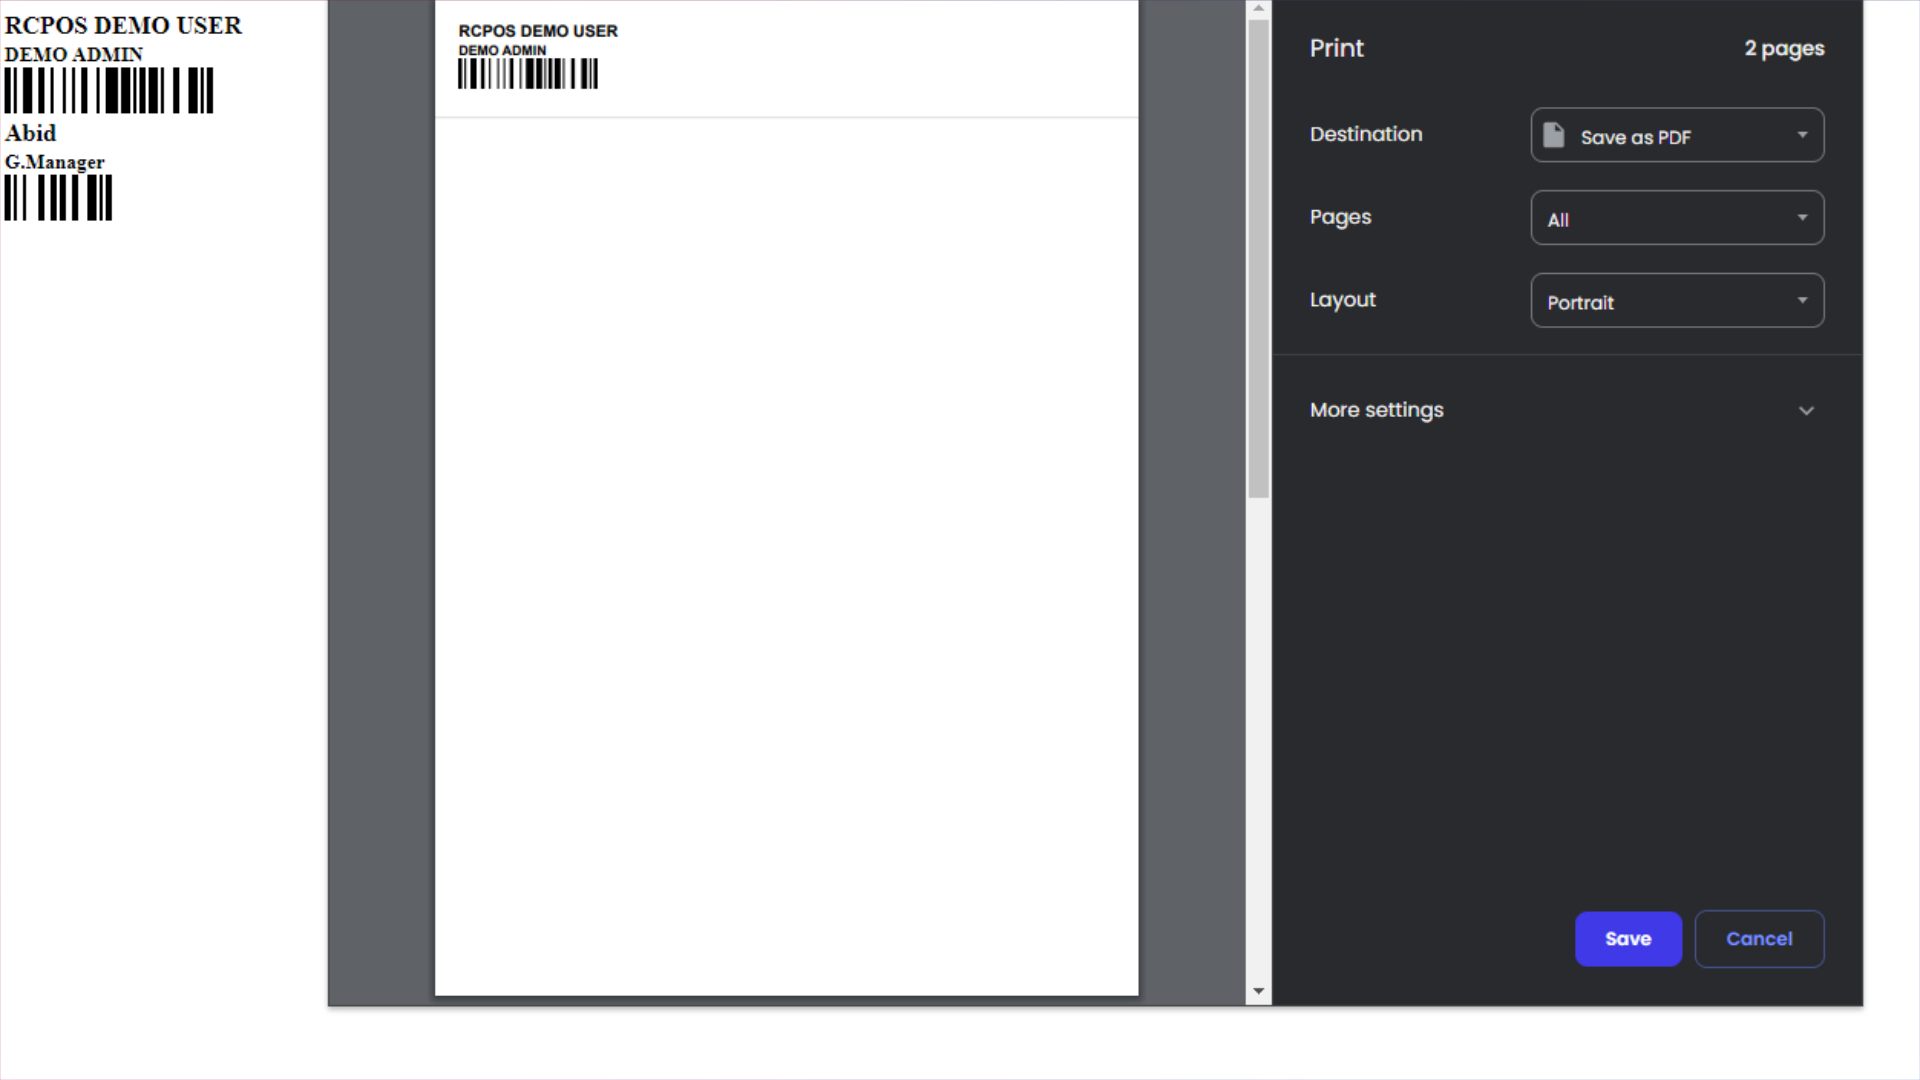
67.PDF
to generate a PDF with the authcodes.
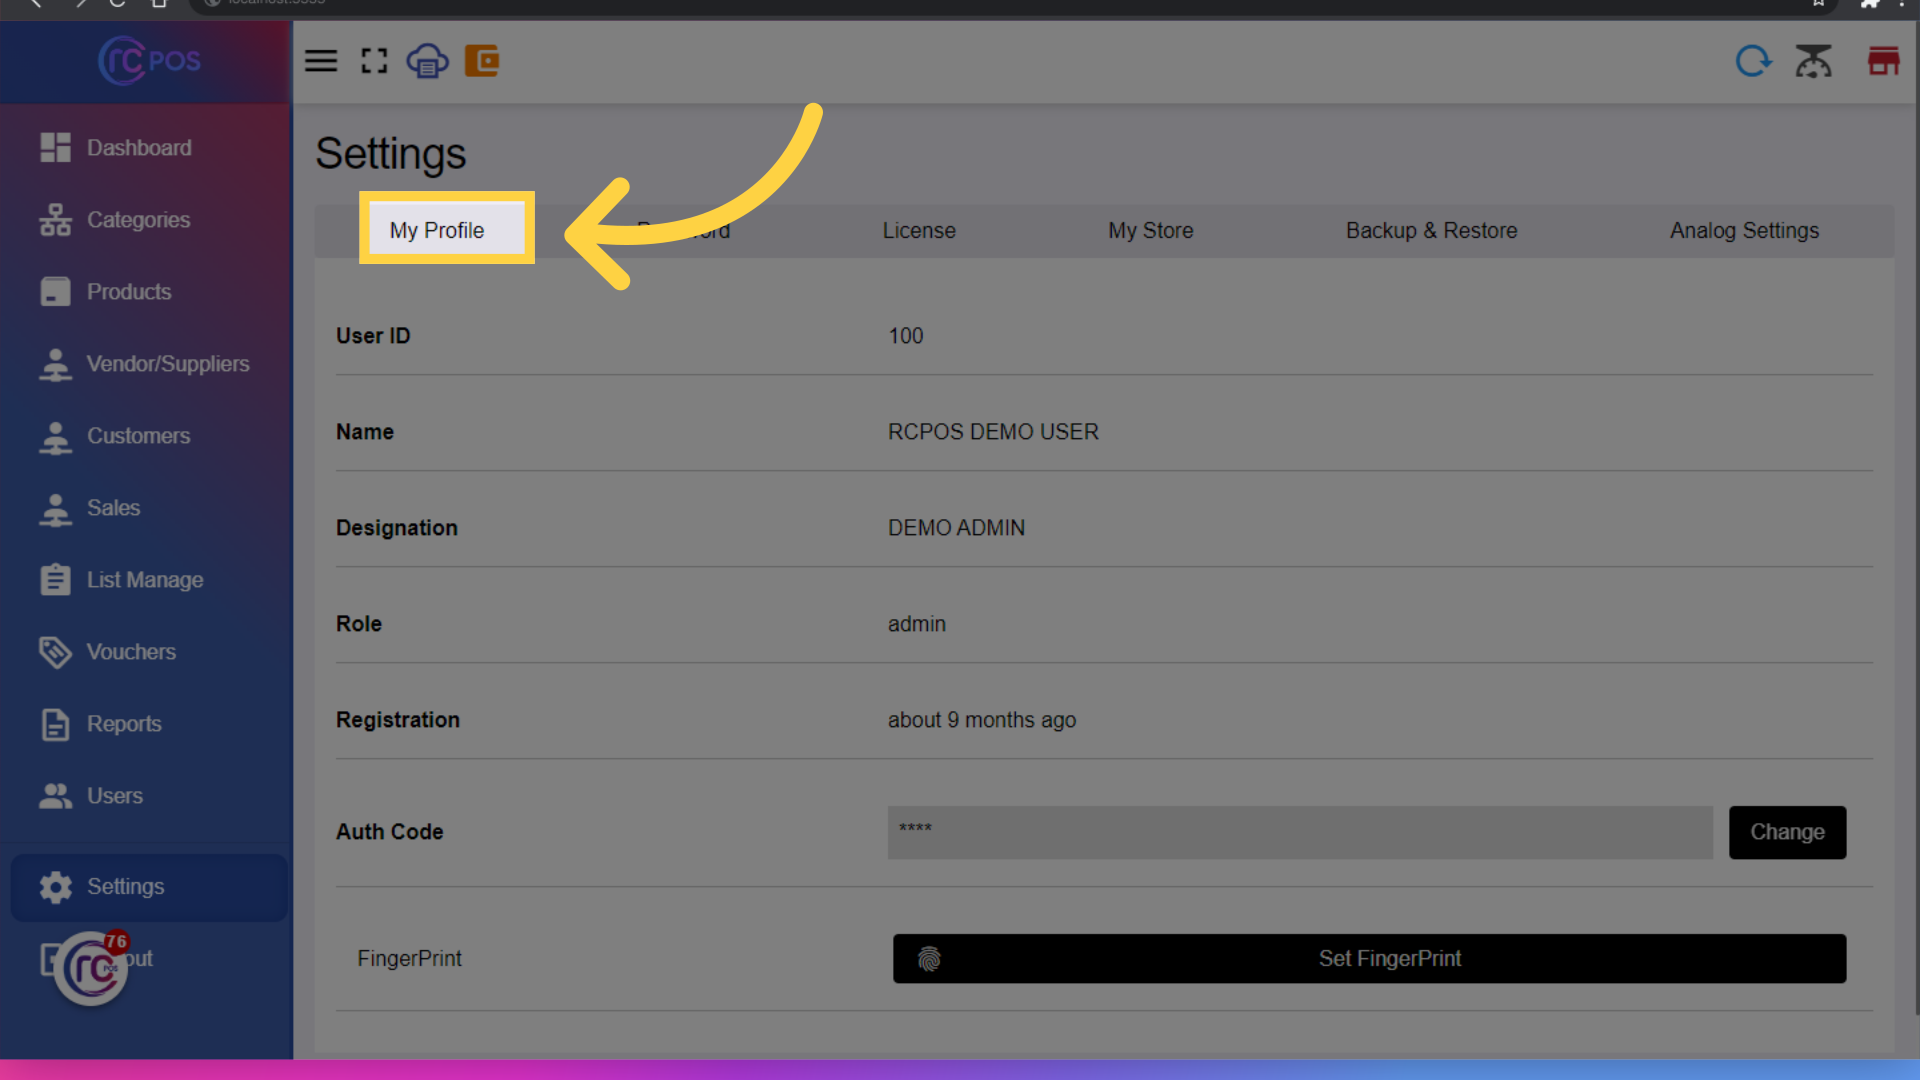
68. Click "My Profile"
Click on My Profile to change your authorization code or password.
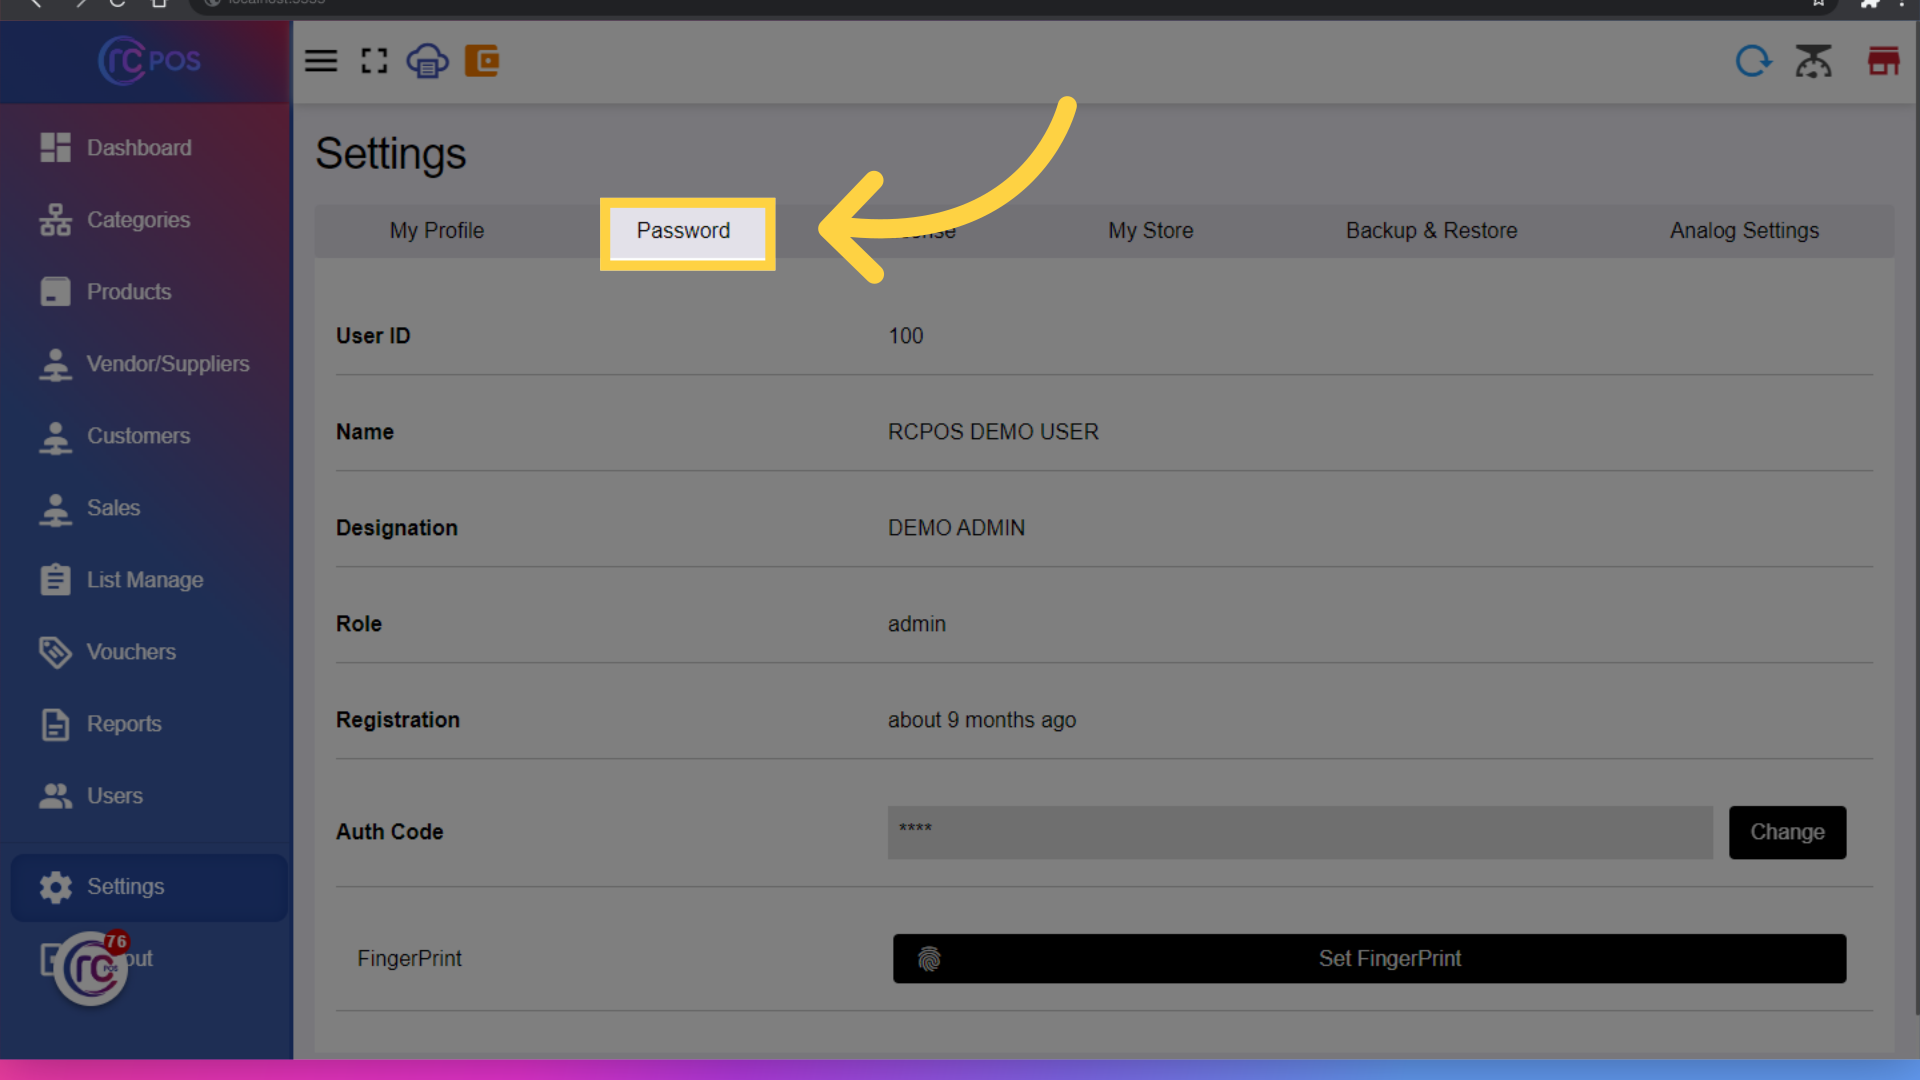
69. Click "Password"
Click on Password to change password.
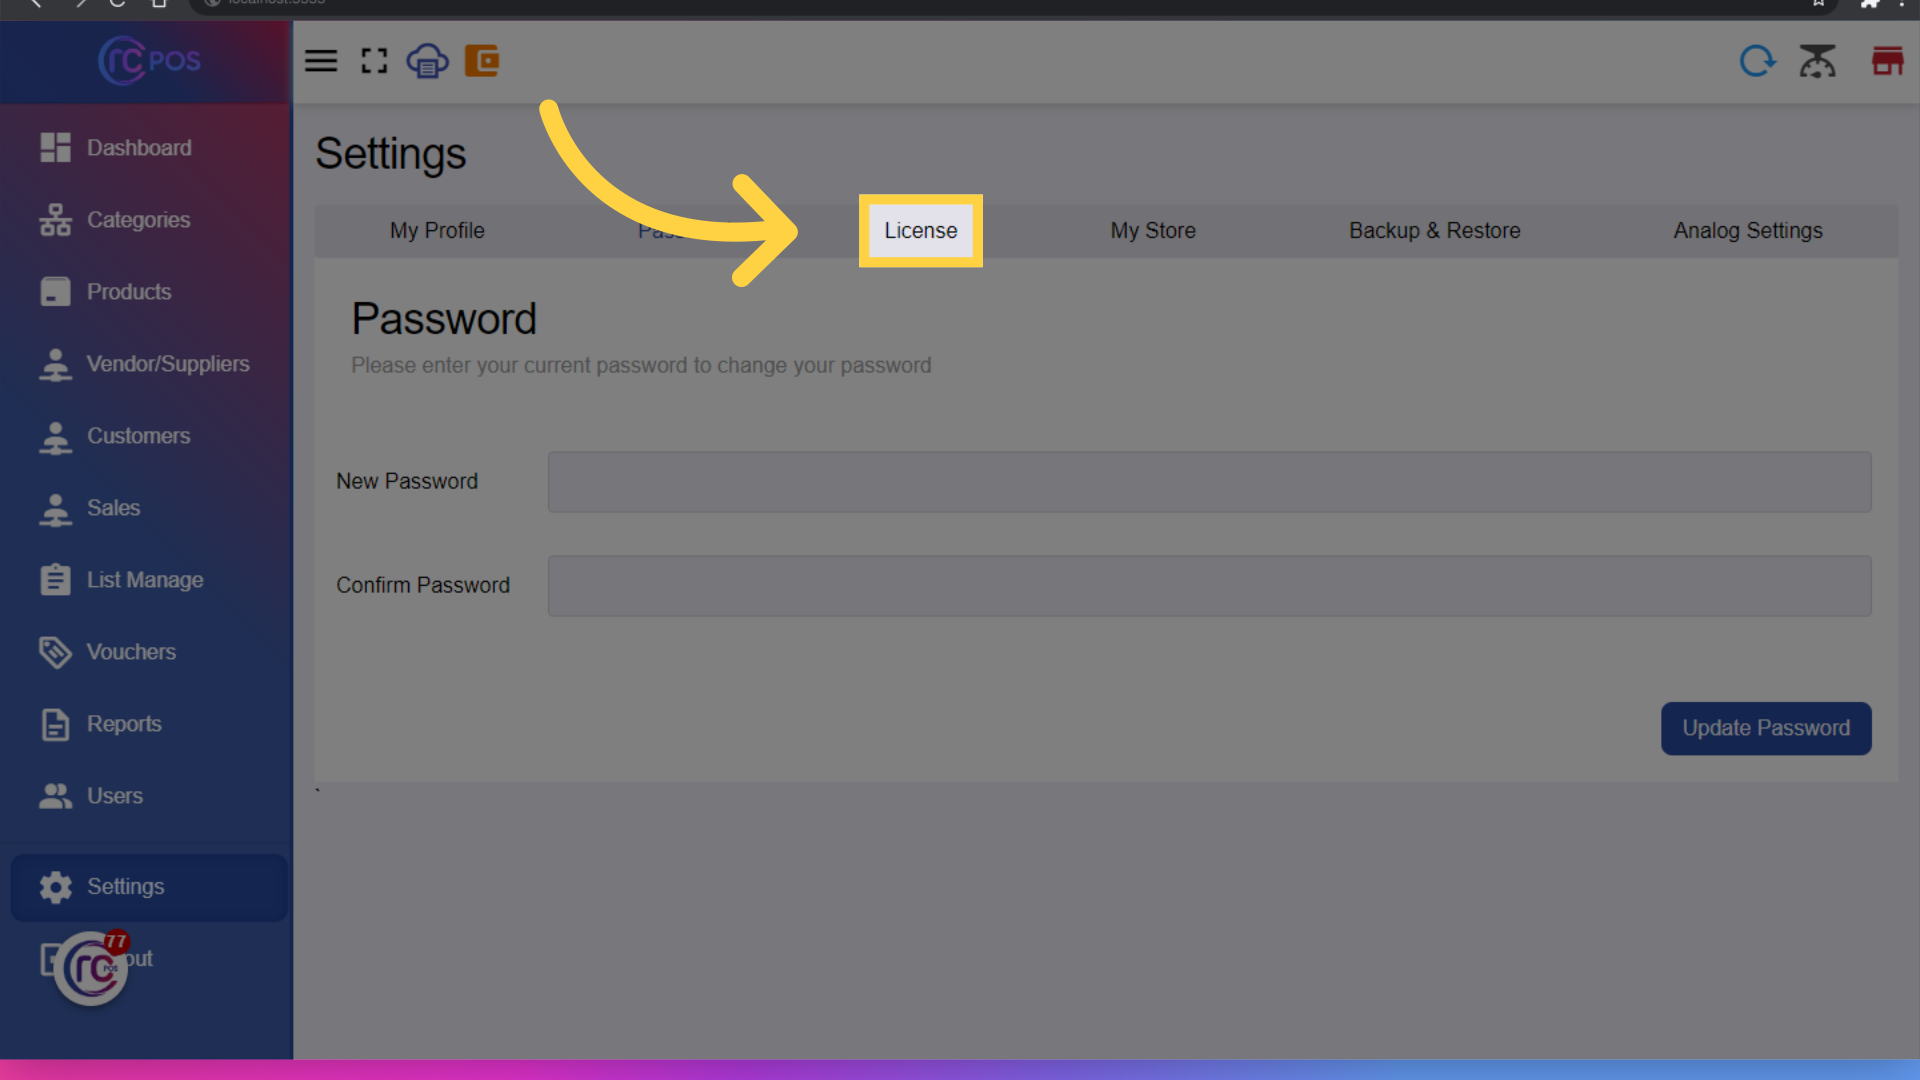
70. Click "License"
Click on License to see the software license details.
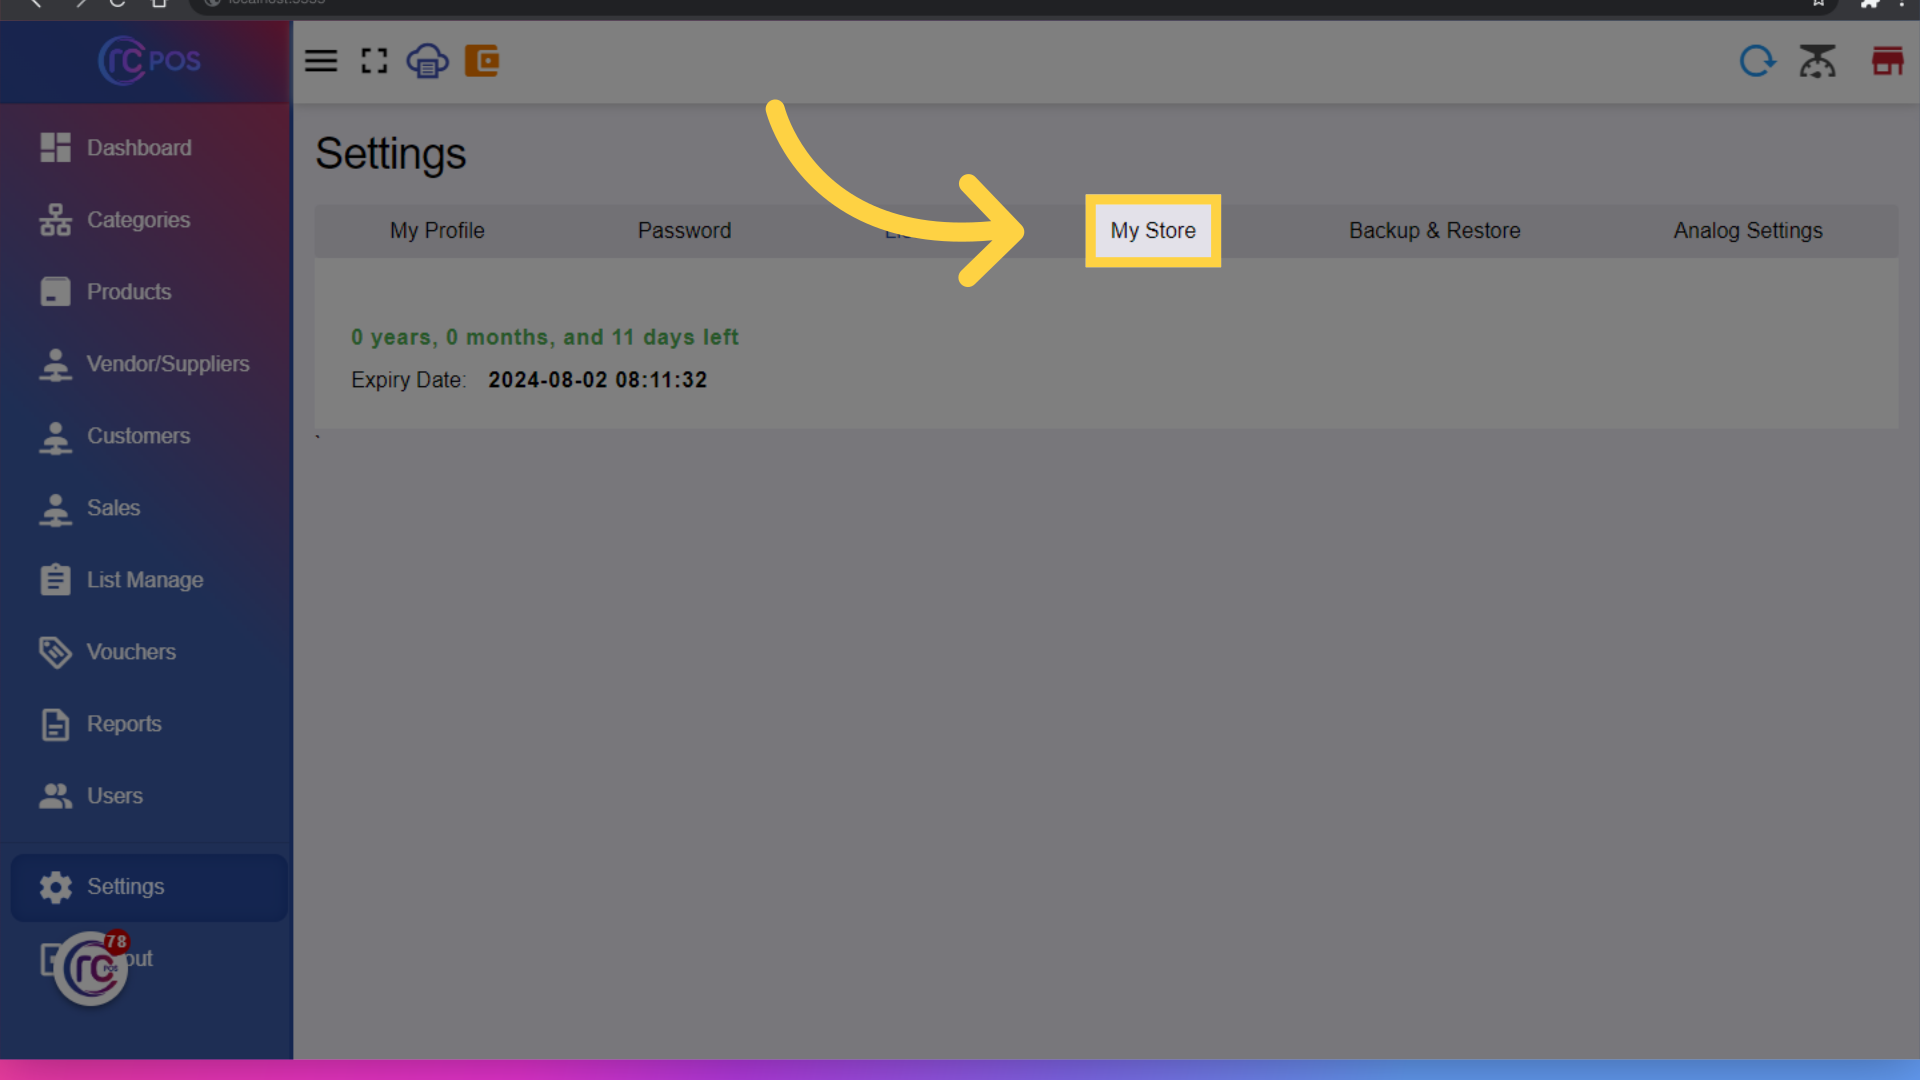
71. Click "My Store"
Click on My Store to Access the Store settings
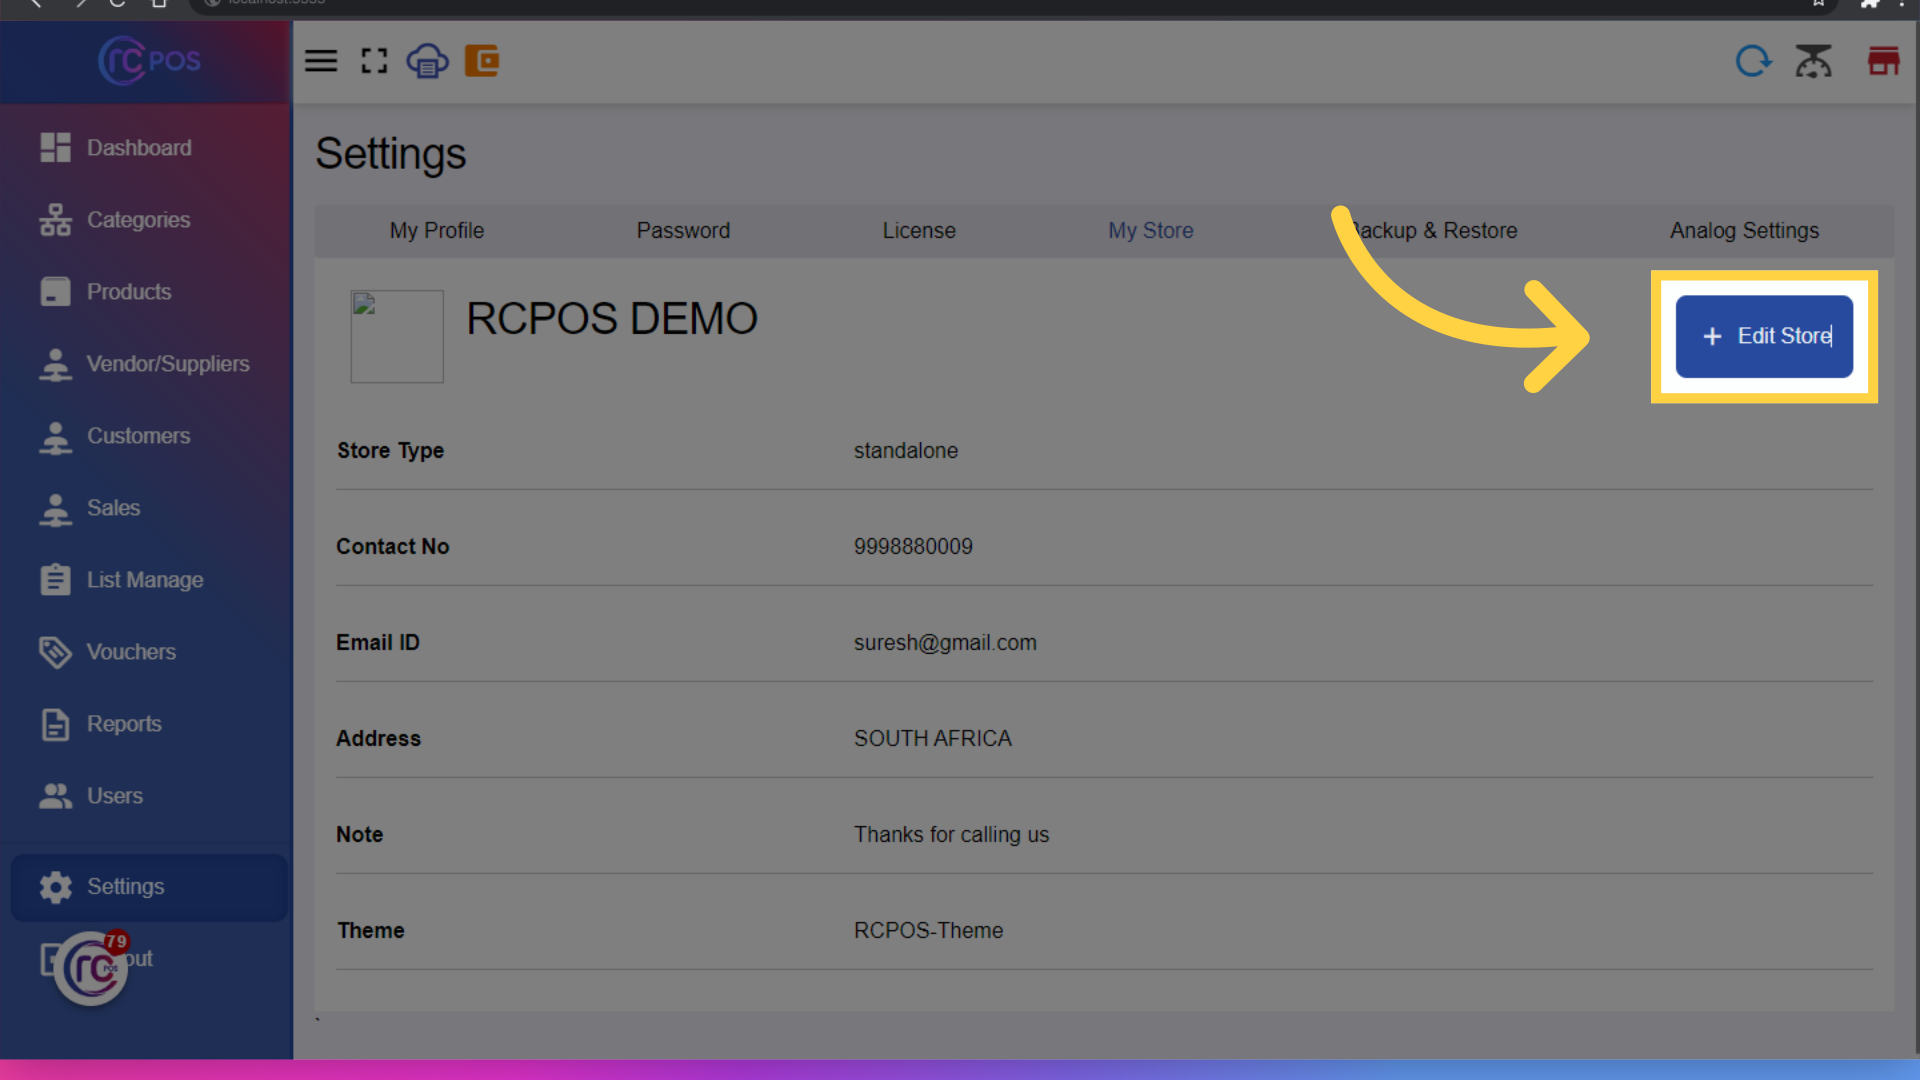
72. Click "Edit Store"
Click on edit store to Edit store details such as name, address, and theme.
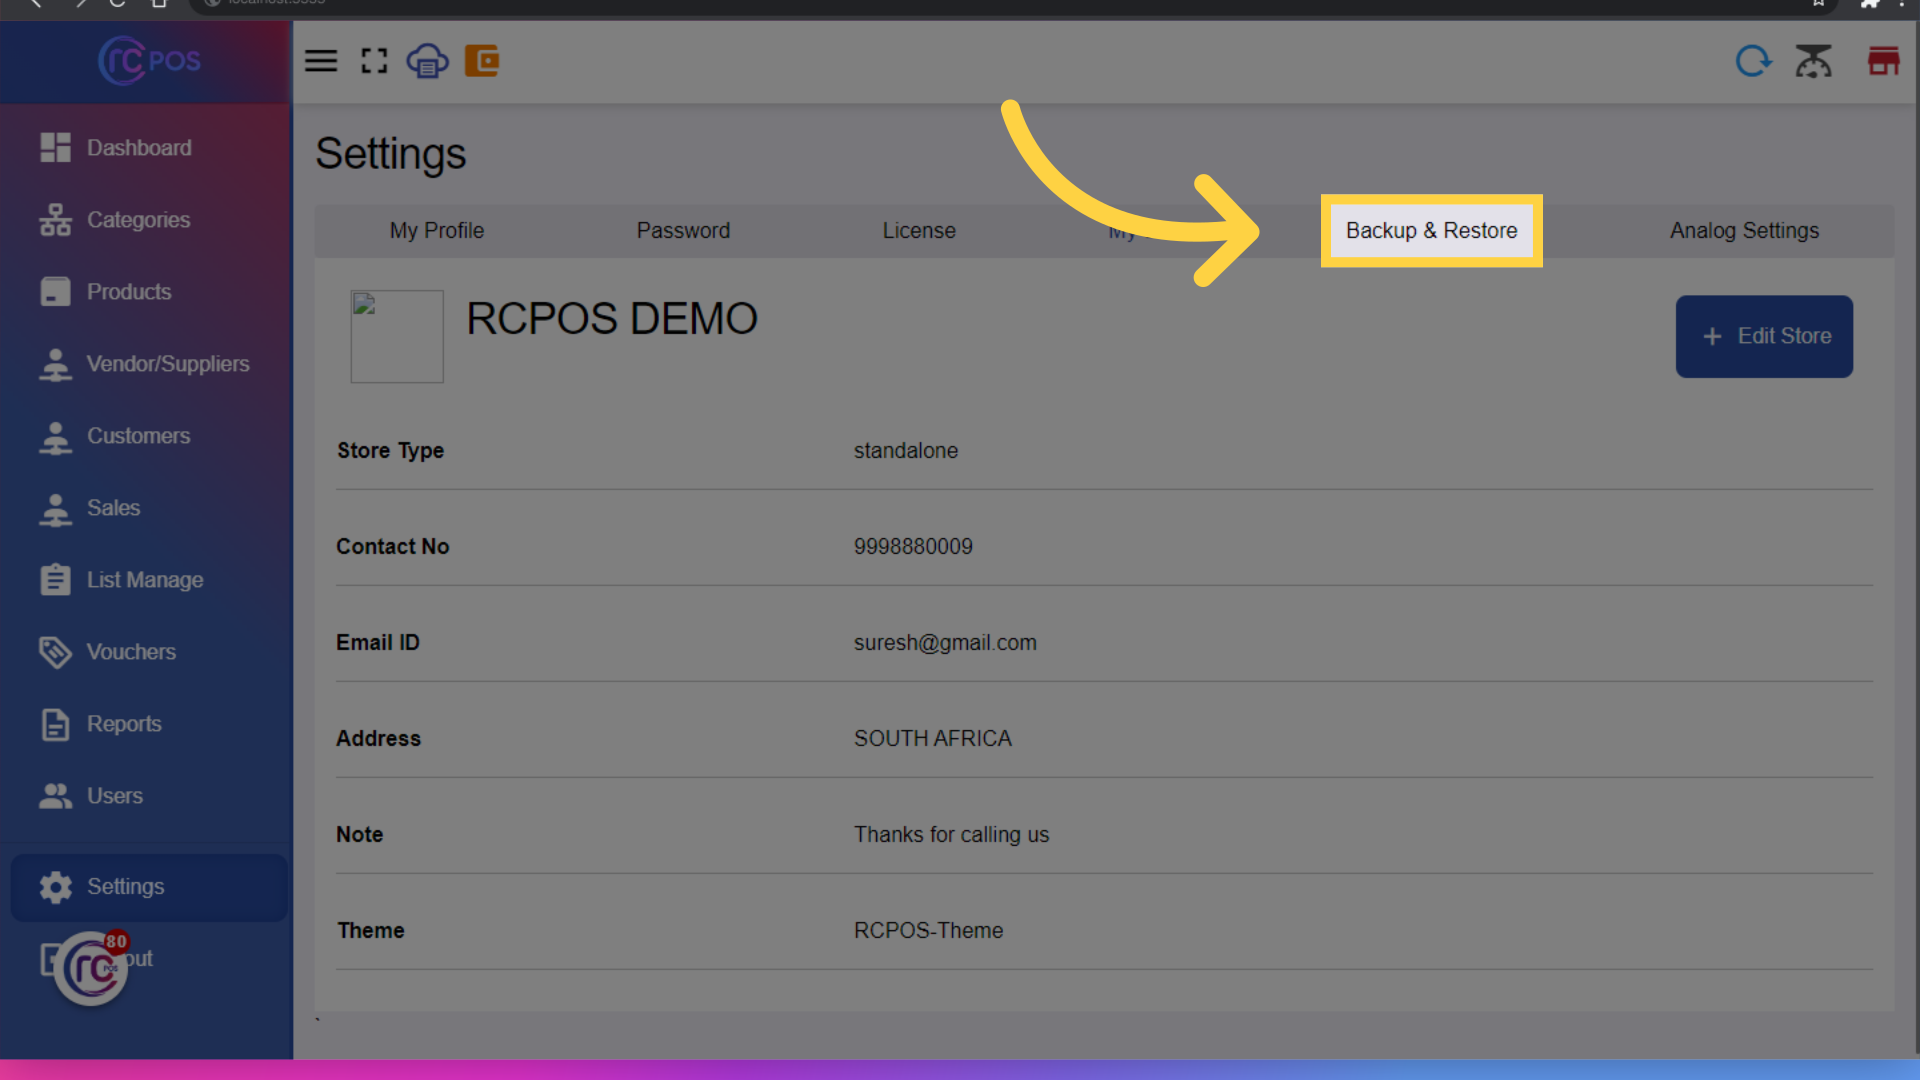
73. Click "Backup & Restore"
Click on Backup & Restore to access Backup & Restore: Download and restore backups to safeguard your data.
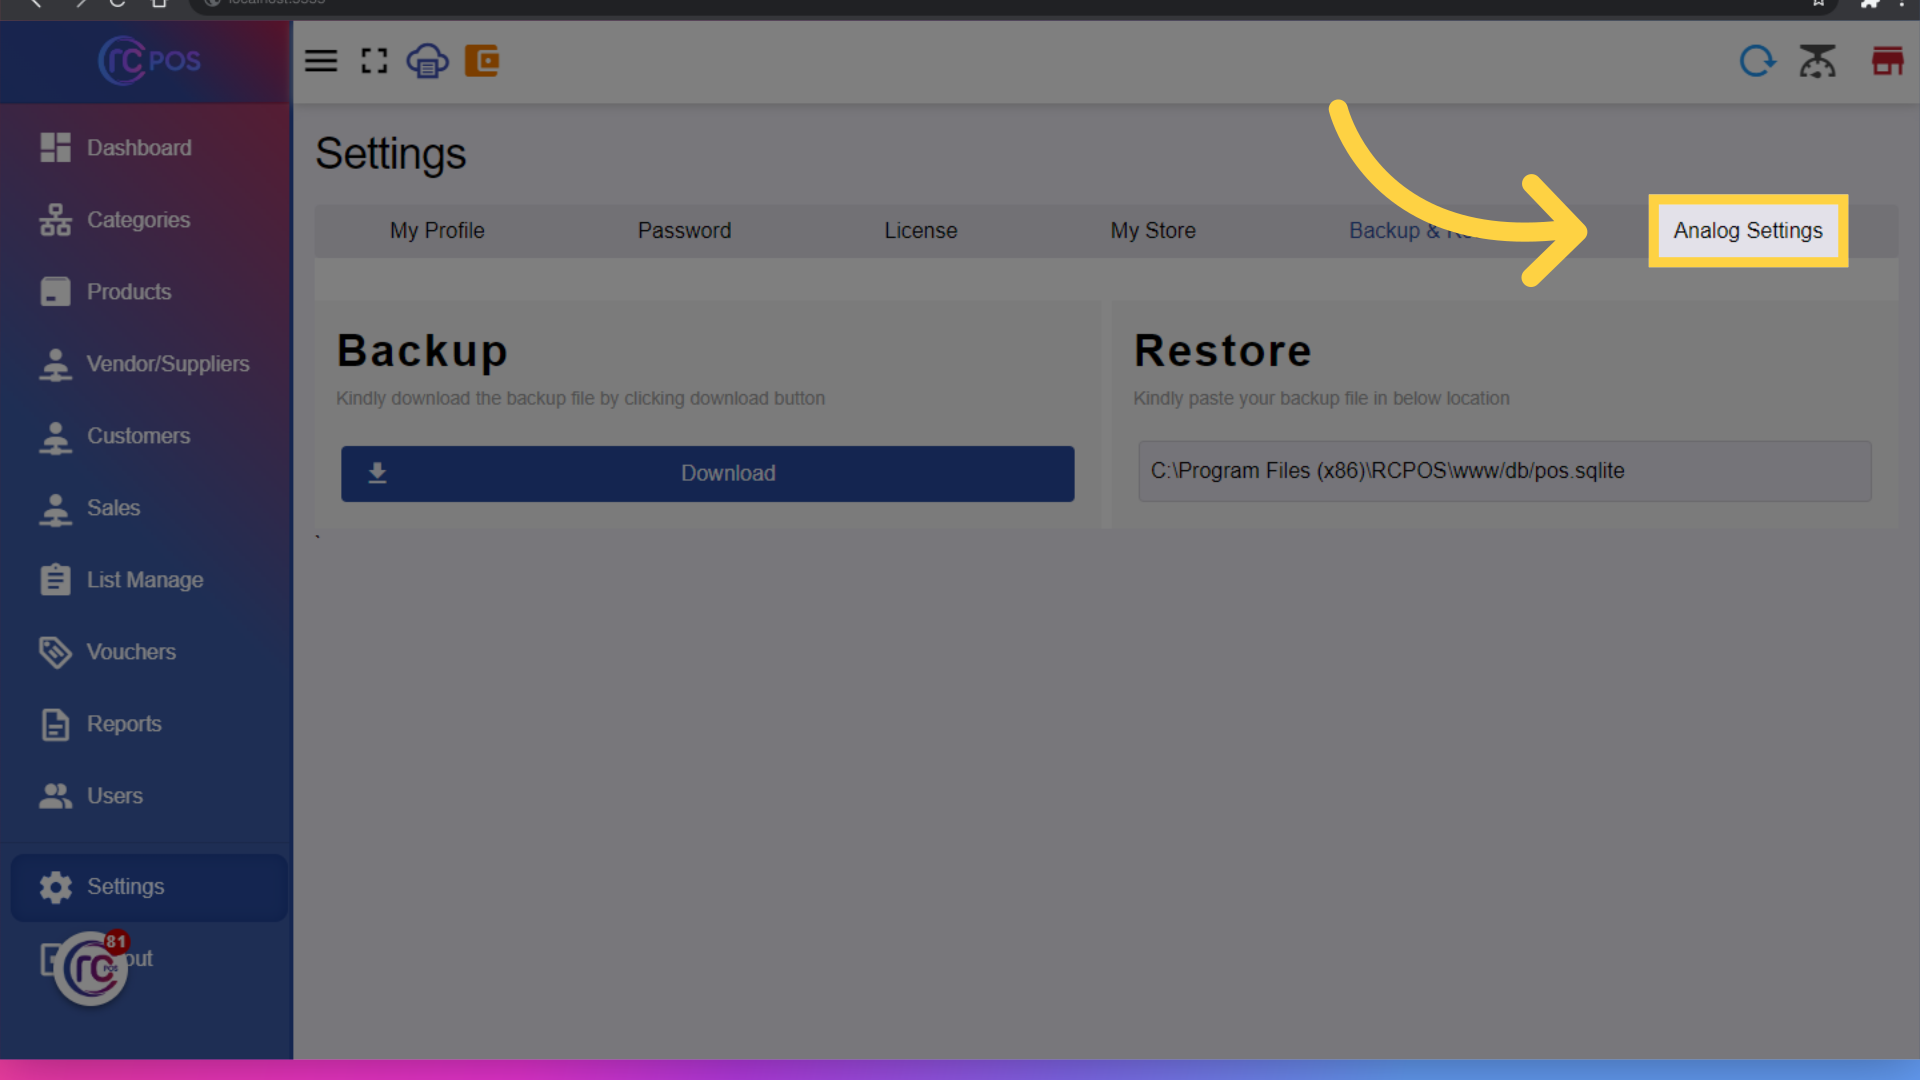
74. Click "Analog Settings"
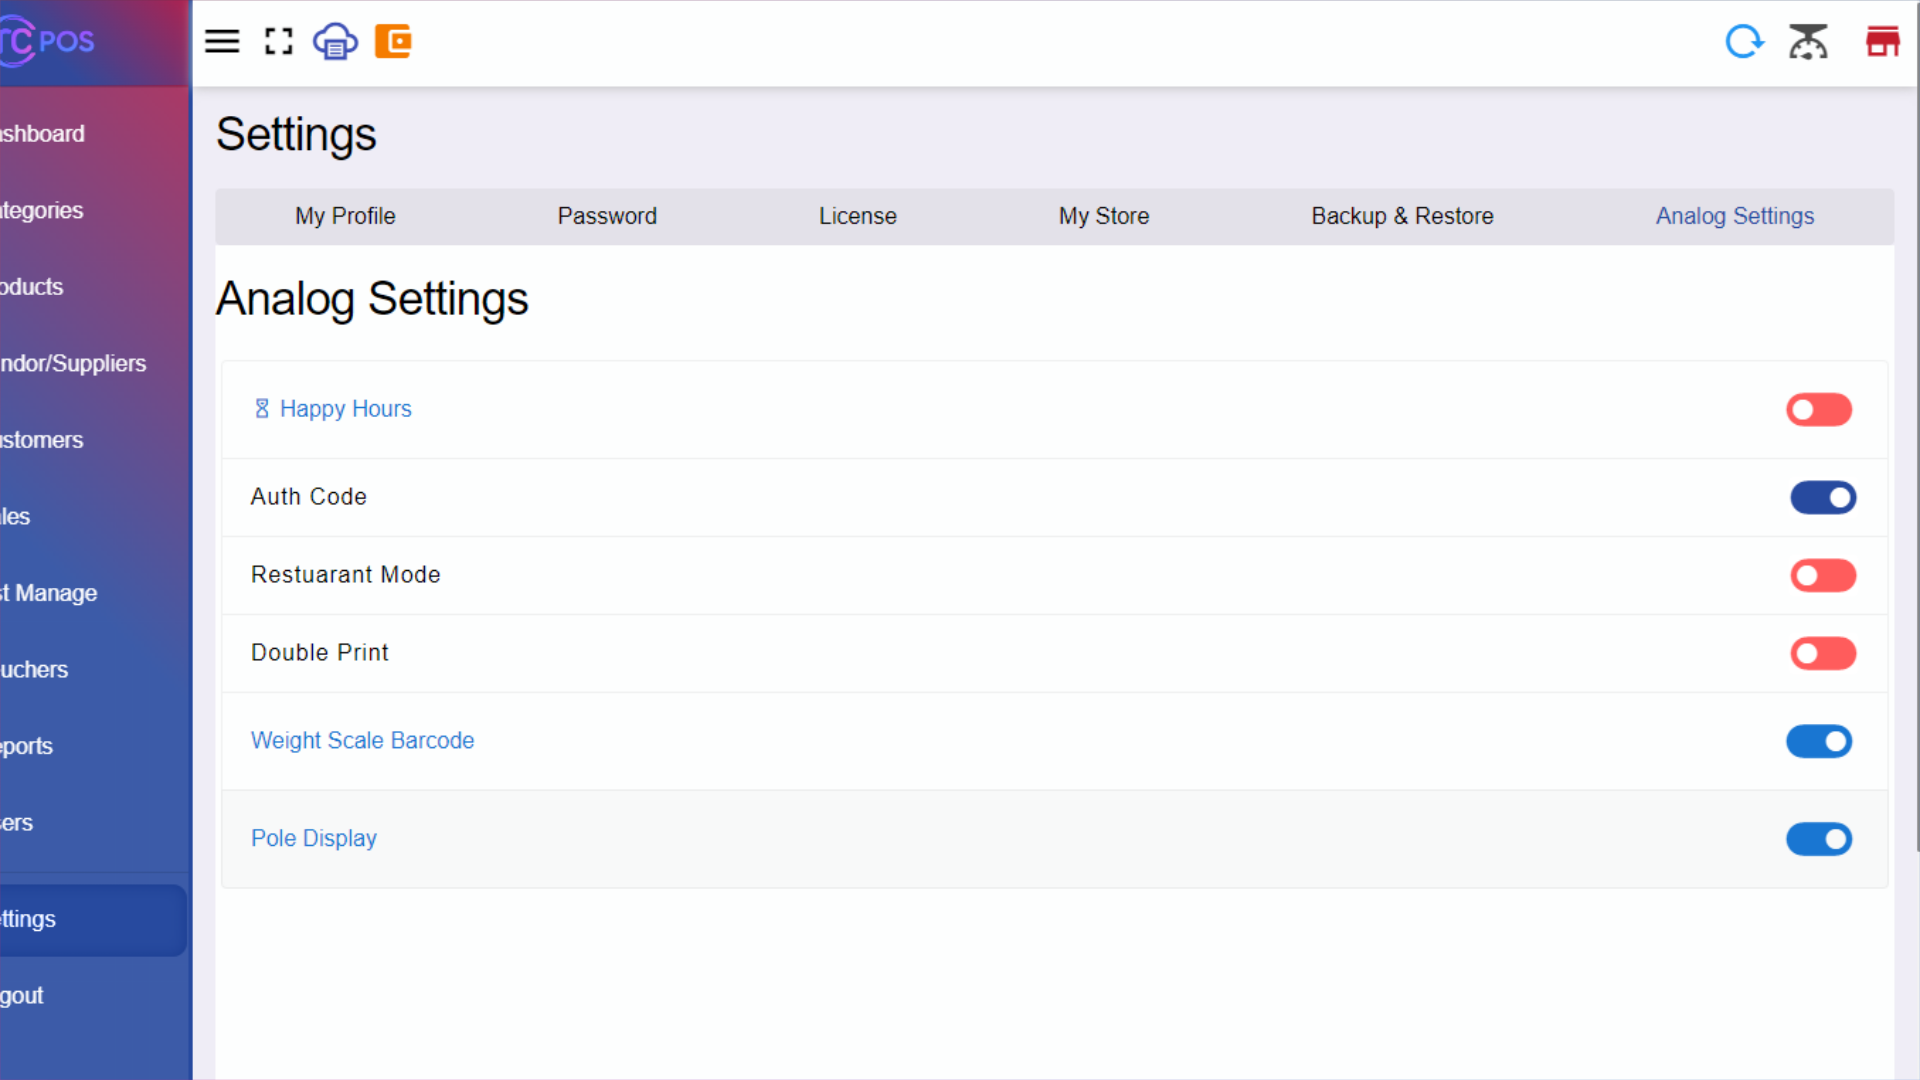
Select the option to "Analog Settings".Toggle various settings for the software.
75.Manage Settings
Enable/Disable Happy Hours and more
The guide covered a range of tasks in the Admin application, including managing categories, adding products, adjusting user settings, creating vouchers, and accessing various reports and settings. By following these instructions, users can efficiently navigate through the application and perform necessary actions.